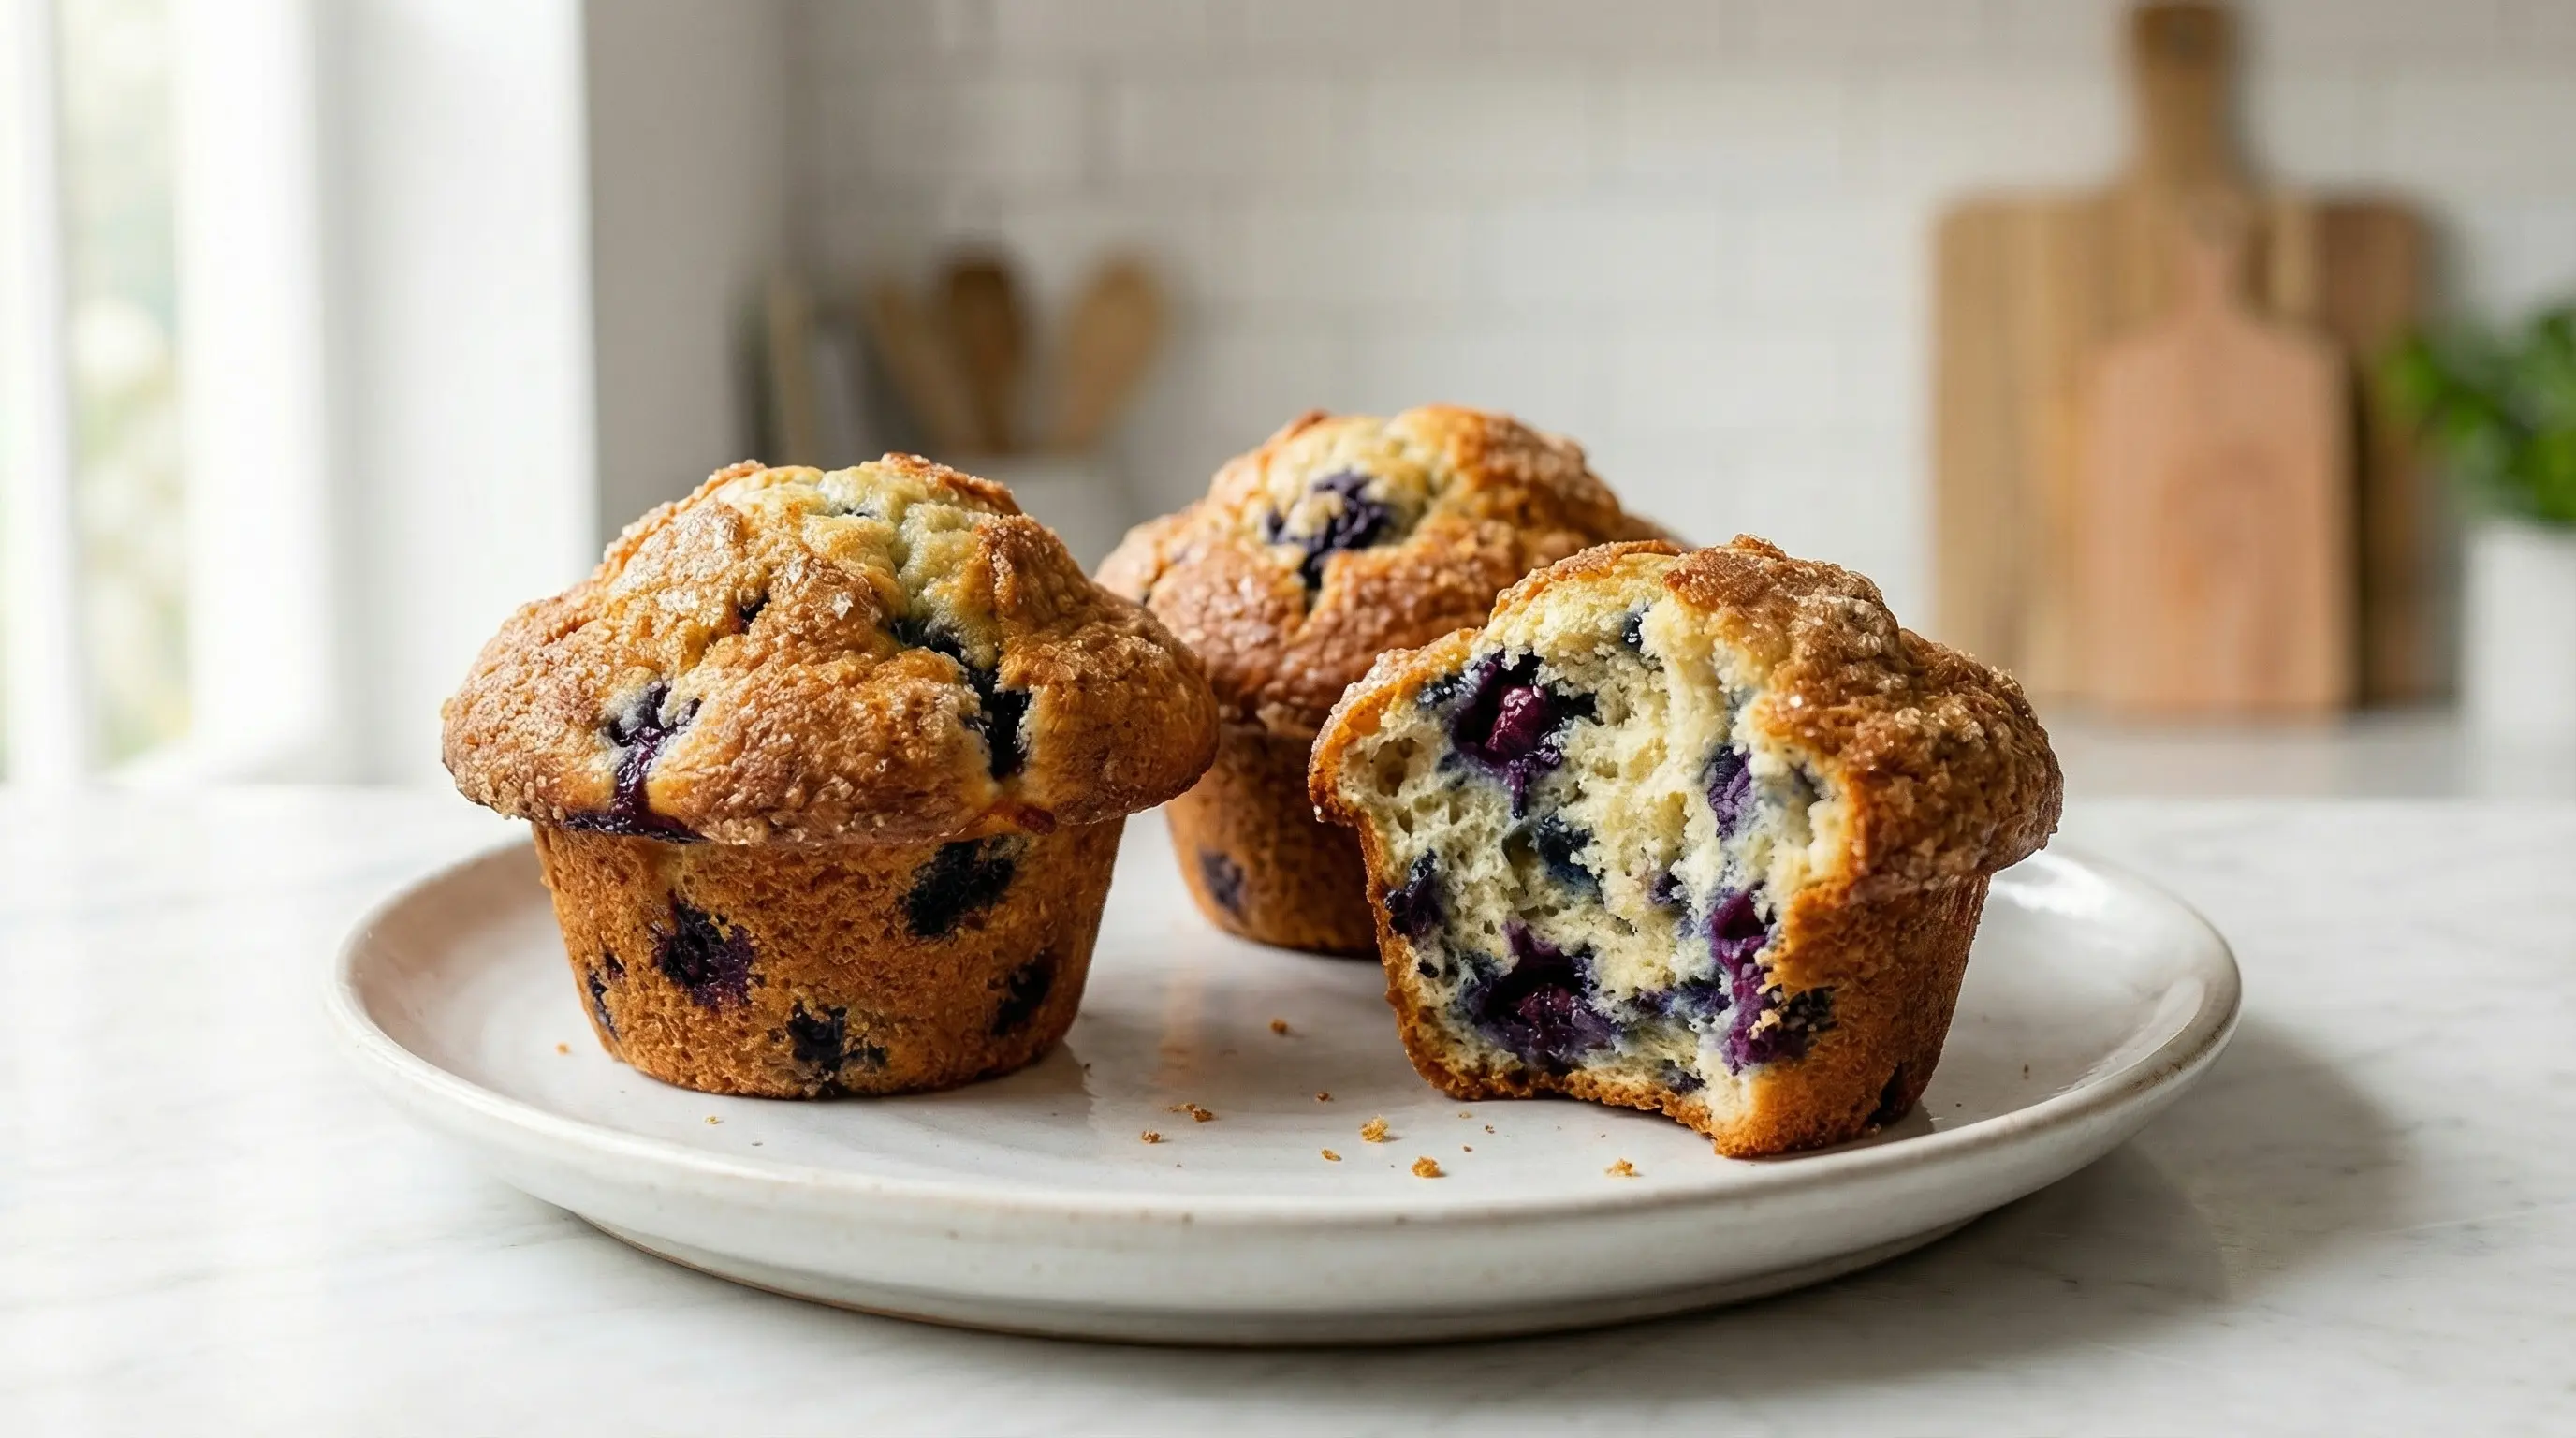
Bakery-Style Blueberry Muffins
Learn how to make perfect blueberry muffins with tall, domed tops and bursts of juicy blueberries. These bakery-style muffins are soft, fluffy, and irresistible!
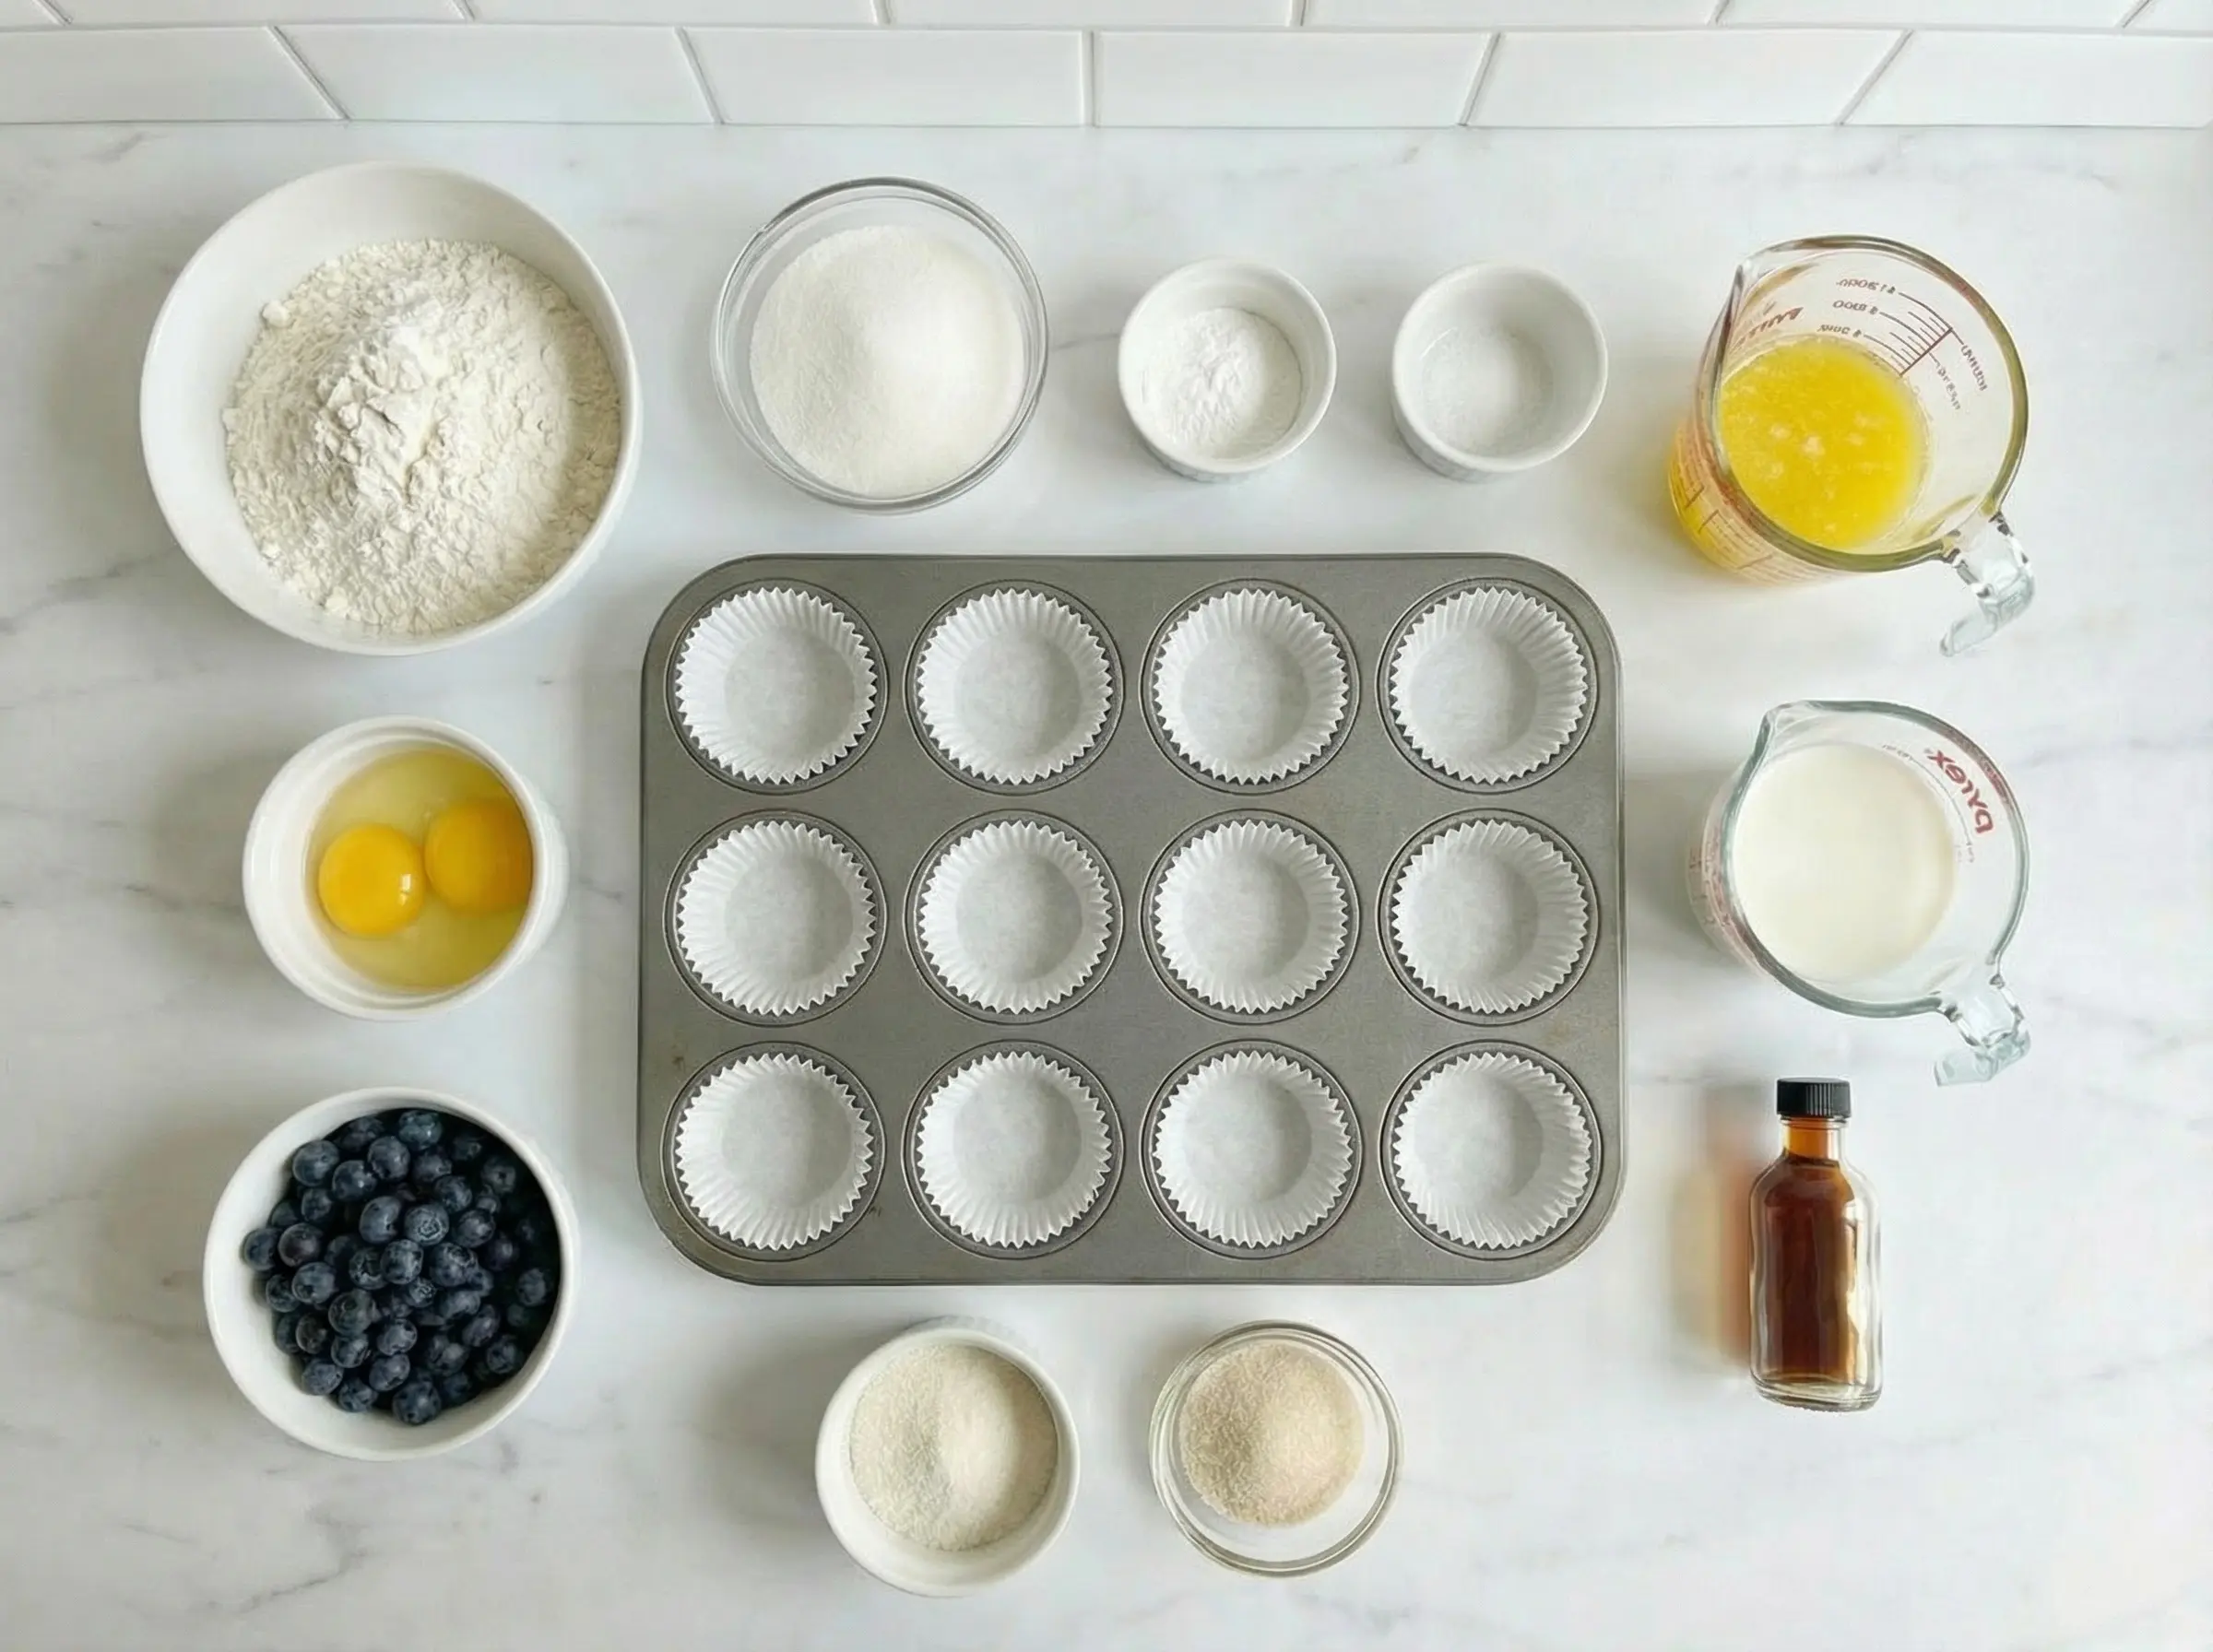
Ingredients
The Story
Muffins as we know them today are a distinctly American invention, though they share a name with the English muffin, which is an entirely different product. The quick bread muffin emerged in the United States during the mid-19th century, around the same time that chemical leaveners like baking powder and baking soda became commercially available. These innovations revolutionized home baking, making it possible to create light, fluffy baked goods without the time-consuming process of working with yeast. The word "muffin" likely derives from the French "moufflet," meaning soft bread, perfectly describing these tender, cake-like treats. Blueberry muffins specifically became an American classic in regions where wild blueberries grew abundantly, particularly in Maine and the Northeast. Native Americans had been harvesting and eating wild blueberries for thousands of years, and early European settlers quickly adopted the berry into their baking traditions. By the early 20th century, blueberry muffins had become a breakfast staple, appearing in community cookbooks and bakeries across the country. The combination of tender, buttery muffin batter studded with bursts of sweet-tart blueberries proved irresistible. During blueberry season, families would make batches using fresh-picked berries, while frozen blueberries made the treat accessible year-round. What makes blueberry muffins so enduringly popular is their perfect balance of comfort and freshness. The soft, slightly sweet crumb provides a gentle backdrop for the bright, juicy berries that burst with flavor in every bite. A good blueberry muffin should have a golden, slightly crispy top that gives way to a moist, tender interior dotted generously with fruit. Whether enjoyed warm from the oven with a pat of butter, grabbed on the go for breakfast, or savored with afternoon coffee, blueberry muffins represent the simple pleasures of home baking and the joy of using fresh, seasonal ingredients.
Instructions
Step 1
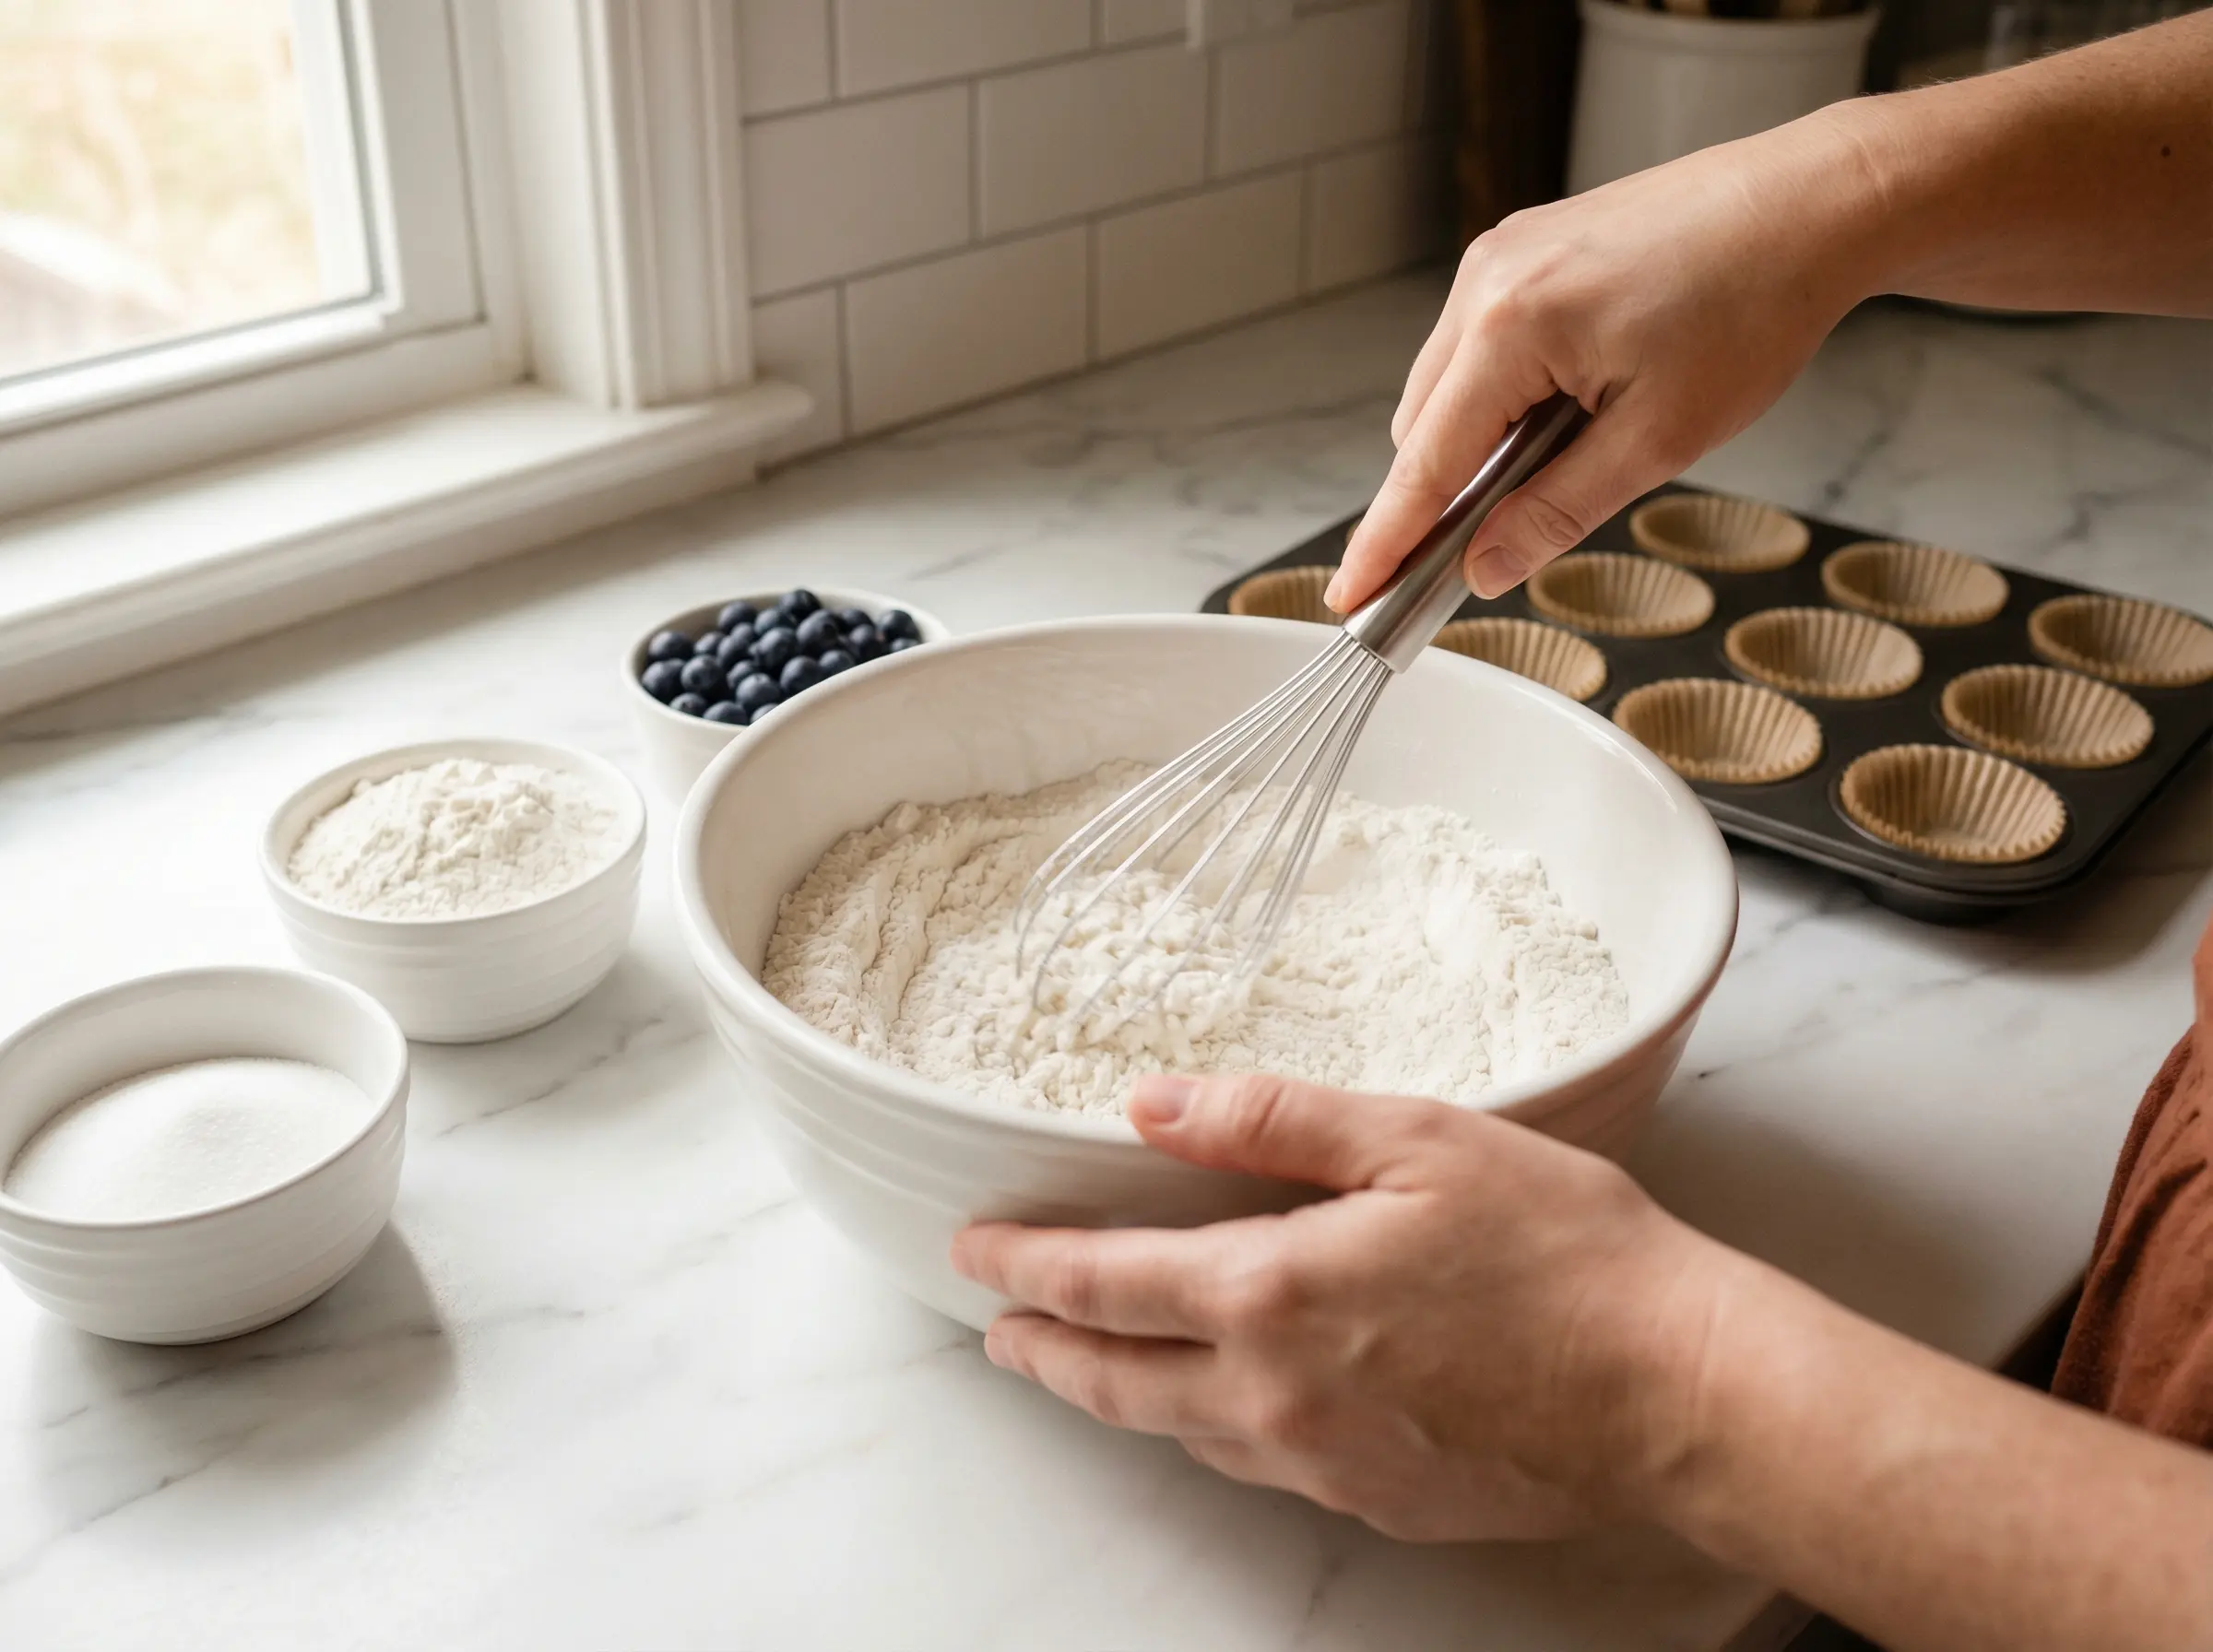
Preheat your oven to 375 degrees F. Line a 12-cup muffin tin with paper liners or grease the cups generously with butter or cooking spray. Paper liners make for easier cleanup and help the muffins maintain their shape. In a large mixing bowl, whisk together the flour, sugar, baking powder, and salt until well combined. Make sure there are no lumps and the baking powder is evenly distributed throughout the flour - this ensures your muffins will rise evenly. The dry mixture can sit while you prepare the wet ingredients. If using frozen blueberries, do not thaw them - toss them with 1 tablespoon of the flour mixture to prevent them from sinking to the bottom and bleeding color throughout the batter.
Step 2
In a separate medium bowl, whisk together the melted butter, eggs, milk, and vanilla extract until smooth and well combined. The butter should be melted but not hot - if it is too hot, it will cook the eggs. Let it cool slightly if needed. The mixture should be pale yellow and relatively uniform in color. Pour the wet ingredients into the bowl with the dry ingredients all at once. Using a rubber spatula or wooden spoon, gently fold the wet and dry ingredients together with broad strokes. Mix just until the flour disappears and you no longer see dry streaks - the batter will be thick and slightly lumpy, and that is exactly what you want. Do not overmix or beat the batter. Overmixing develops gluten and creates tough, dense muffins with tunnels inside instead of the tender, fluffy texture you are aiming for. A few lumps are perfectly fine.
Step 3
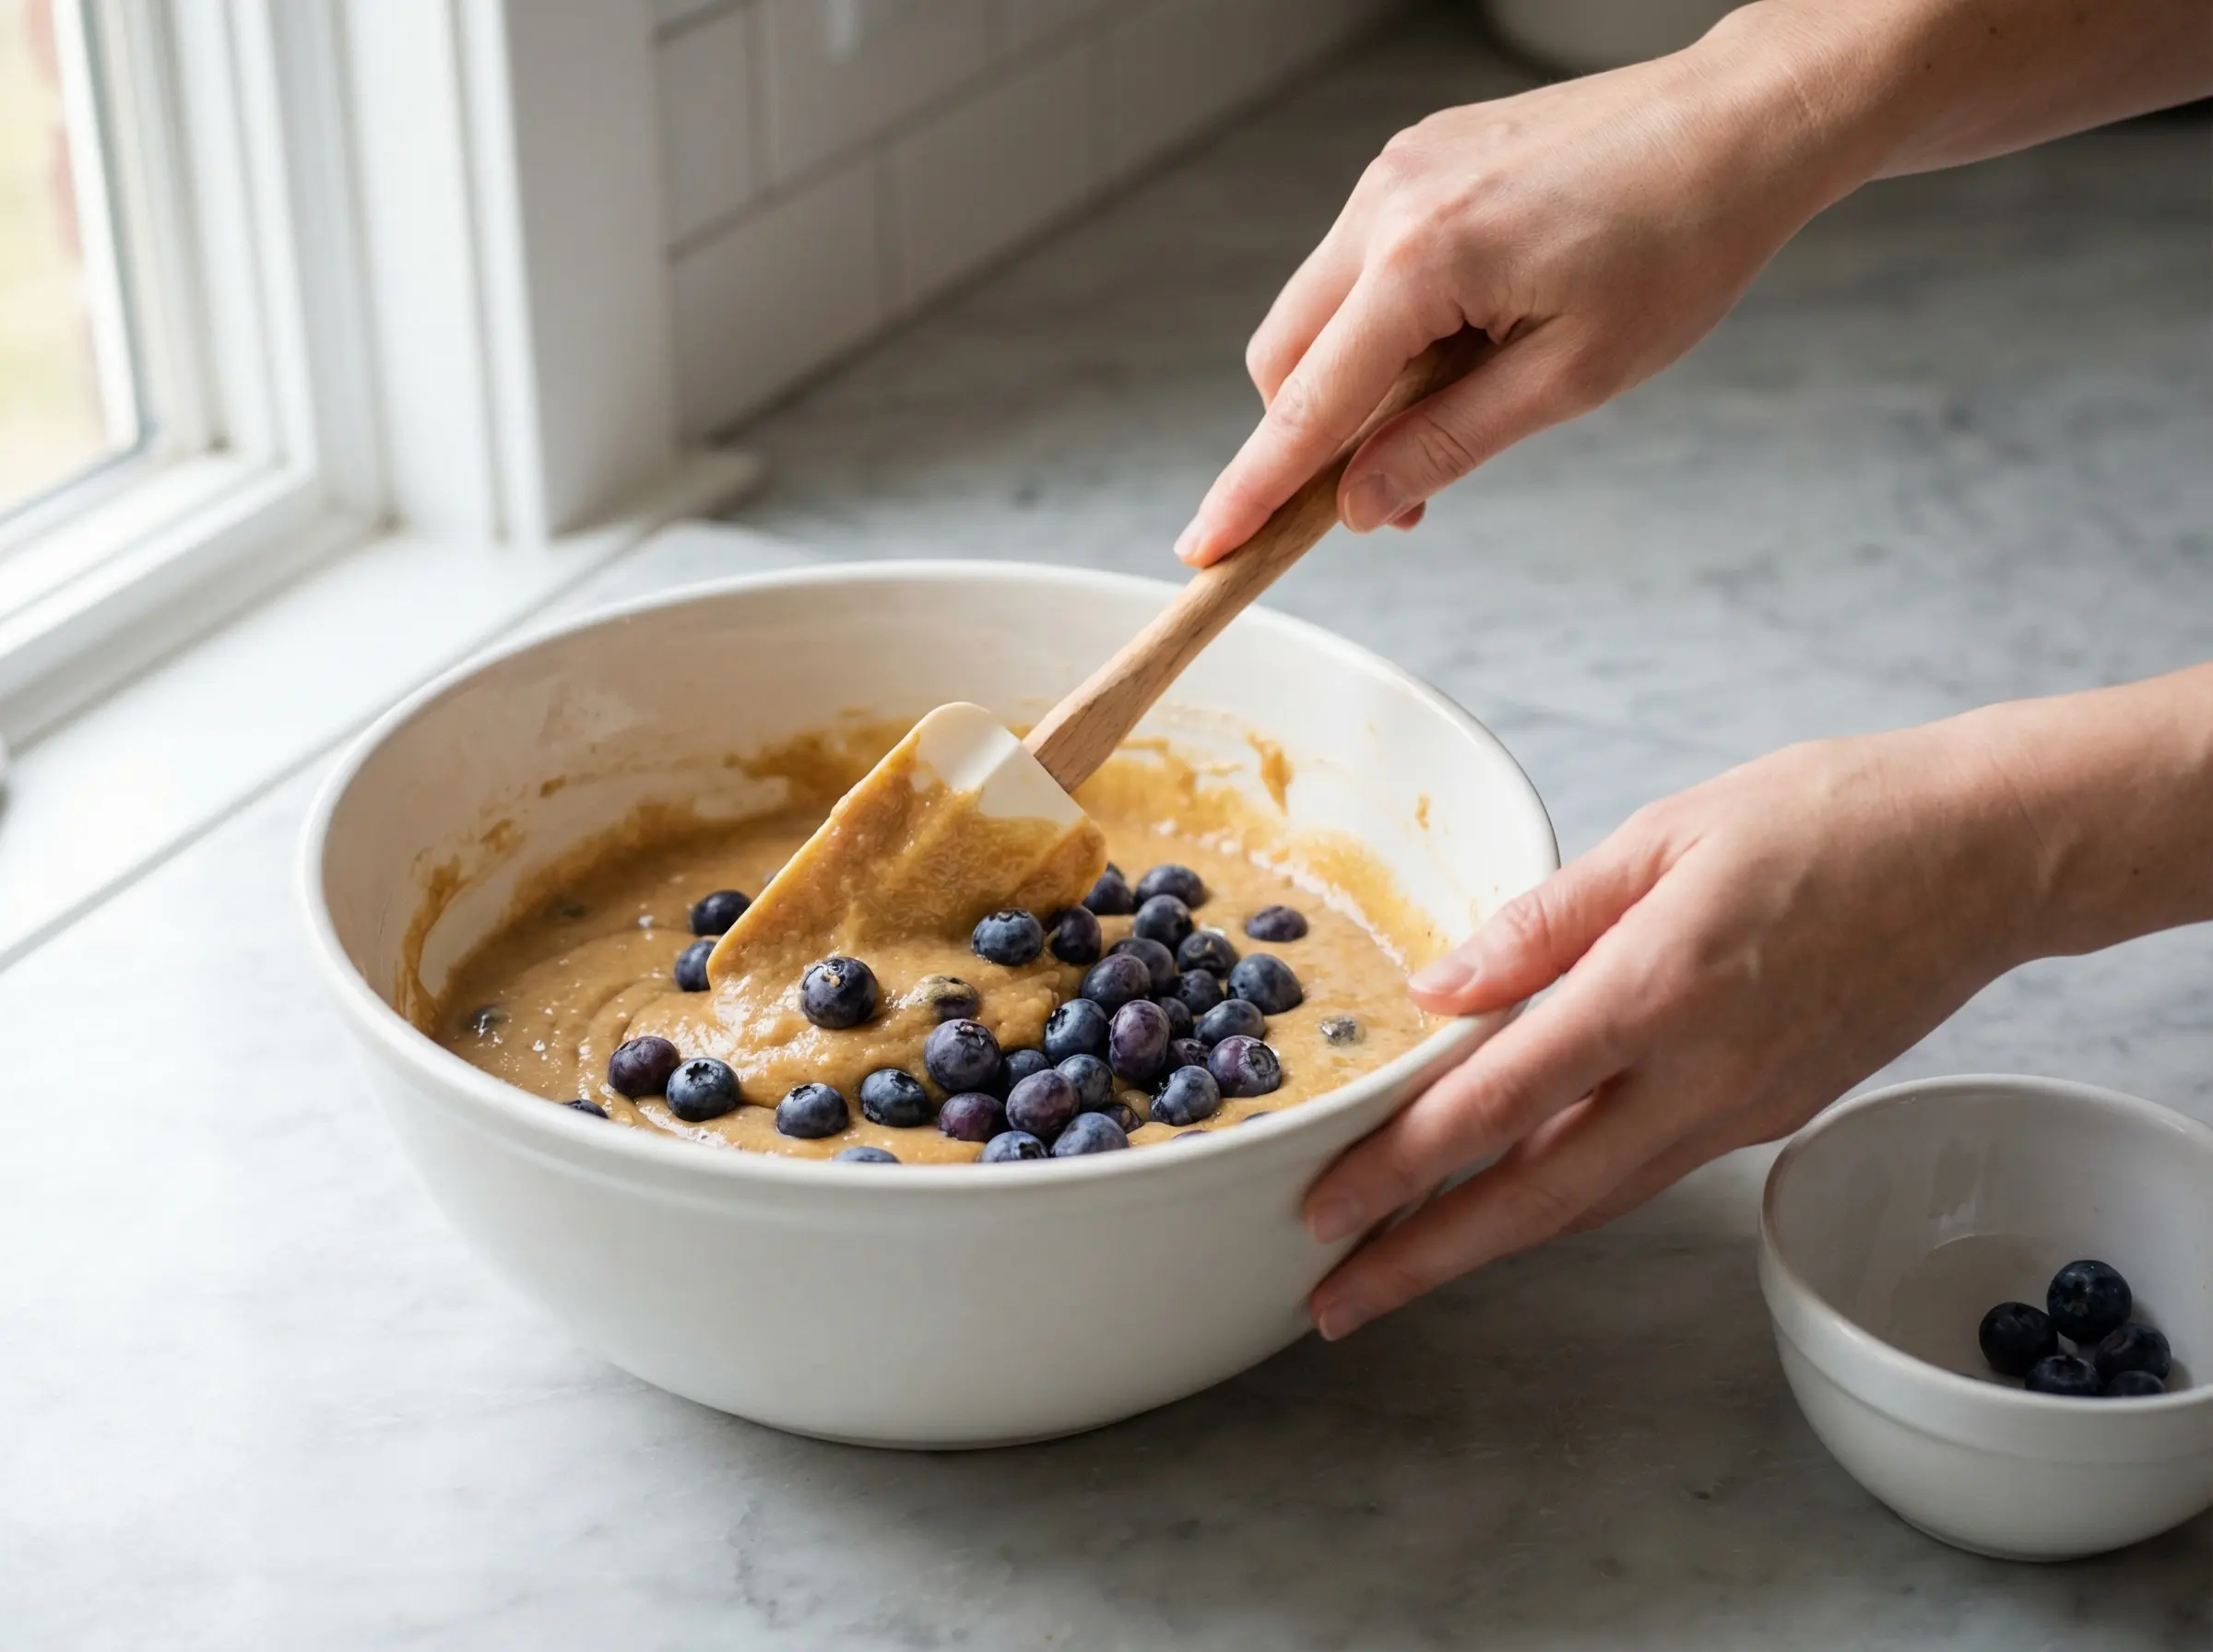
Gently fold the blueberries into the batter with just a few strokes. You want them distributed throughout but not crushed or overmixed. If the blueberries were tossed in flour earlier, they should stay suspended in the batter rather than sinking. The batter will be quite thick - thick enough that the blueberries stay put rather than floating or sinking. This thick consistency is key to getting those tall, bakery-style domed tops. Do not add extra liquid even if the batter seems thick compared to other muffin recipes you have made.
Step 4
Using a large spoon or ice cream scoop, divide the batter evenly among the 12 muffin cups. Fill each cup generously - they should be nearly full, about three-quarters to completely full. Do not be shy about filling them high. The generous amount of batter is what creates those beautiful tall, domed muffin tops that are the hallmark of bakery-style muffins. The muffins will rise up and over the edges of the cups during baking, creating that signature mushroom-cap appearance. Once filled, sprinkle the top of each muffin with a pinch of granulated sugar. This creates a slightly sweet, crunchy top crust that adds wonderful texture.
Step 5
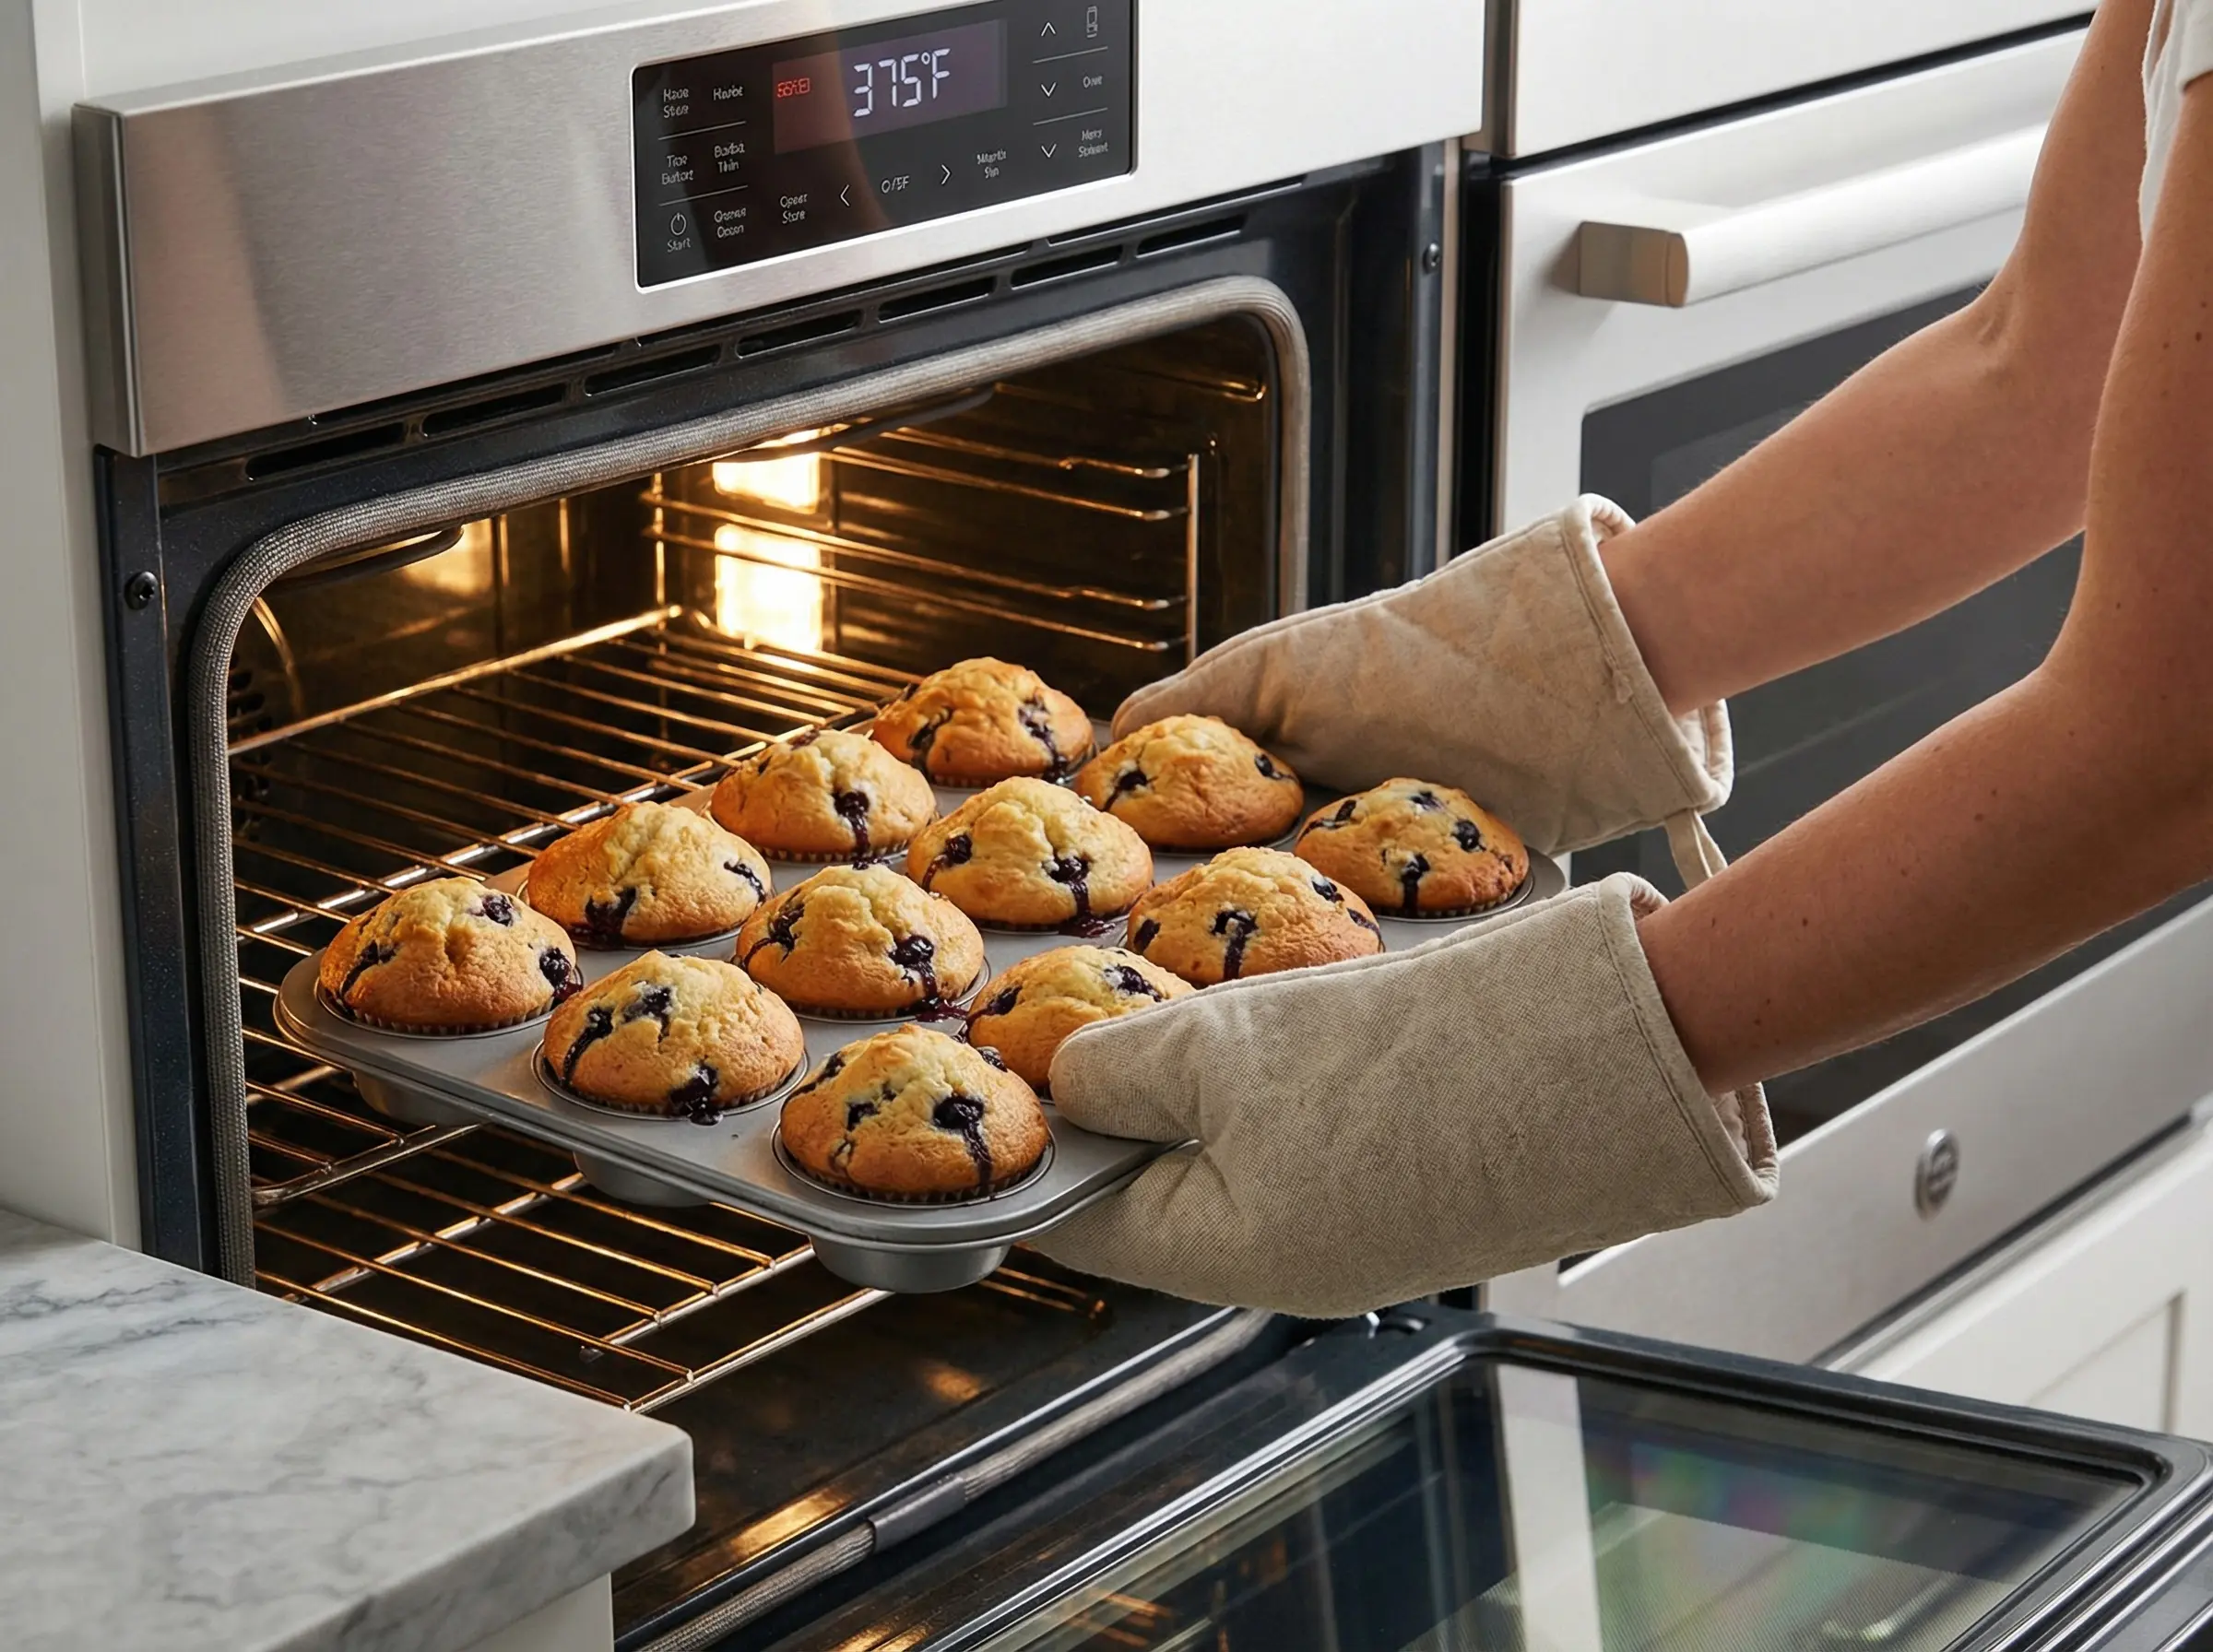
Place the muffin tin in the preheated oven and bake for 20-25 minutes, or until the muffins are golden brown on top and a toothpick inserted into the center of a muffin comes out clean or with just a few moist crumbs. The tops should be domed and spring back lightly when touched. The edges may pull away slightly from the paper liners. Baking time can vary depending on your oven and whether you used fresh or frozen berries - frozen berries may add 2-3 minutes to the baking time. Start checking at 20 minutes to avoid overbaking. Overbaked muffins will be dry rather than moist and tender.
Step 6
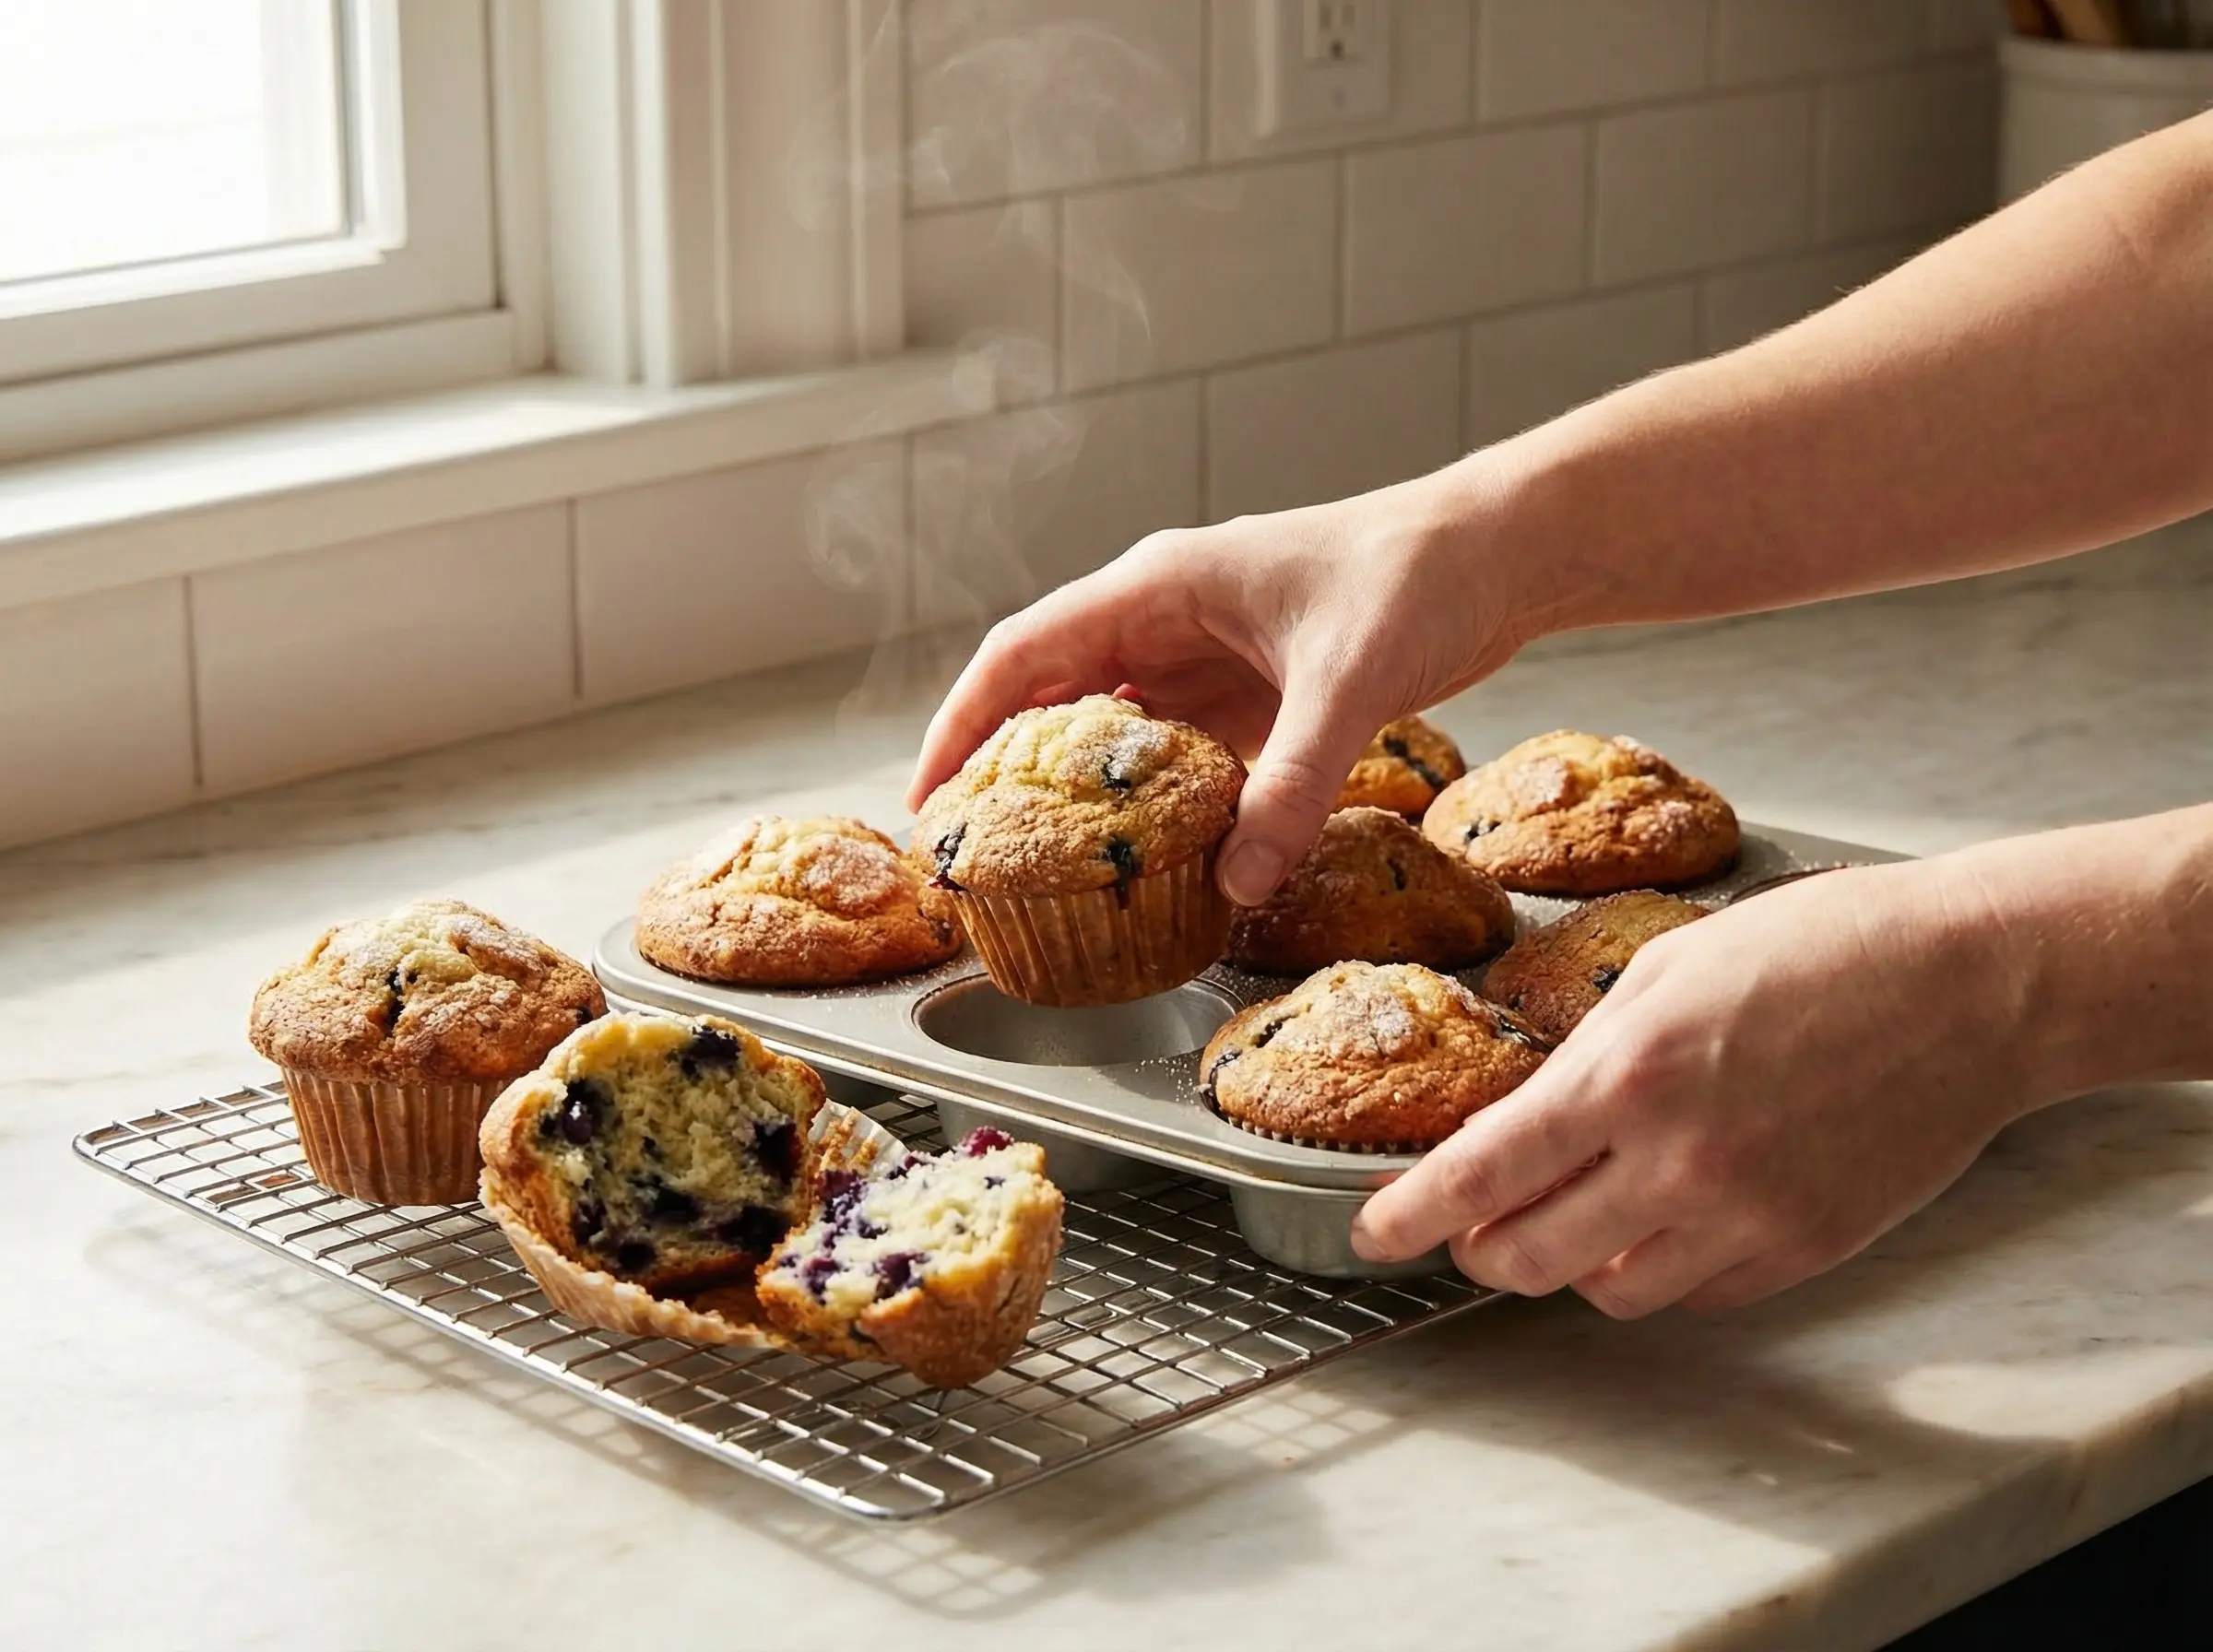
Remove the muffin tin from the oven and let the muffins cool in the pan for about 5 minutes. This brief resting period allows the muffins to set and makes them easier to remove without breaking apart. After 5 minutes, transfer the muffins to a wire cooling rack. If you leave them in the hot pan too long, the bottoms can become soggy from trapped steam. Let them cool for at least 10-15 minutes before eating if you can resist - they are delicious warm but incredibly hot right out of the oven. The blueberries will be molten and can burn your mouth. These muffins are best enjoyed the day they are made, but they will keep in an airtight container at room temperature for 2-3 days or can be frozen for up to 3 months. Reheat in the microwave for 15-20 seconds or in a 350 degree oven for 5-10 minutes to restore that fresh-baked warmth.
You Might Also Like