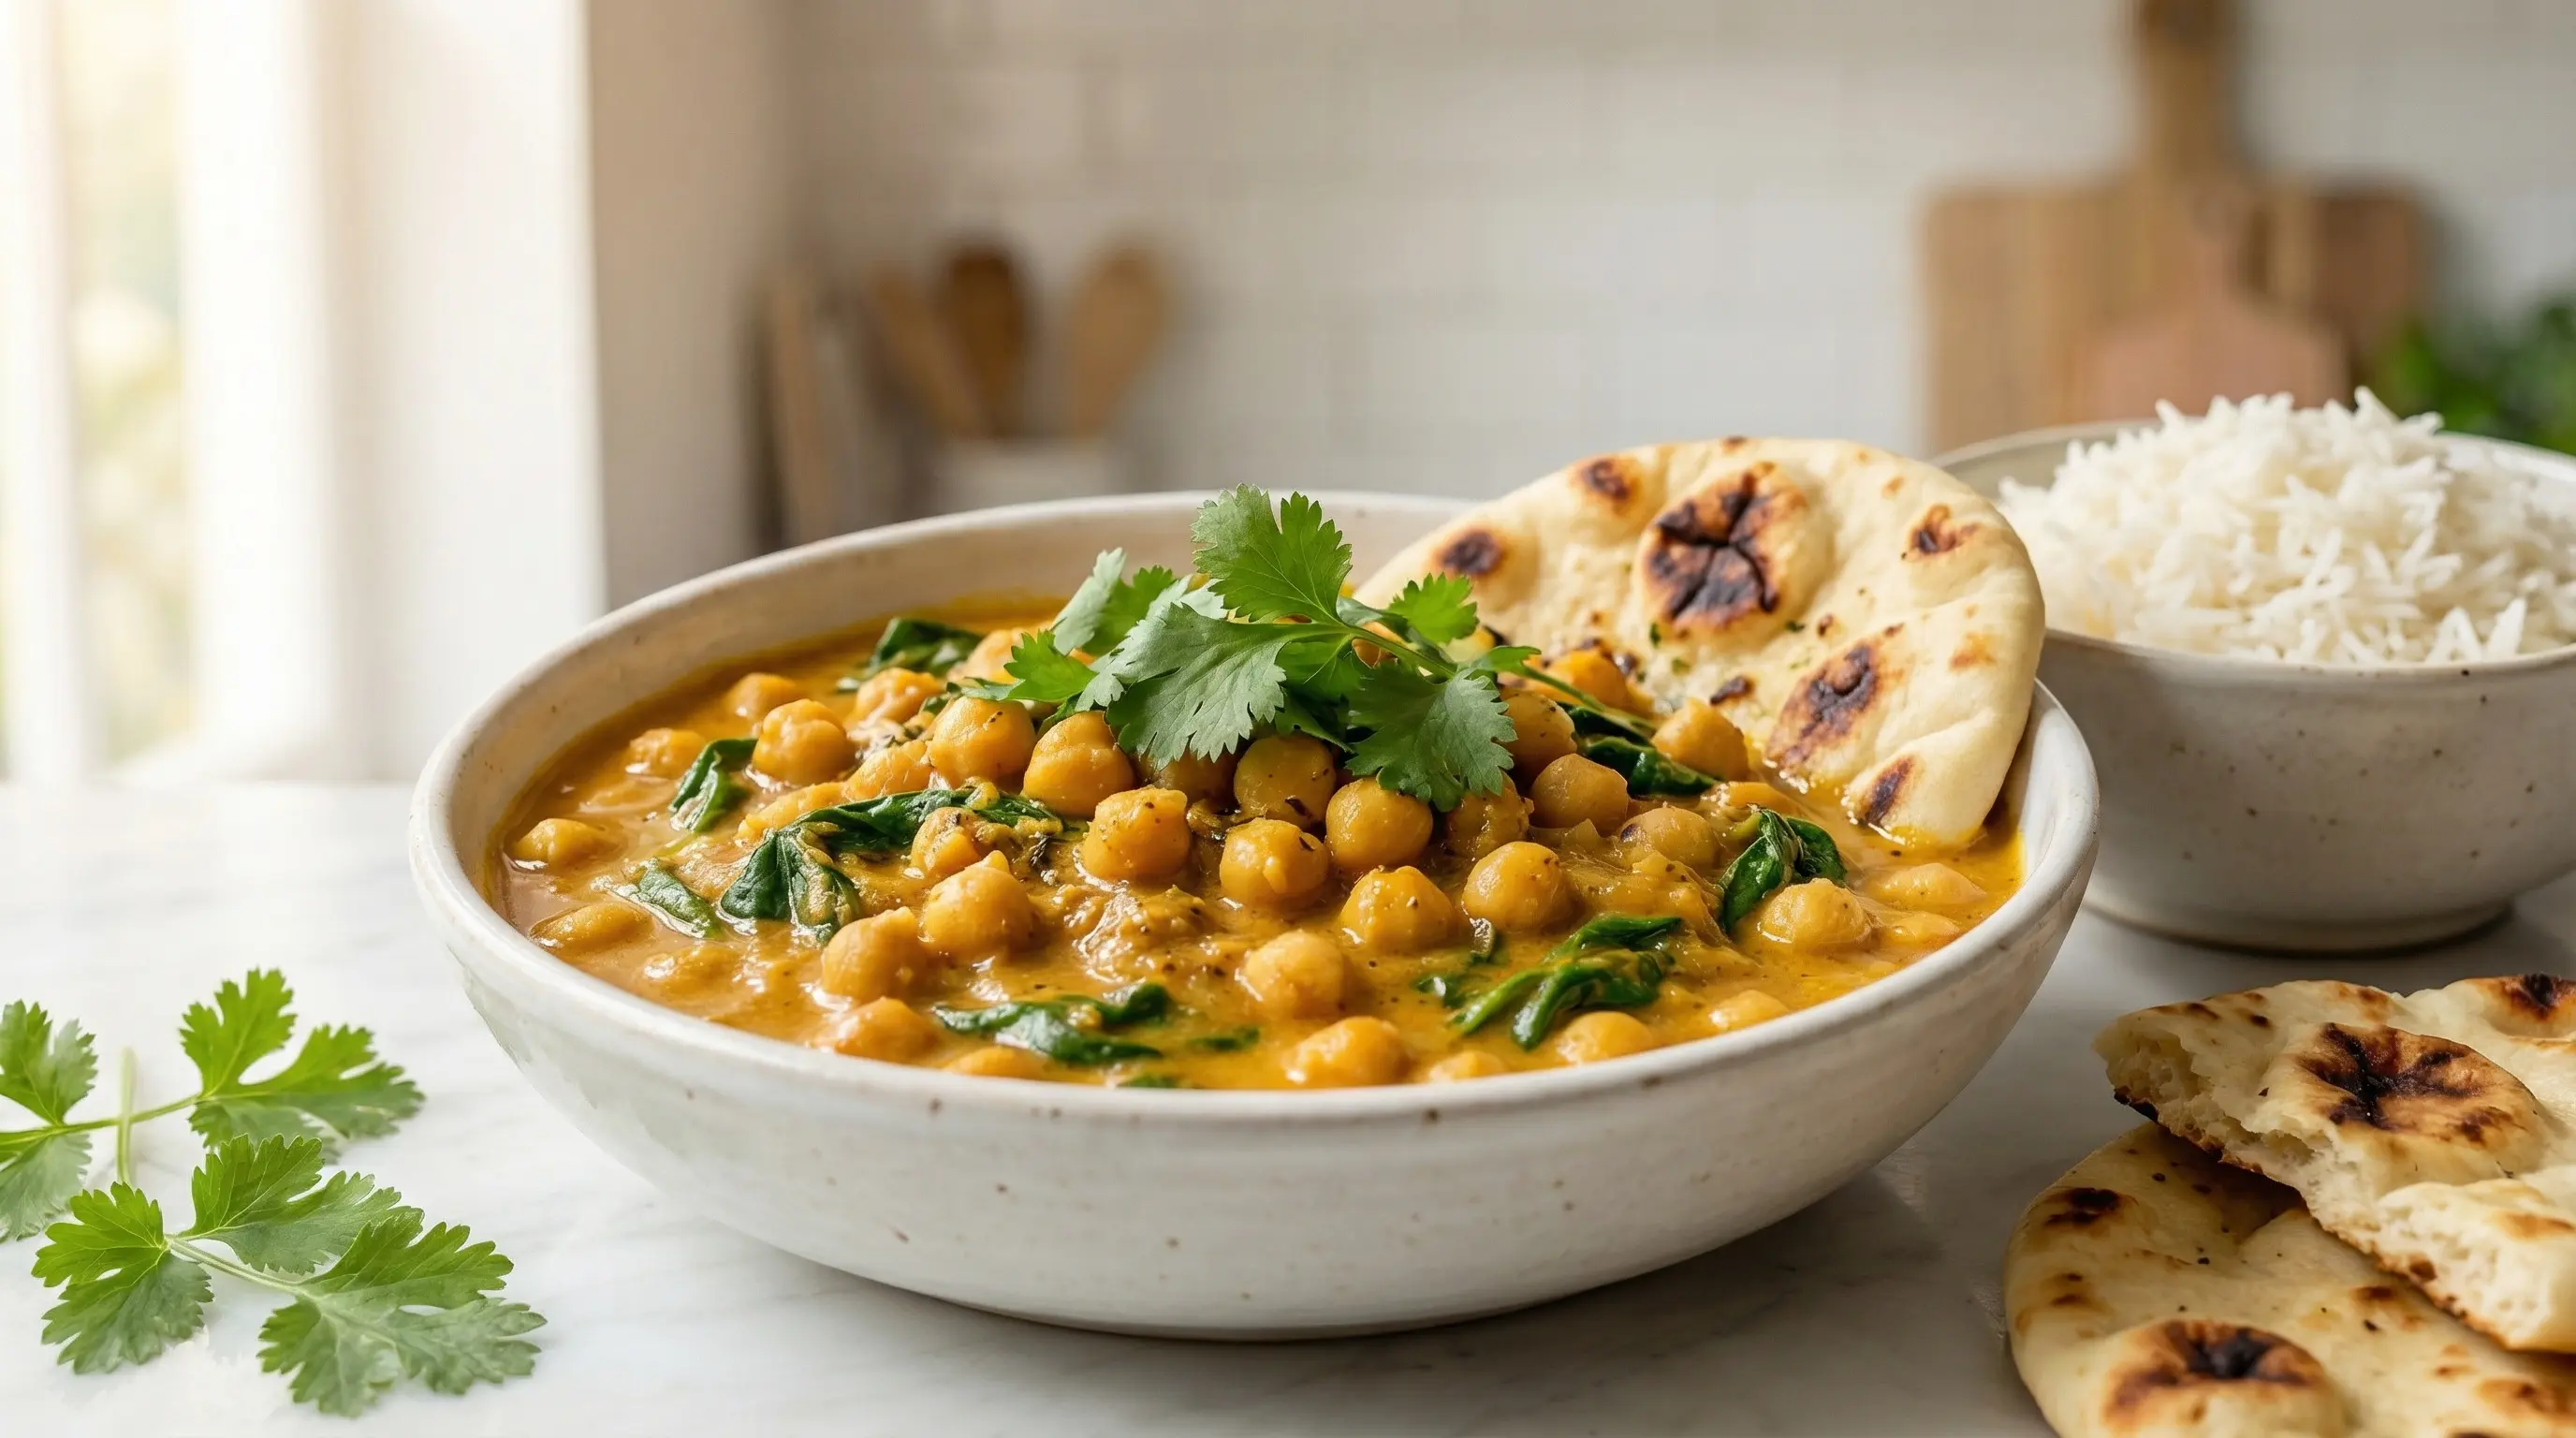
Creamy Chickpea Curry
Learn how to make flavorful chickpea curry with aromatic spices and creamy coconut milk. This easy vegan recipe is healthy, satisfying, and ready in 30 minutes!
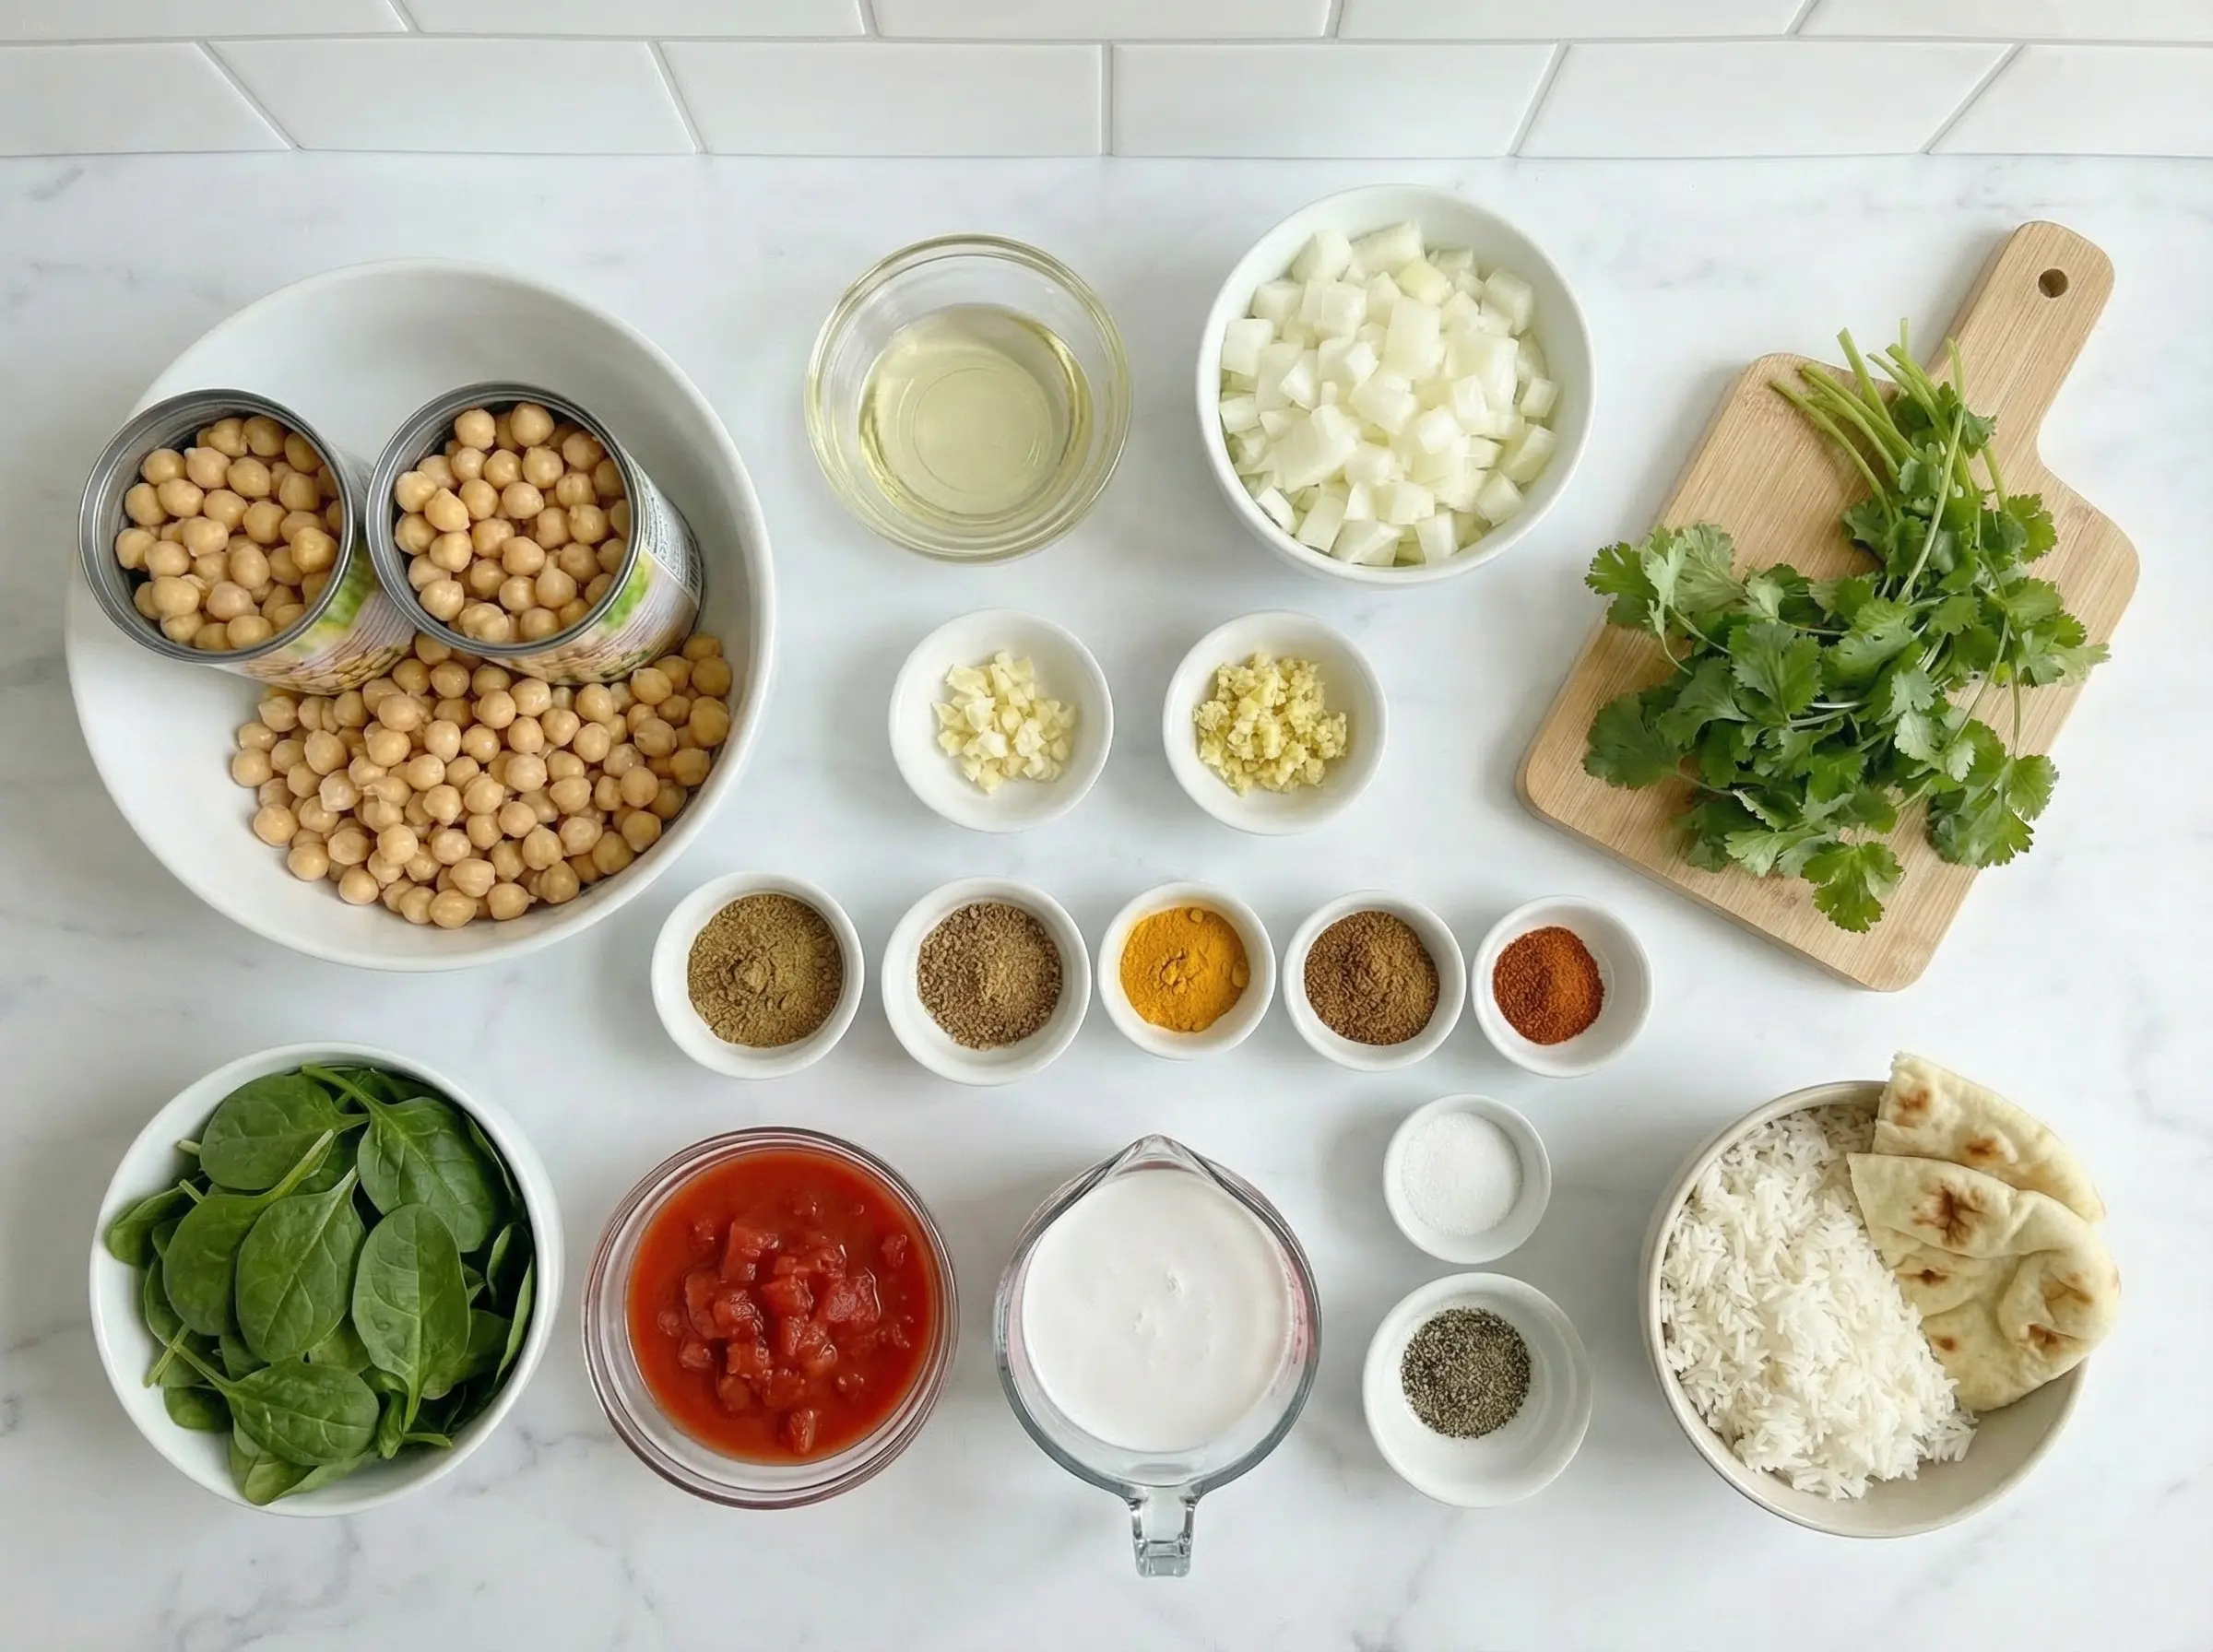
Ingredients
The Story
Chickpea curry, known as chana masala in Hindi, is one of the most beloved dishes in Indian cuisine with roots stretching back thousands of years. Chickpeas, or garbanzo beans, have been cultivated in the Indian subcontinent since ancient times, mentioned in Sanskrit texts dating back over 3,000 years. The legume was prized for its protein content, ability to grow in harsh conditions, and long shelf life when dried. In a predominantly vegetarian culture, chickpeas became a crucial source of nutrition and the foundation for countless regional dishes across India, Pakistan, and Bangladesh. The curry-style preparation of chickpeas evolved over centuries as trade routes brought spices like cumin, coriander, turmeric, and garam masala to the Indian subcontinent. Each region developed its own version - Punjabi chole is darker and tangier with tea-stained chickpeas and dried pomegranate seeds, while South Indian variations might include coconut and curry leaves. The word "curry" itself comes from the Tamil word "kari," meaning sauce or relish. British colonizers adopted the term to describe any spiced, sauce-based Indian dish, though Indians traditionally refer to specific dishes by their proper names. Modern chickpea curry often includes tomatoes, which were introduced to India by the Portuguese in the 16th century, and coconut milk, particularly common in coastal regions. What makes chickpea curry so popular worldwide today is its perfect combination of nutrition, flavor, and accessibility. The hearty chickpeas provide plant-based protein and fiber, while the aromatic spice blend creates layers of complex flavor without being overwhelmingly hot. The creamy sauce, whether made with coconut milk, tomatoes, or yogurt, brings everything together in a comforting, satisfying dish. Chickpea curry is naturally vegan and gluten-free, making it inclusive for various dietary needs. Whether served with rice, naan, or roti, this dish represents the heart of Indian home cooking - nourishing, flavorful, and deeply satisfying.
Instructions
Step 1
Drain and rinse the canned chickpeas in a colander under cold water. This removes excess sodium and the slightly metallic taste that can come from canned beans. Pat them dry with a paper towel or let them drain well. If you prefer to use dried chickpeas, soak 1 cup of dried chickpeas overnight, then cook them in water for about 1-1.5 hours until tender. Canned chickpeas are much more convenient for a quick weeknight meal. Prepare all your other ingredients - dice the onion, mince the garlic and ginger, and measure out all your spices. Having everything ready before you start cooking makes the process smooth and ensures you do not burn anything while scrambling to prep.

Step 2
Heat the vegetable oil in a large, deep skillet or pot over medium heat. Add the diced onion and cook for 5-7 minutes, stirring occasionally, until the onion is soft and golden brown. The onions should be caramelized and sweet - this creates a flavorful base for your curry. Add the minced garlic and ginger and cook for another 1-2 minutes, stirring constantly, until fragrant. Be careful not to burn the garlic and ginger as they can turn bitter. The kitchen should smell amazing at this point, with the sweet onions and aromatic ginger-garlic filling the air.
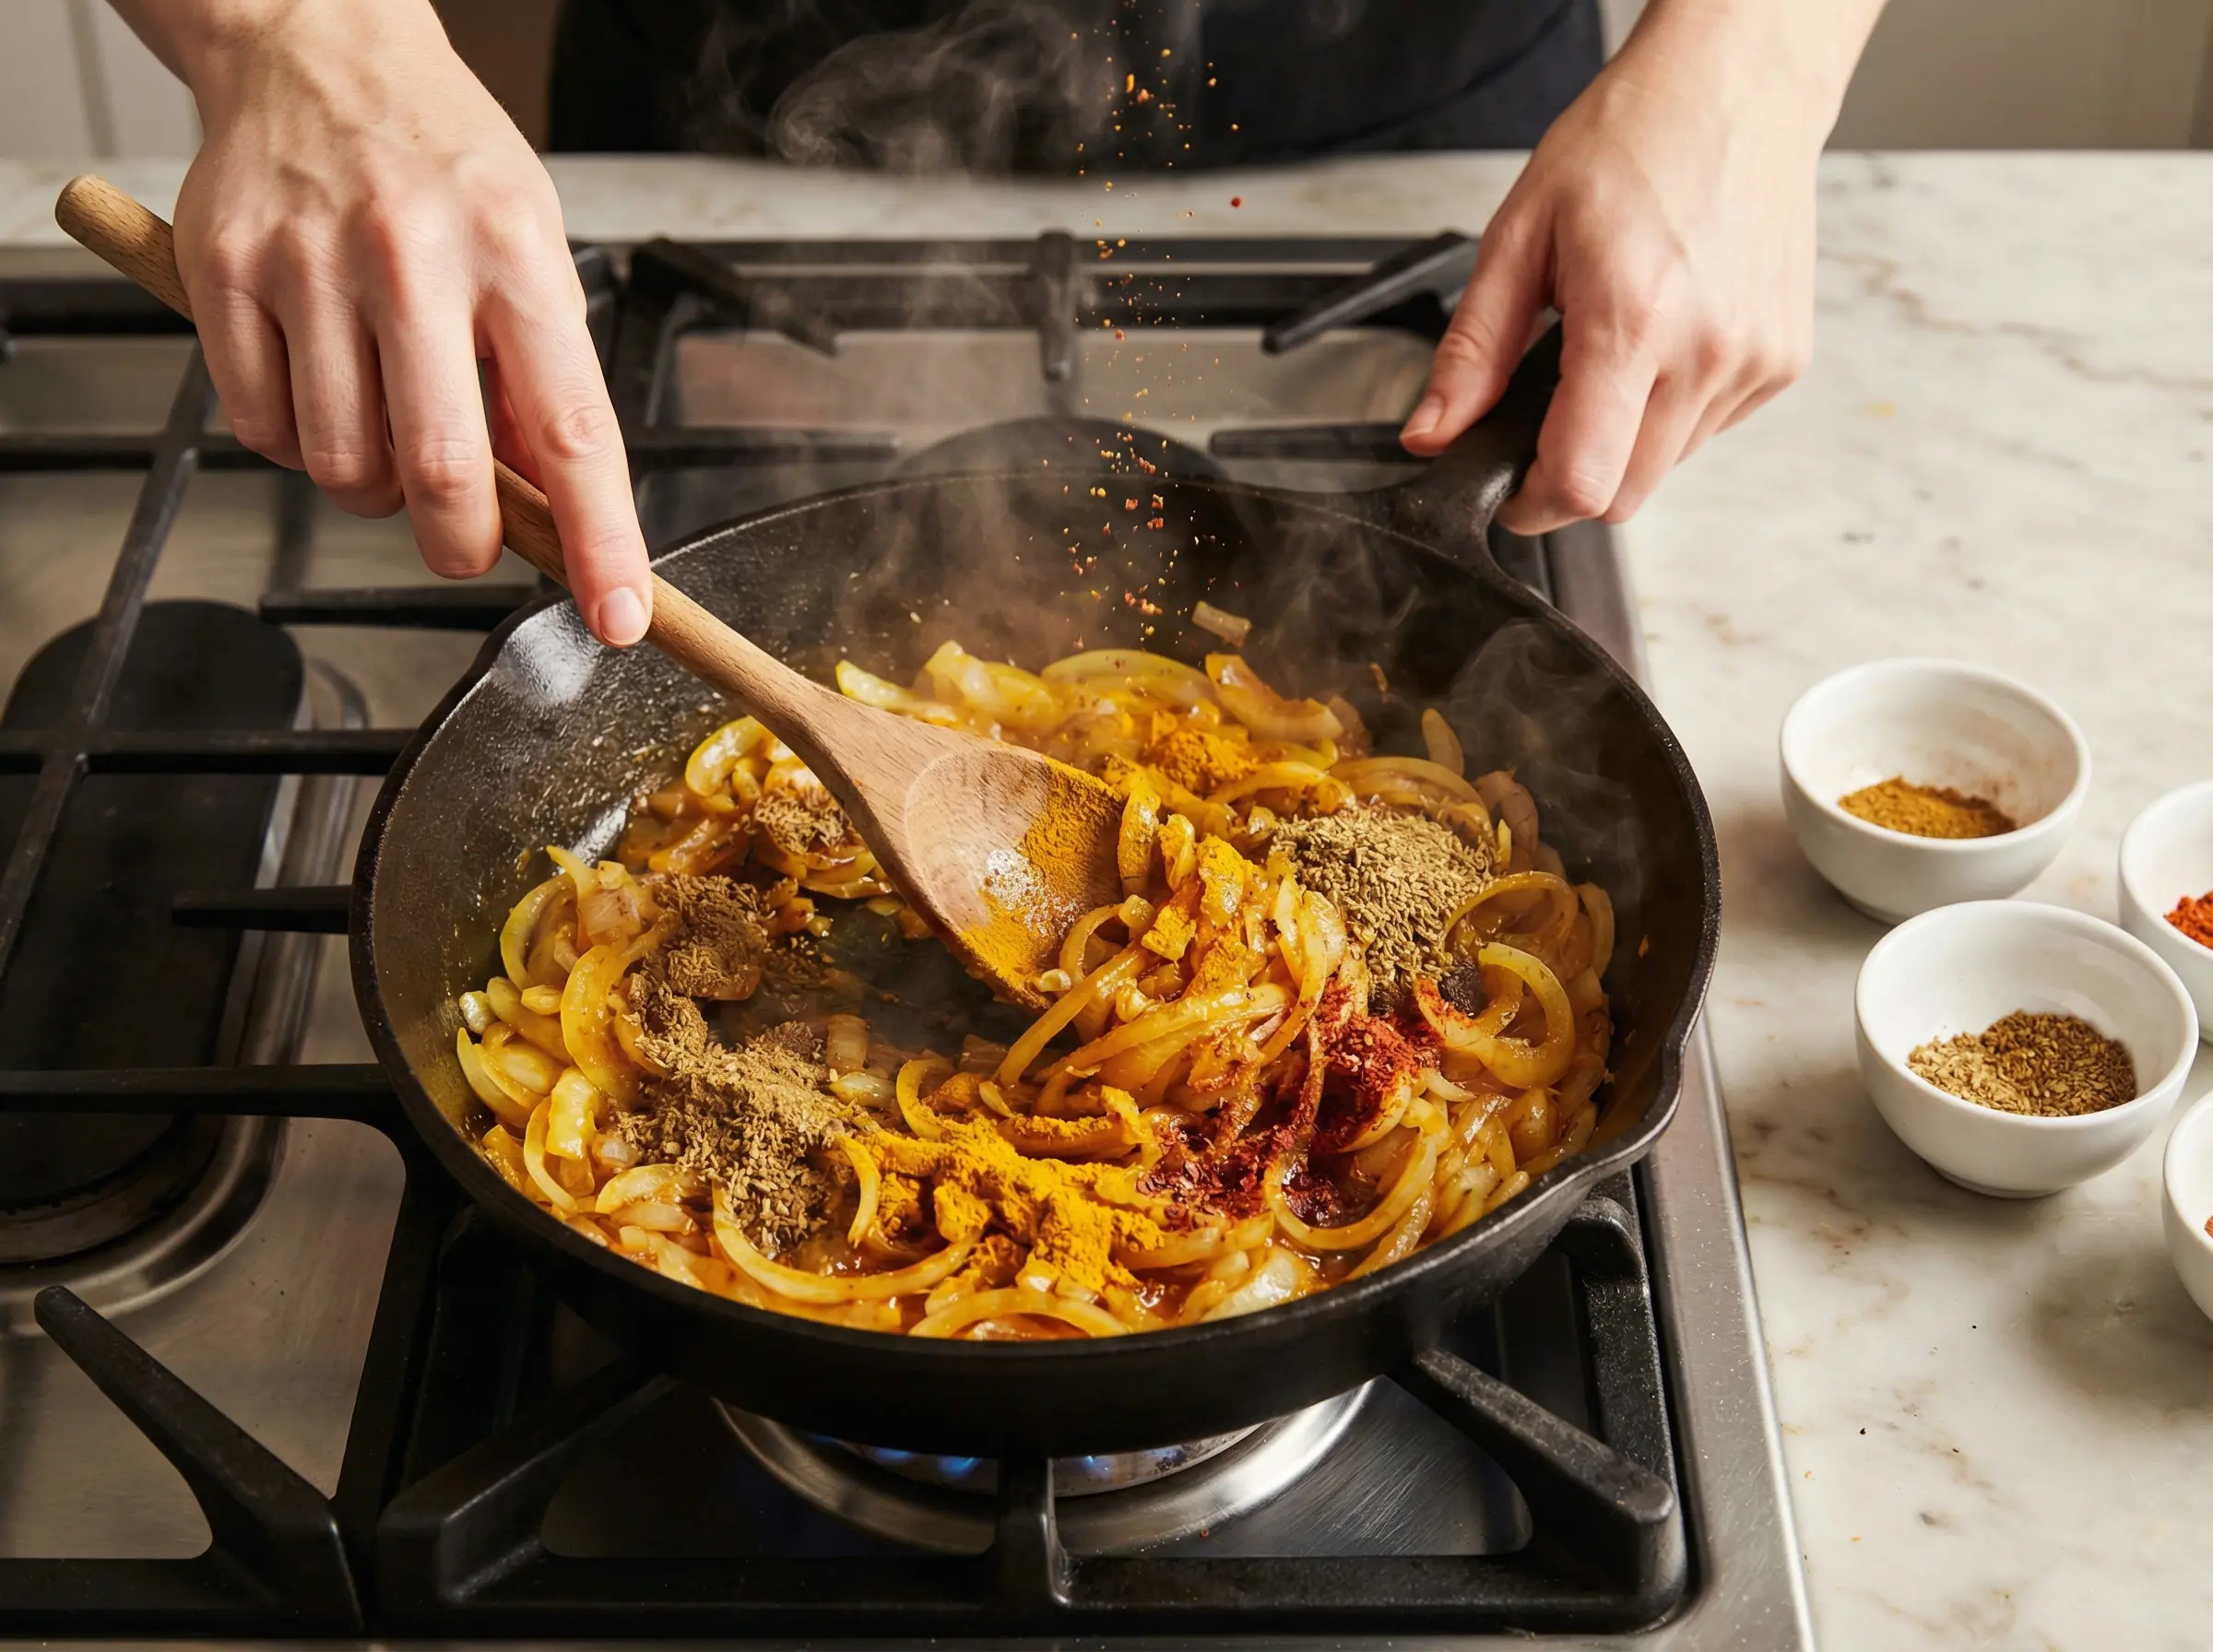
Step 3
Add all the ground spices - cumin, coriander, turmeric, garam masala, and cayenne pepper - to the onion mixture. Stir constantly for about 1 minute until the spices are fragrant and toasted. This step is called blooming the spices and it releases their essential oils and deepens their flavors. The mixture will become very aromatic and the spices will coat the onions. If the mixture seems dry and the spices are sticking to the pan, you can add a tablespoon of water to help them cook without burning. Do not skip this step - it makes a huge difference in the depth of flavor in your curry.
Step 4
Pour in the can of diced tomatoes with their juices and stir to combine with the spiced onion mixture. Let this simmer for 5-7 minutes, stirring occasionally, until the tomatoes break down and the mixture thickens into a rich, sauce-like consistency. The oil will start to separate from the tomato mixture and rise to the surface - this is a good sign that your masala base is ready. Use the back of your spoon to mash some of the tomato chunks if you prefer a smoother sauce. This tomato-spice mixture is the foundation of your curry and should be thick, dark, and deeply flavorful.
Step 5
Add the drained chickpeas and coconut milk to the pot, stirring everything together until well combined. The creamy coconut milk will lighten the color of the sauce and make it luxuriously rich. Add the salt and black pepper, then bring the curry to a gentle simmer. Reduce the heat to medium-low and let it simmer uncovered for 10-15 minutes, stirring occasionally. This allows the chickpeas to absorb the flavors of the sauce and gives the curry time to thicken. The chickpeas should be heated through and the sauce should coat the back of a spoon. If the curry seems too thick, add a splash of water; if too thin, simmer a bit longer to reduce the liquid.

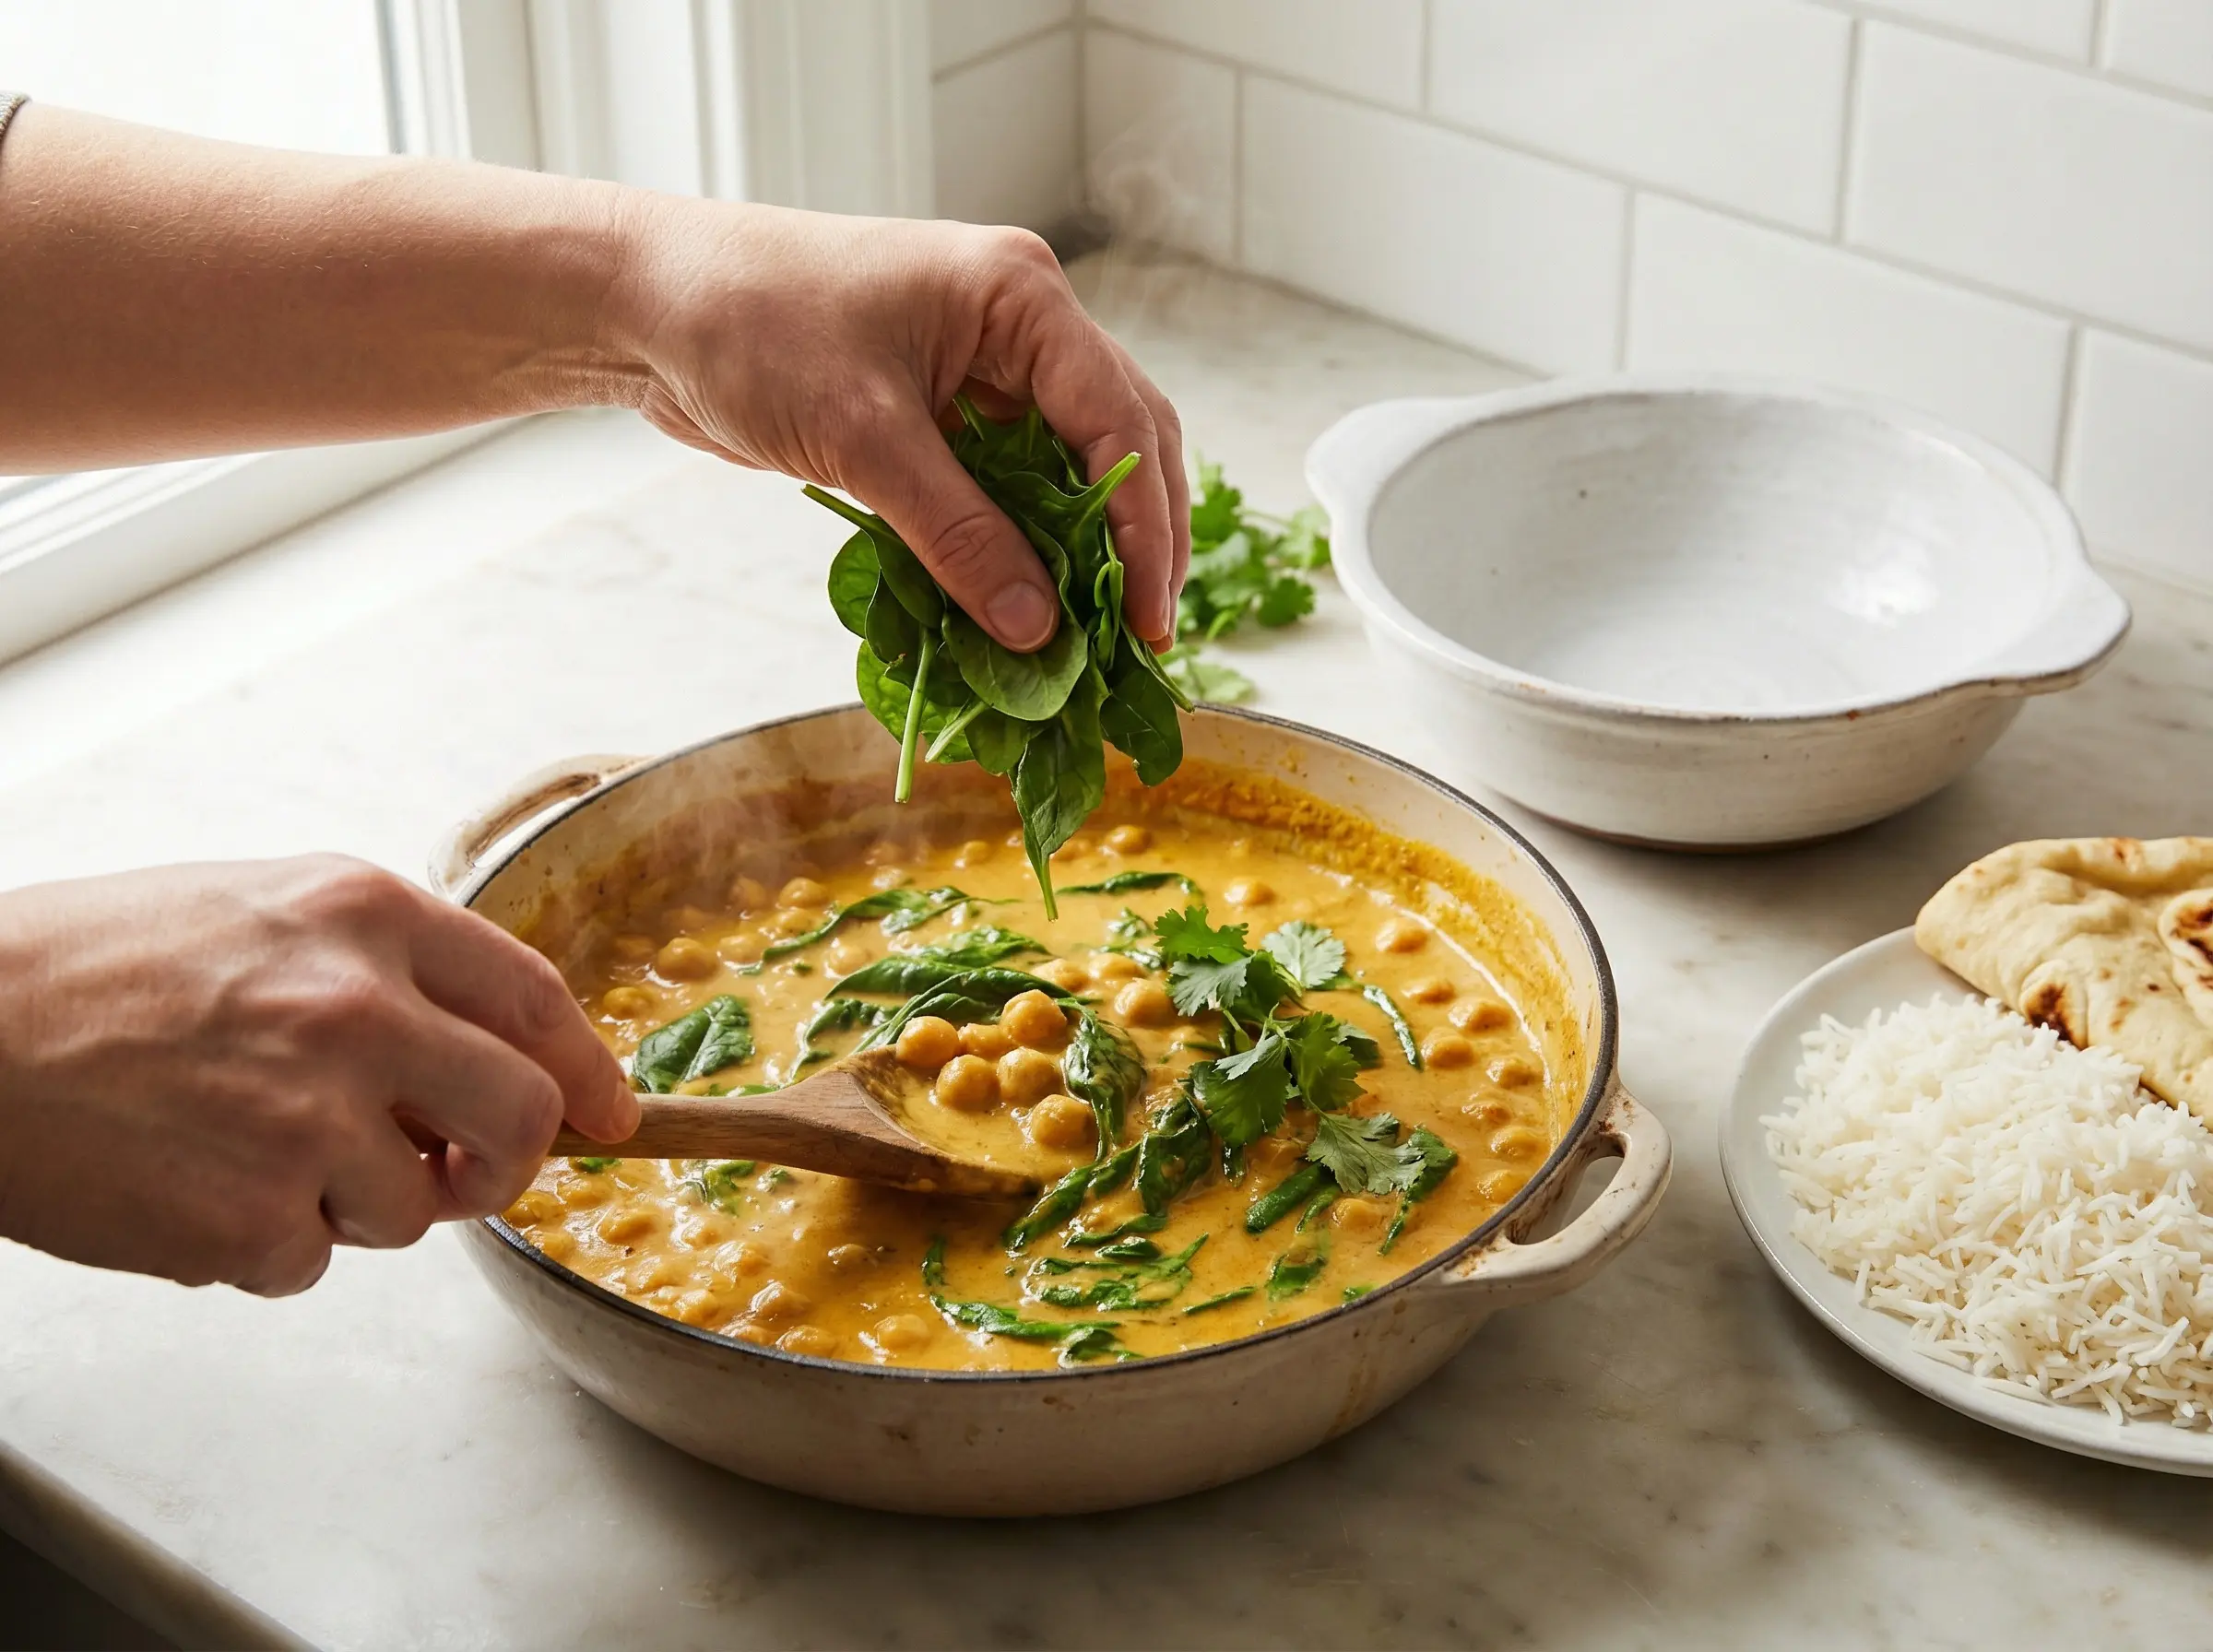
Step 6
Stir in the fresh spinach and let it wilt into the curry for about 2-3 minutes. The spinach adds color, nutrition, and a slight earthiness that complements the spices beautifully. Taste the curry and adjust seasonings as needed - you might want more salt, a squeeze of lemon juice for brightness, or an extra pinch of garam masala for depth. Remove from heat and garnish with fresh chopped cilantro. Serve hot over basmati rice, with warm naan bread for scooping, or with roti. This curry is even better the next day after the flavors have had time to meld, making it perfect for meal prep. Store in an airtight container in the refrigerator for up to 5 days or freeze for up to 3 months.
You Might Also Like