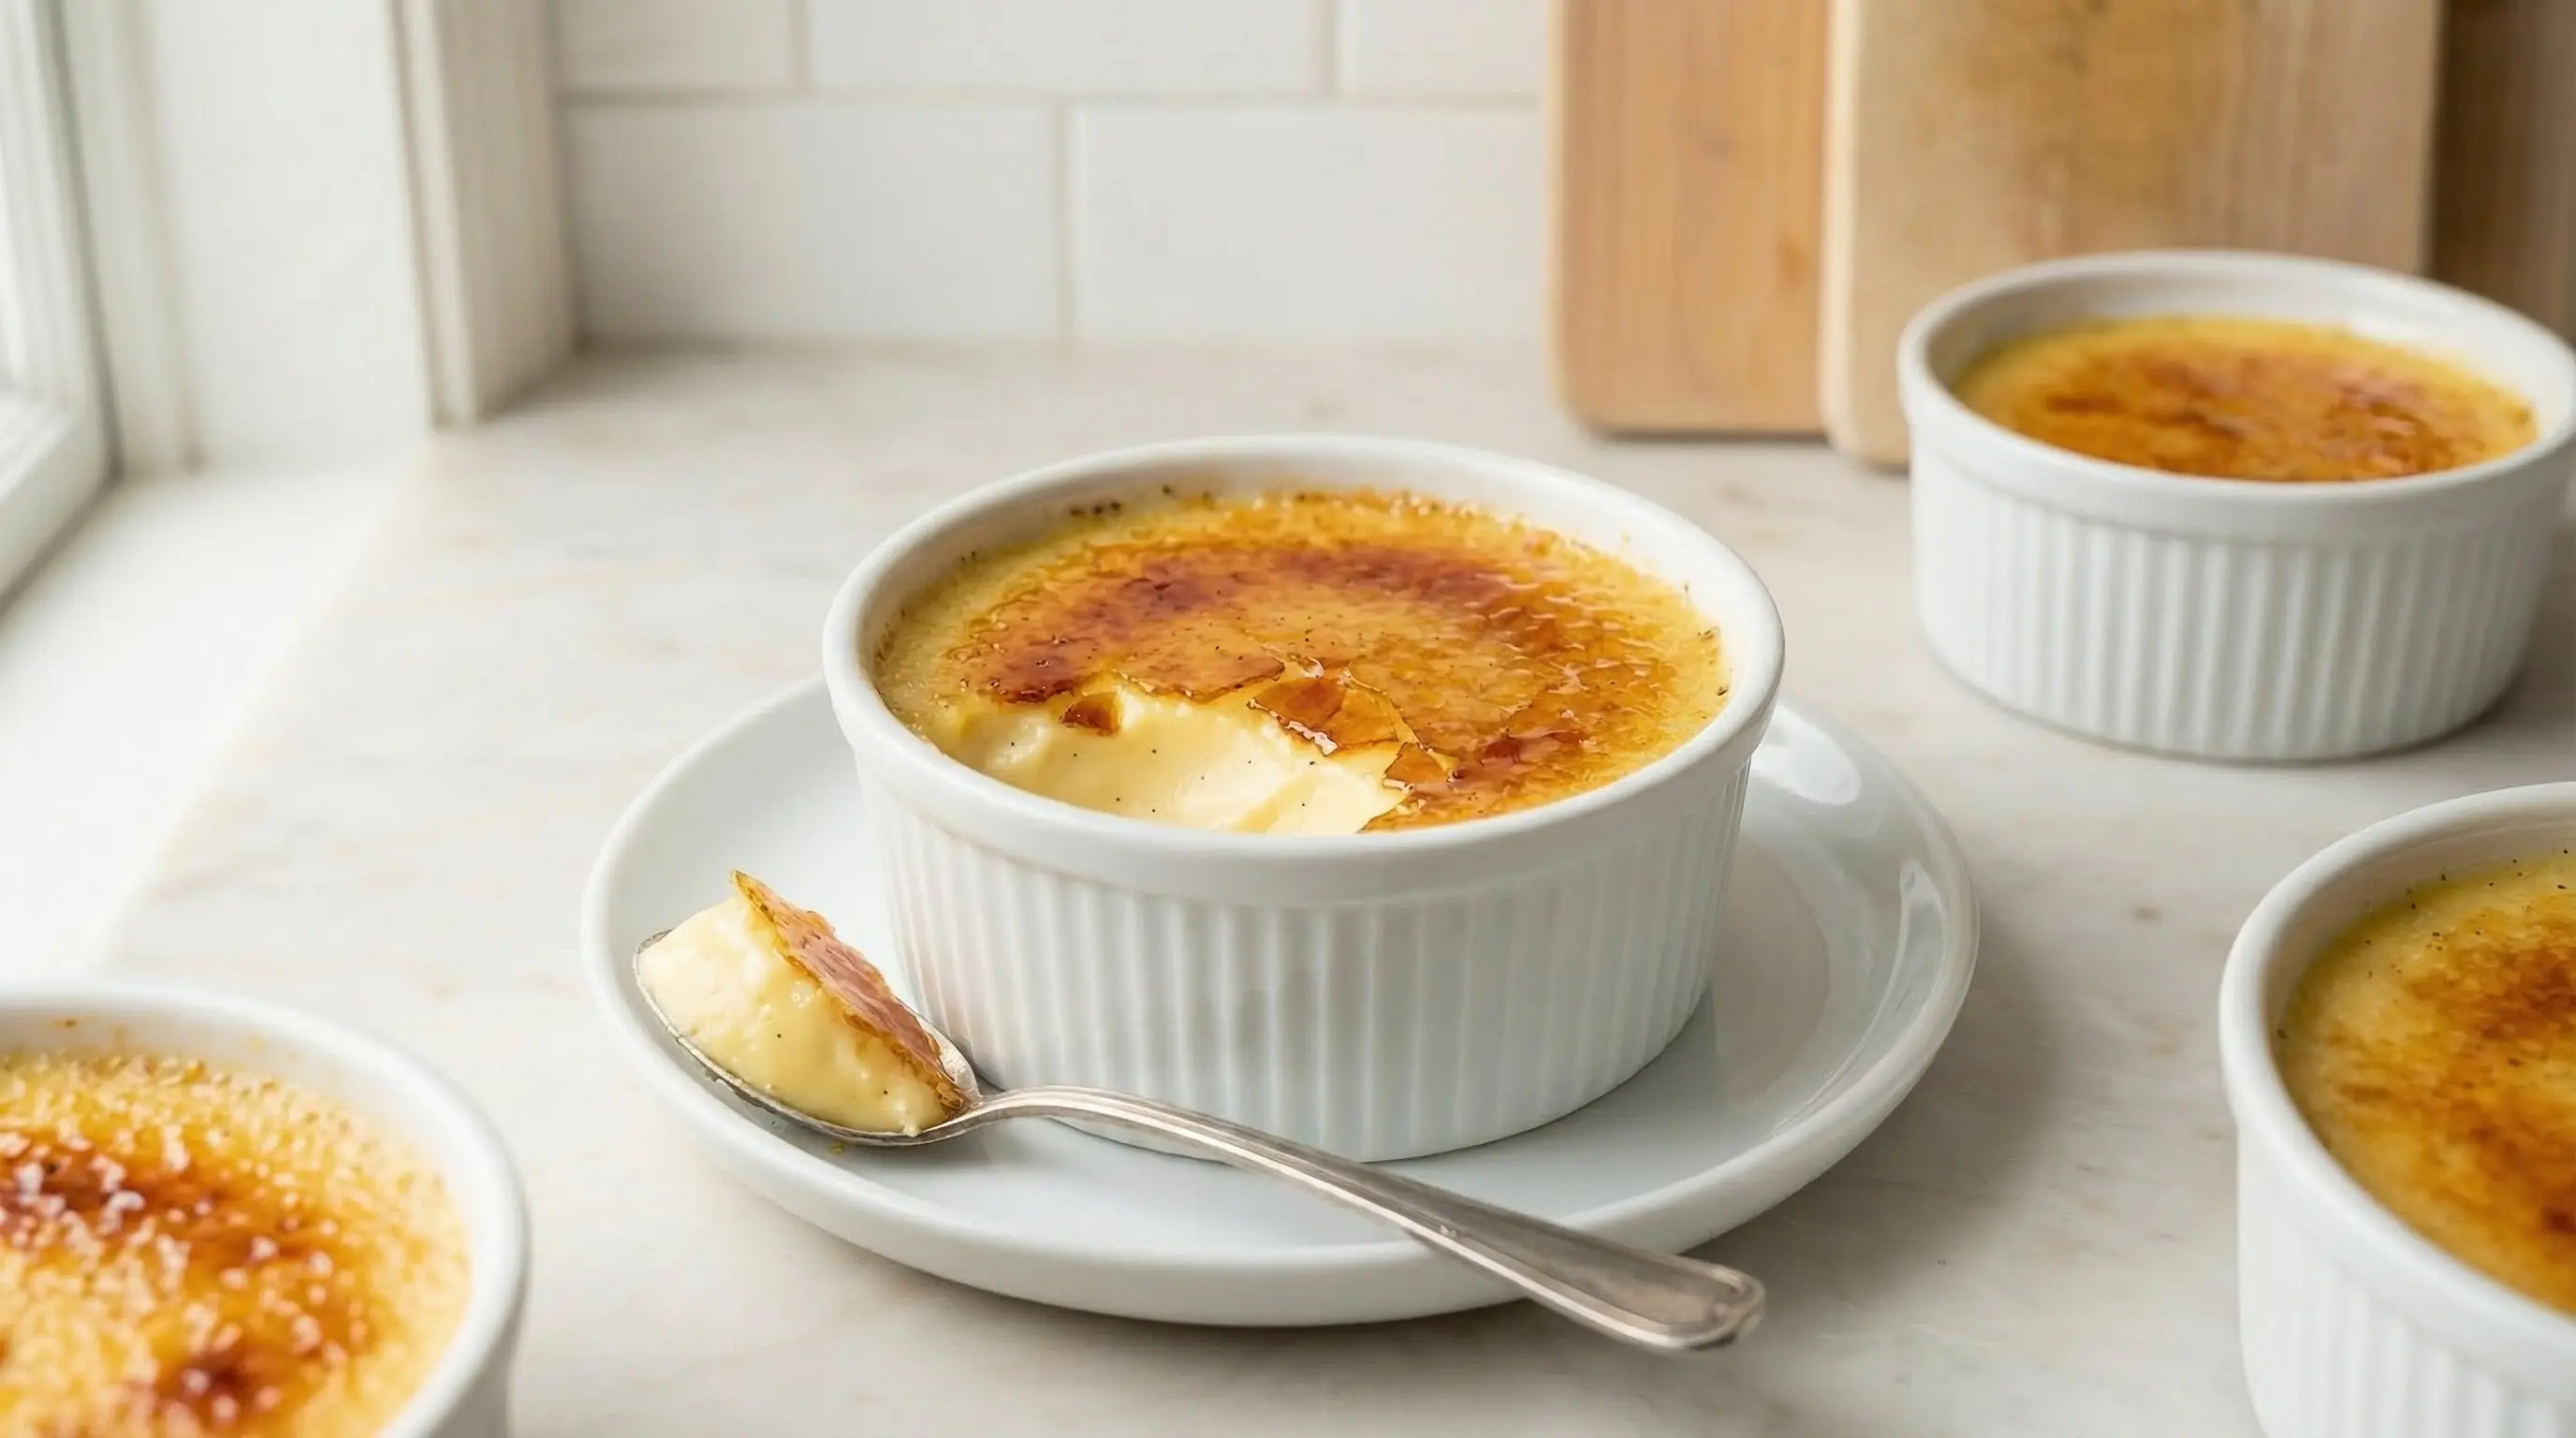
Creme Brulee
Learn how to make perfect creme brulee with silky vanilla custard and a shatteringly crisp caramelized sugar top. This elegant French dessert is easier than you think and impossibly delicious!
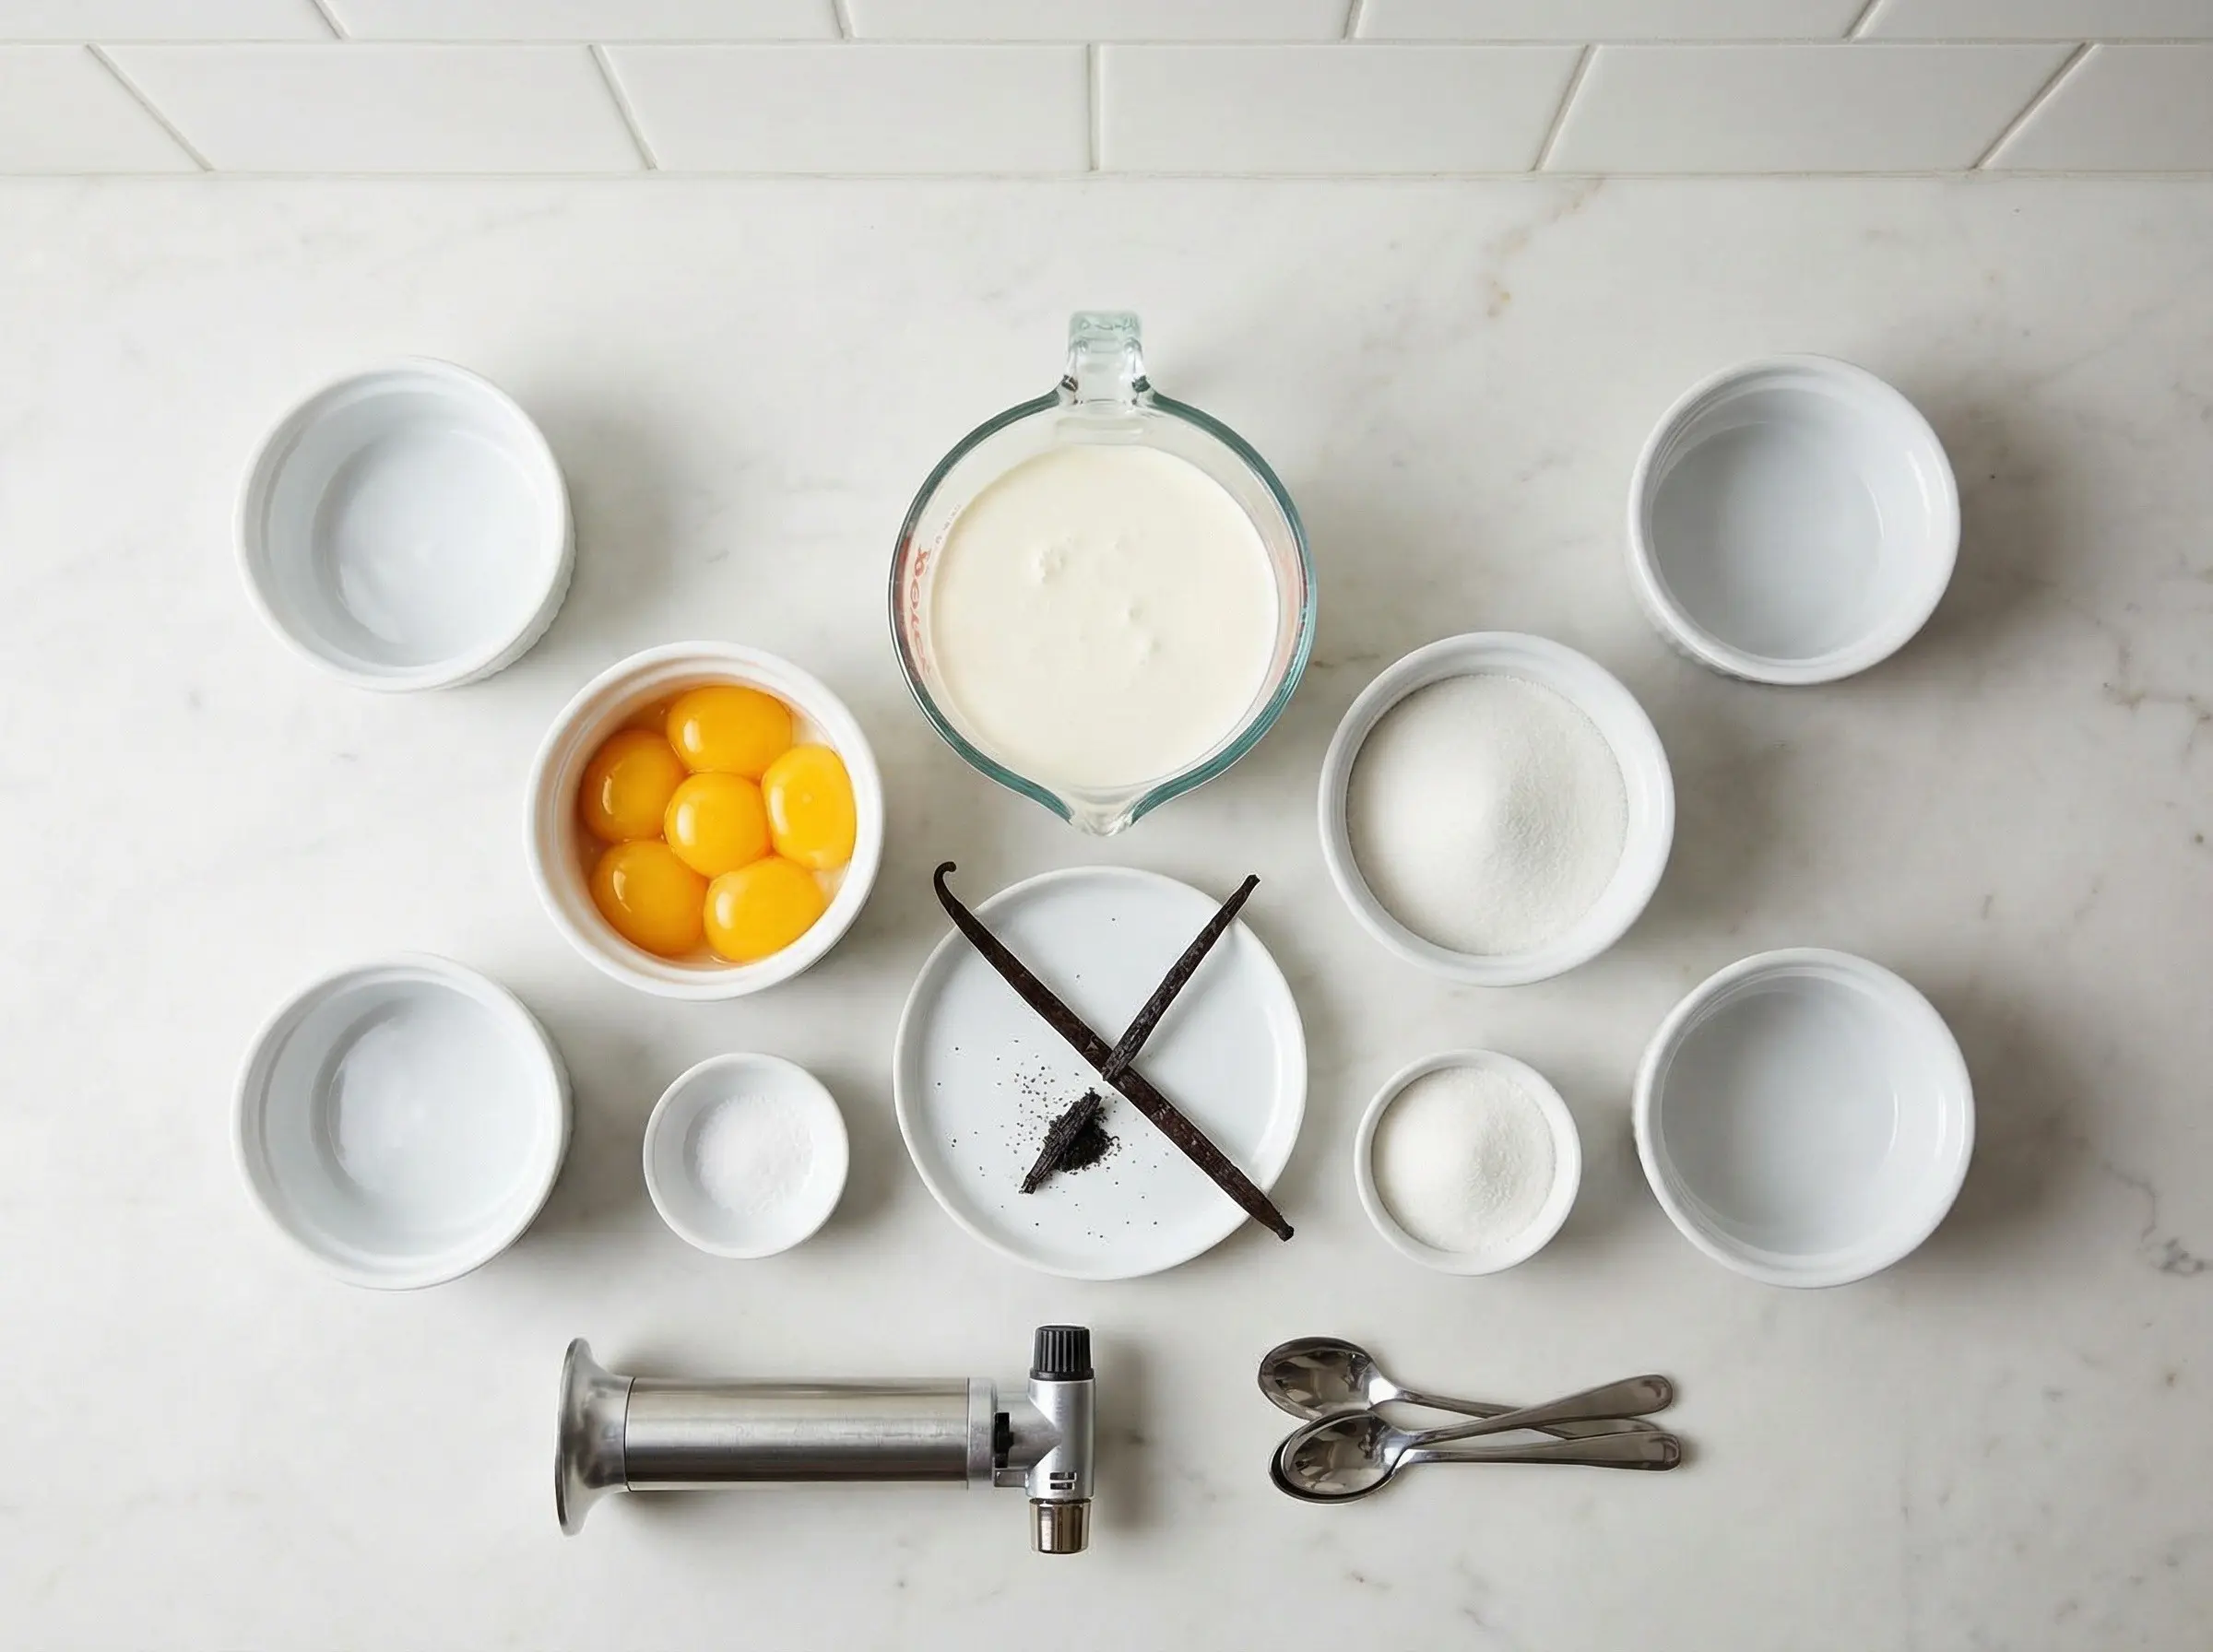
Ingredients
The Story
Creme brulee, meaning "burnt cream" in French, is one of the most beloved and elegant desserts in the world - a silky vanilla custard hidden beneath a thin, glassy layer of caramelized sugar that shatters at the tap of a spoon. The dessert's origins are hotly contested, with France, England, and Spain all claiming to have invented it. The earliest known recipe appears in a 1691 French cookbook by Francois Massialot, though the English claim their "Trinity cream" or "Cambridge burnt cream" predates it, supposedly served at Trinity College Cambridge as early as the 17th century. Spain offers crema catalana, a similar custard torched with sugar that they insist came first. Regardless of its true birthplace, creme brulee as we know it today is firmly associated with French cuisine and has become a staple of fine dining restaurants worldwide. The dessert experienced a massive surge in popularity during the 1980s when it became the signature finale of nouvelle cuisine restaurants. Chefs embraced it for its elegant simplicity and theatrical presentation - the moment when the server caramelizes the sugar tableside with a blowtorch became a dining room spectacle. The contrast between the cool, creamy custard and the warm, crackling sugar created a sensory experience unlike any other dessert. This popularity has endured, and creme brulee remains a fixture on dessert menus from Paris bistros to neighborhood restaurants around the globe. Home cooks initially found it intimidating, but the advent of affordable kitchen torches has made this restaurant classic accessible to anyone. What makes creme brulee so extraordinary is the interplay of textures and temperatures in every spoonful. The sugar topping must be thin enough to shatter like glass but thick enough to provide satisfying crunch - achieving this requires the right technique and timing. The custard beneath should be impossibly silky, with a wobble that suggests richness rather than firmness, flavored simply with vanilla to let the cream shine. When your spoon breaks through that caramelized barrier and plunges into the cold, quivering custard beneath, the combination of hot and cold, crunchy and creamy, sweet and eggy creates one of pastry's most perfect bites. It is a dessert of contrasts harmonized, and mastering it feels like unlocking one of cooking's great secrets.
Instructions
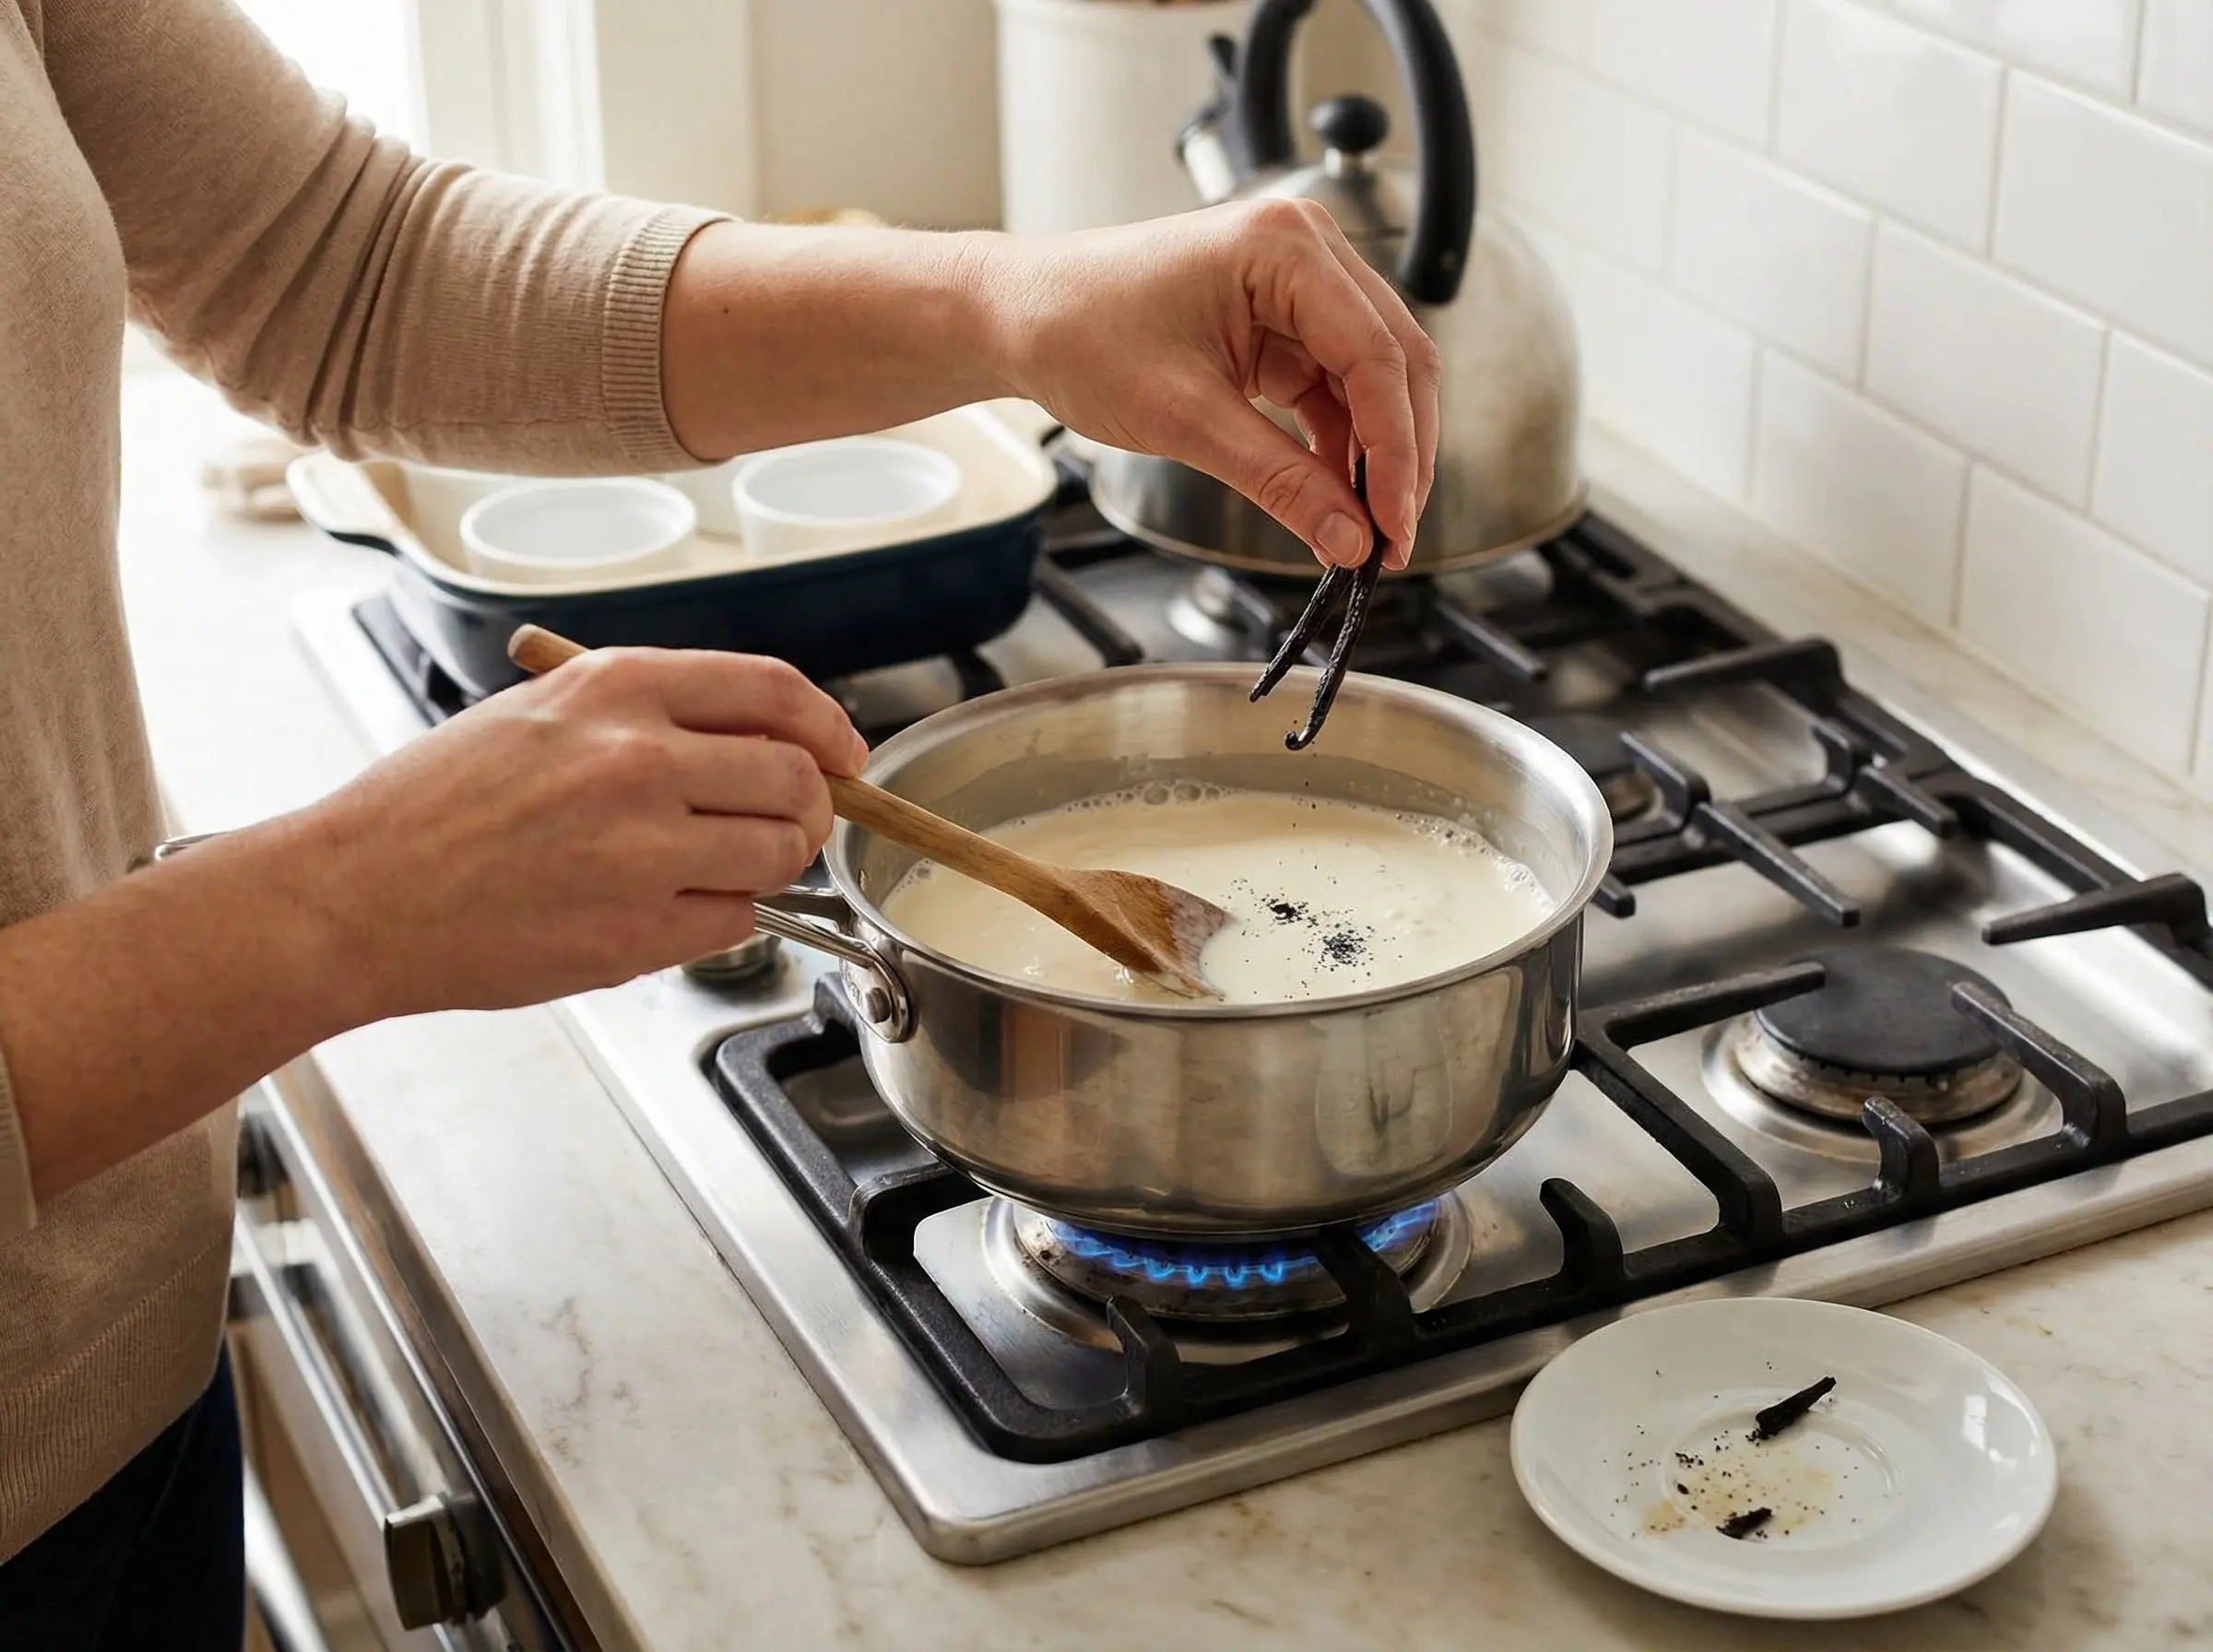
Step 1
Preheat your oven to 325 degrees F and arrange 4-6 ramekins (depending on size - 6 oz ramekins yield 6 servings, 8 oz yield 4) in a deep baking dish or roasting pan. Bring a kettle of water to a boil - you will need this for the water bath later. In a medium saucepan, combine the heavy cream with the vanilla bean and its scraped seeds (or add the vanilla extract later if using). Heat over medium heat until the cream just begins to simmer and small bubbles form around the edges. Do not let it boil. Remove from heat, cover, and let the vanilla steep for 15 minutes to infuse the cream with maximum flavor.
Step 2
While the cream infuses, prepare the egg yolk mixture. In a large bowl, whisk together the egg yolks, sugar, and salt until the mixture is pale yellow and slightly thickened, about 2 minutes. This dissolves the sugar and begins to incorporate air, which contributes to a smoother custard. Do not overbeat or you will create too many bubbles that will mar the surface of the finished custard. The mixture should be smooth, thick, and fall in ribbons from the whisk.
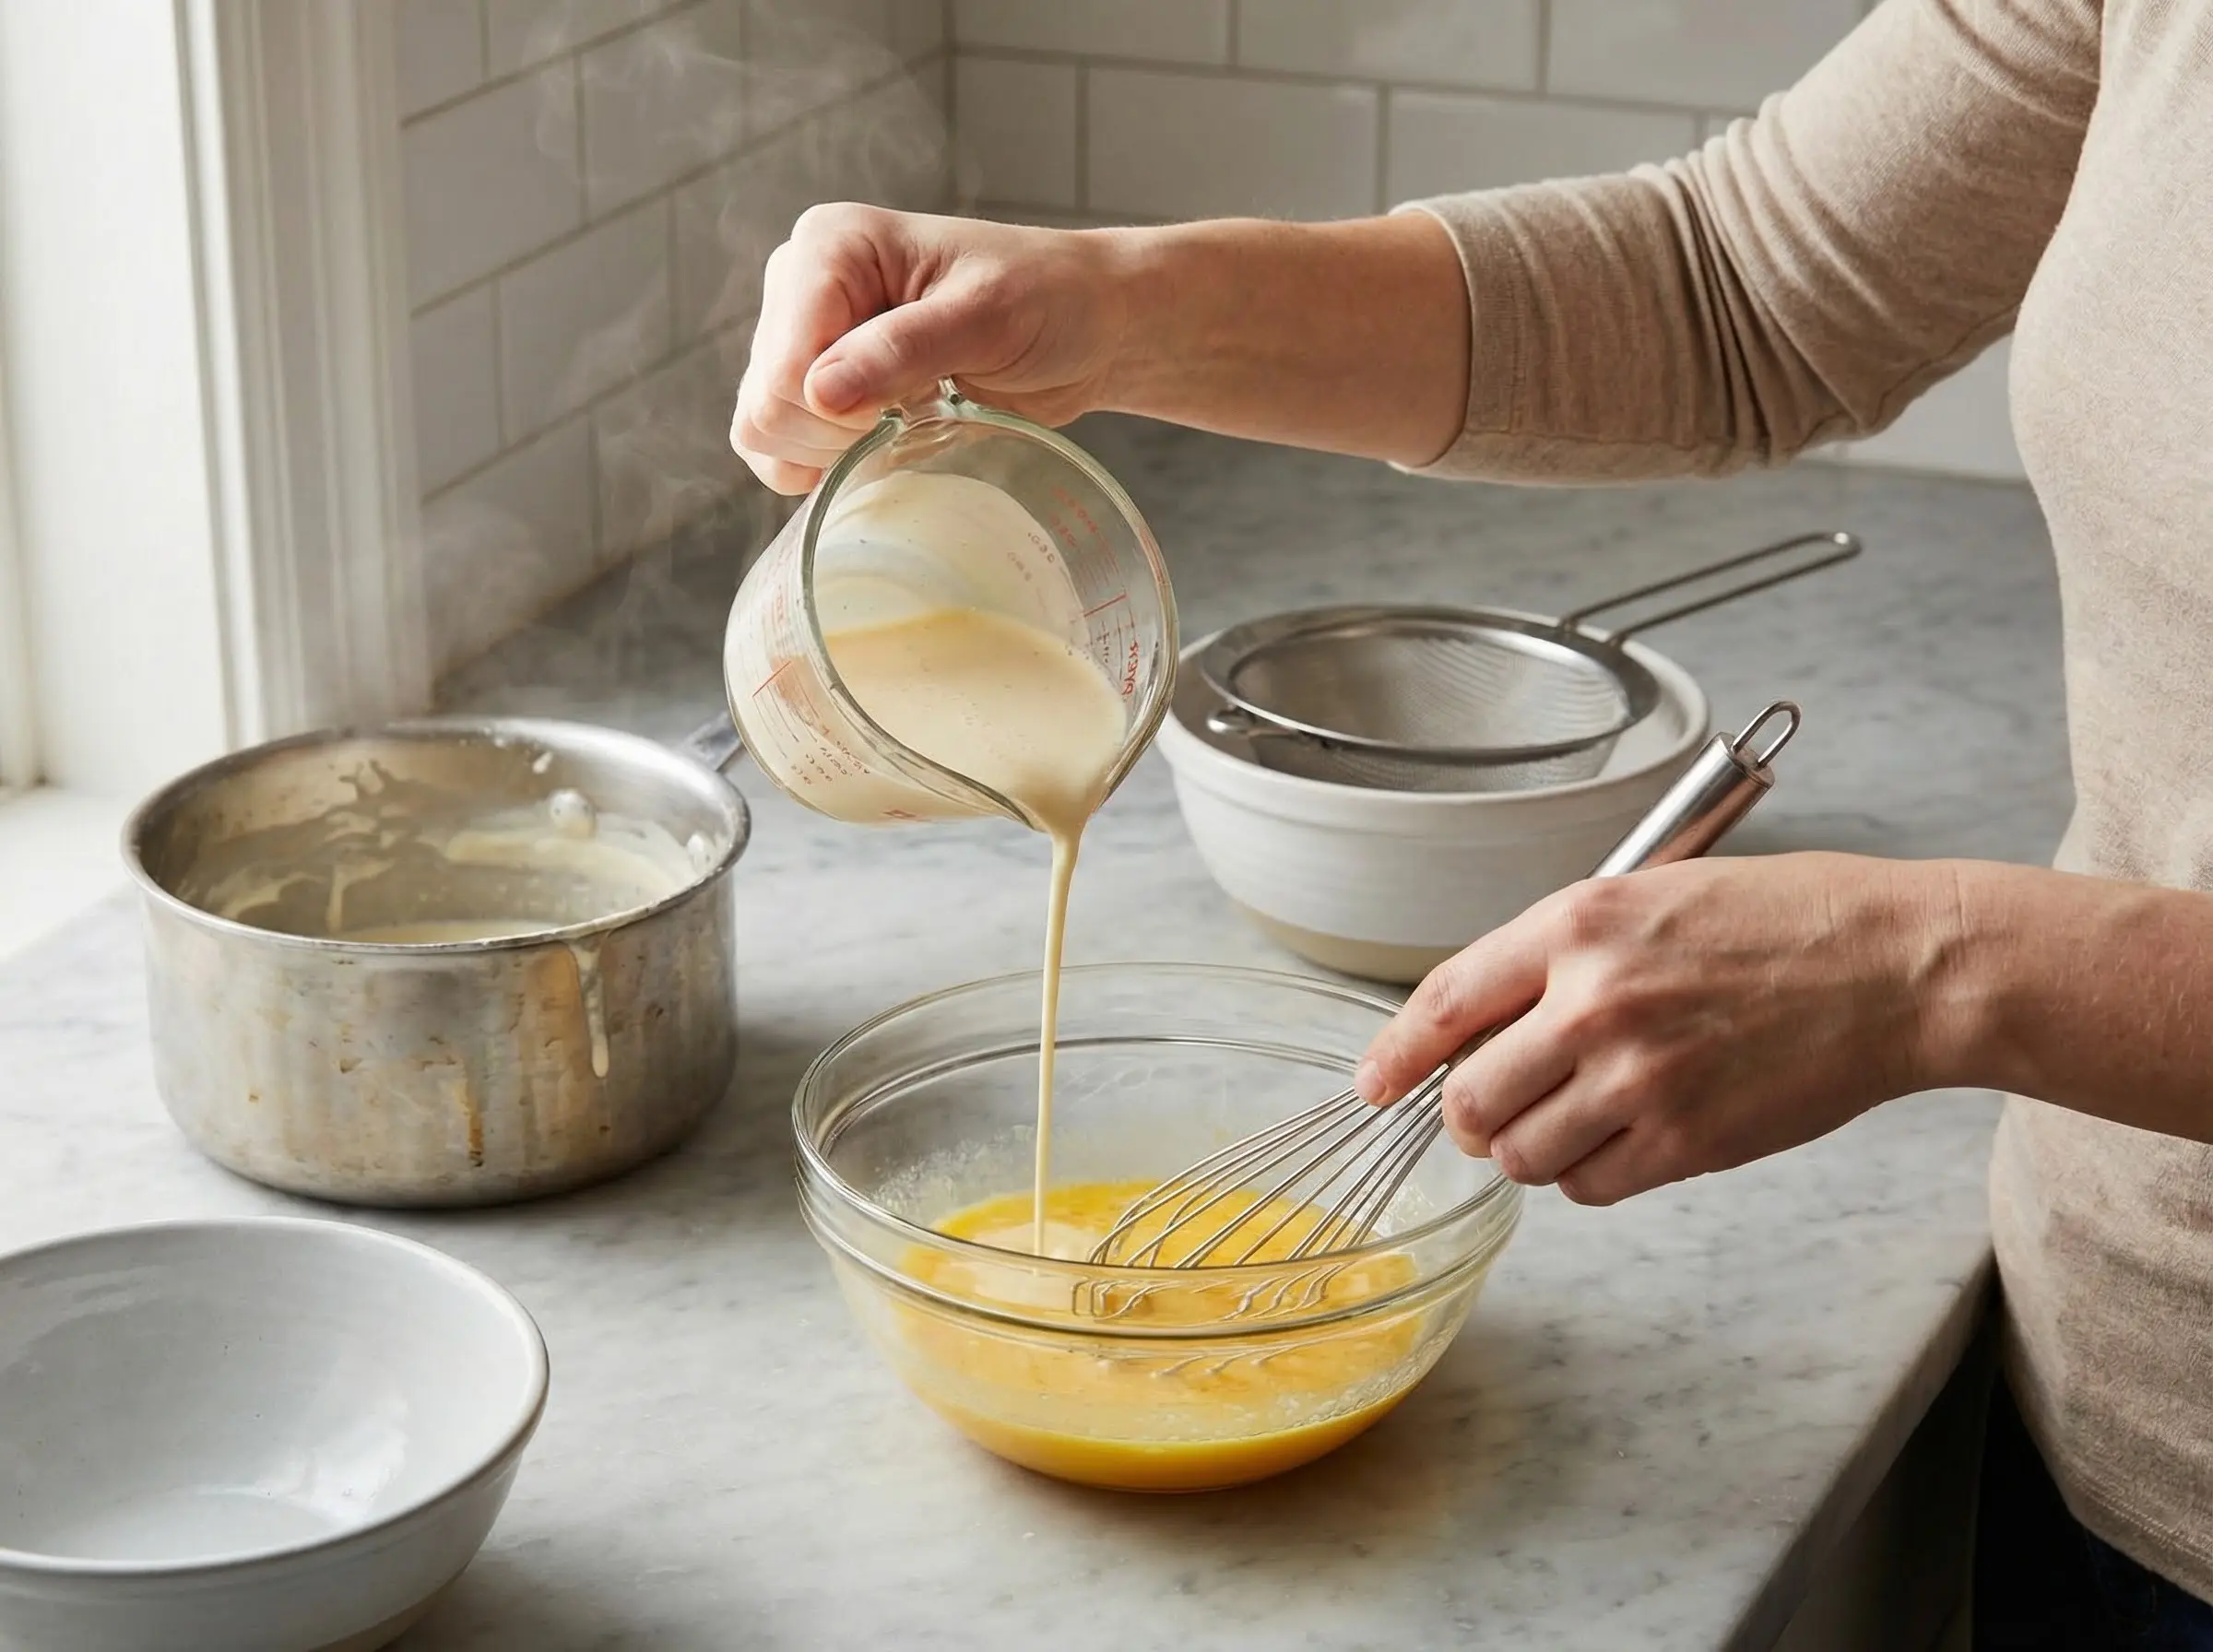
Step 3
Temper the egg yolks by slowly adding the warm cream. Remove the vanilla bean from the cream if used (you can rinse, dry, and save it for vanilla sugar). Very slowly drizzle about half the warm cream into the egg yolk mixture while whisking constantly. This gradual addition raises the temperature of the eggs slowly, preventing them from scrambling. Once half the cream is incorporated, whisk in the remaining cream. If using vanilla extract instead of a bean, add it now. For the silkiest texture, strain the custard through a fine-mesh strainer into a clean bowl or large measuring cup to remove any bits of cooked egg or vanilla bean fibers.
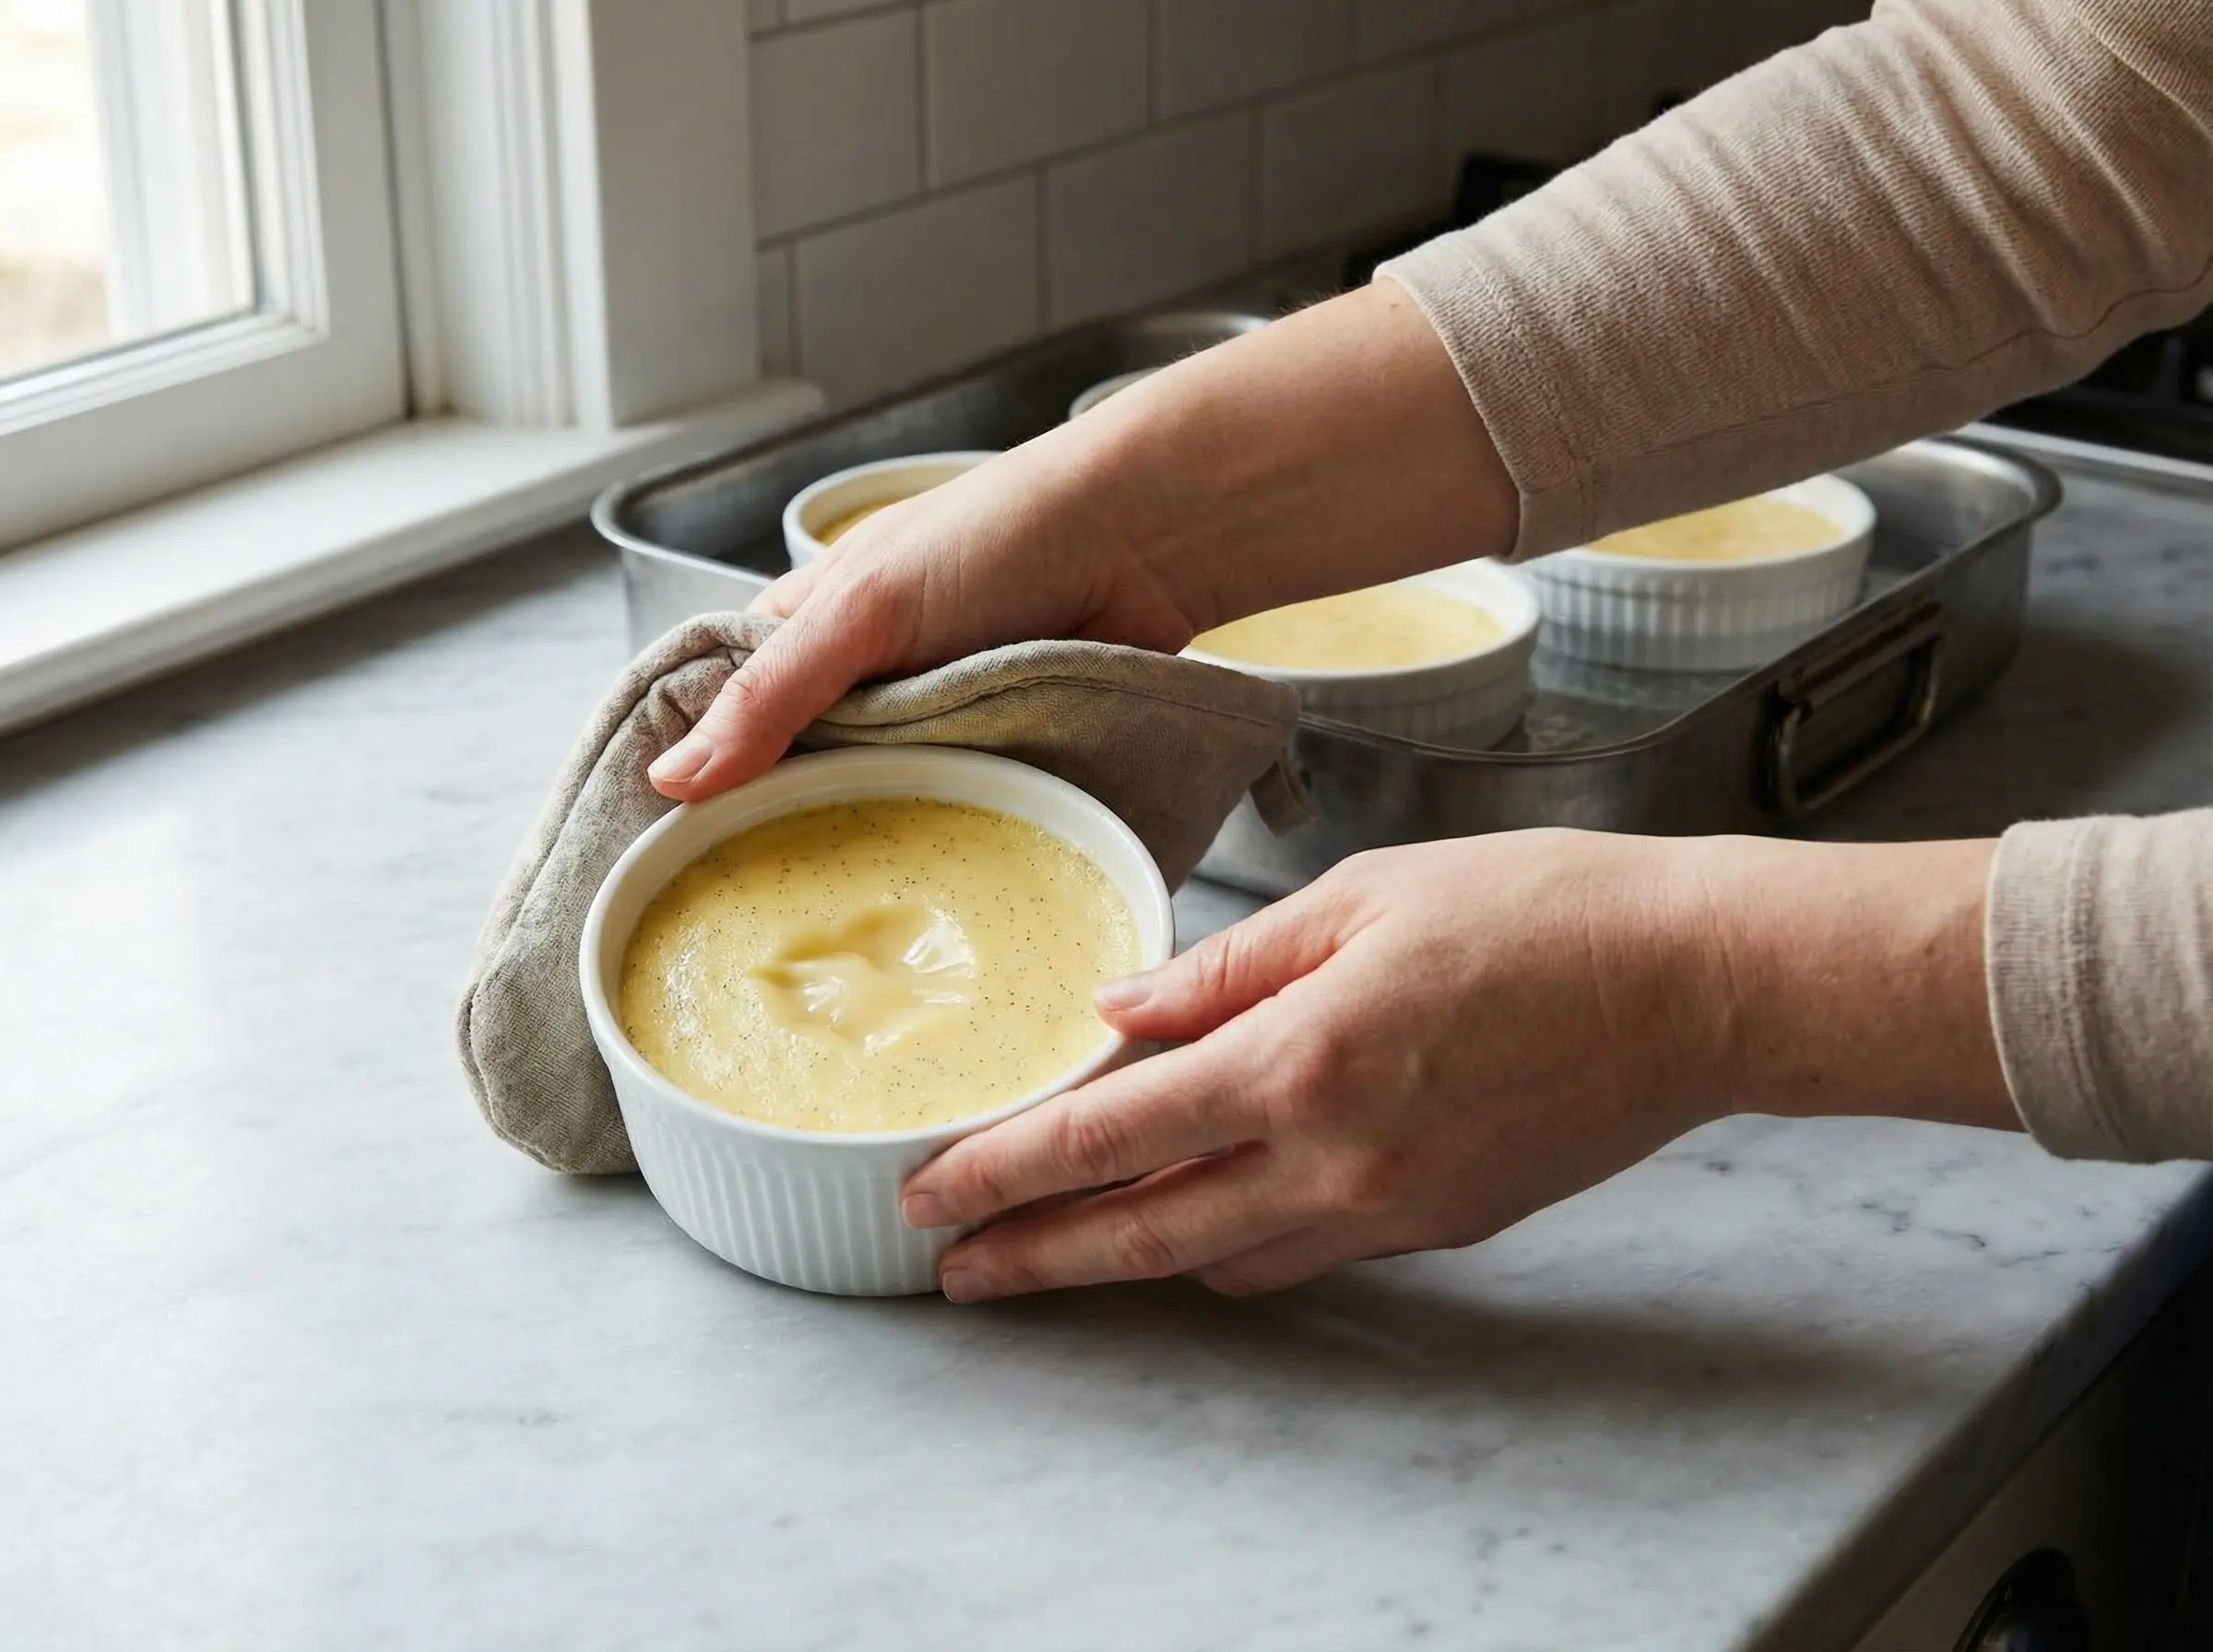
Step 4
Divide the custard evenly among the ramekins. Skim any bubbles from the surface with a spoon - this ensures a perfectly smooth top after baking. Place the baking dish with ramekins on the oven rack (pulled out slightly for stability). Carefully pour the hot water from the kettle into the baking dish, creating a water bath that comes halfway up the sides of the ramekins. The water bath ensures gentle, even cooking and prevents the custards from cracking or becoming rubbery. Carefully slide the rack back into the oven.
Step 5
Bake for 40-50 minutes until the custards are set around the edges but still have a visible wobble in the center - they should jiggle like gelatin when gently shaken, not wave like liquid. The center will continue to set as they cool. Begin checking at 40 minutes; smaller ramekins cook faster than larger ones. Remove the baking dish from the oven and let the ramekins cool in the water bath for 15-20 minutes. Remove from the water, cover each ramekin with plastic wrap (without touching the surface), and refrigerate for at least 4 hours or overnight. The custards must be completely chilled before torching - warm custard will not provide the necessary contrast.
Step 6
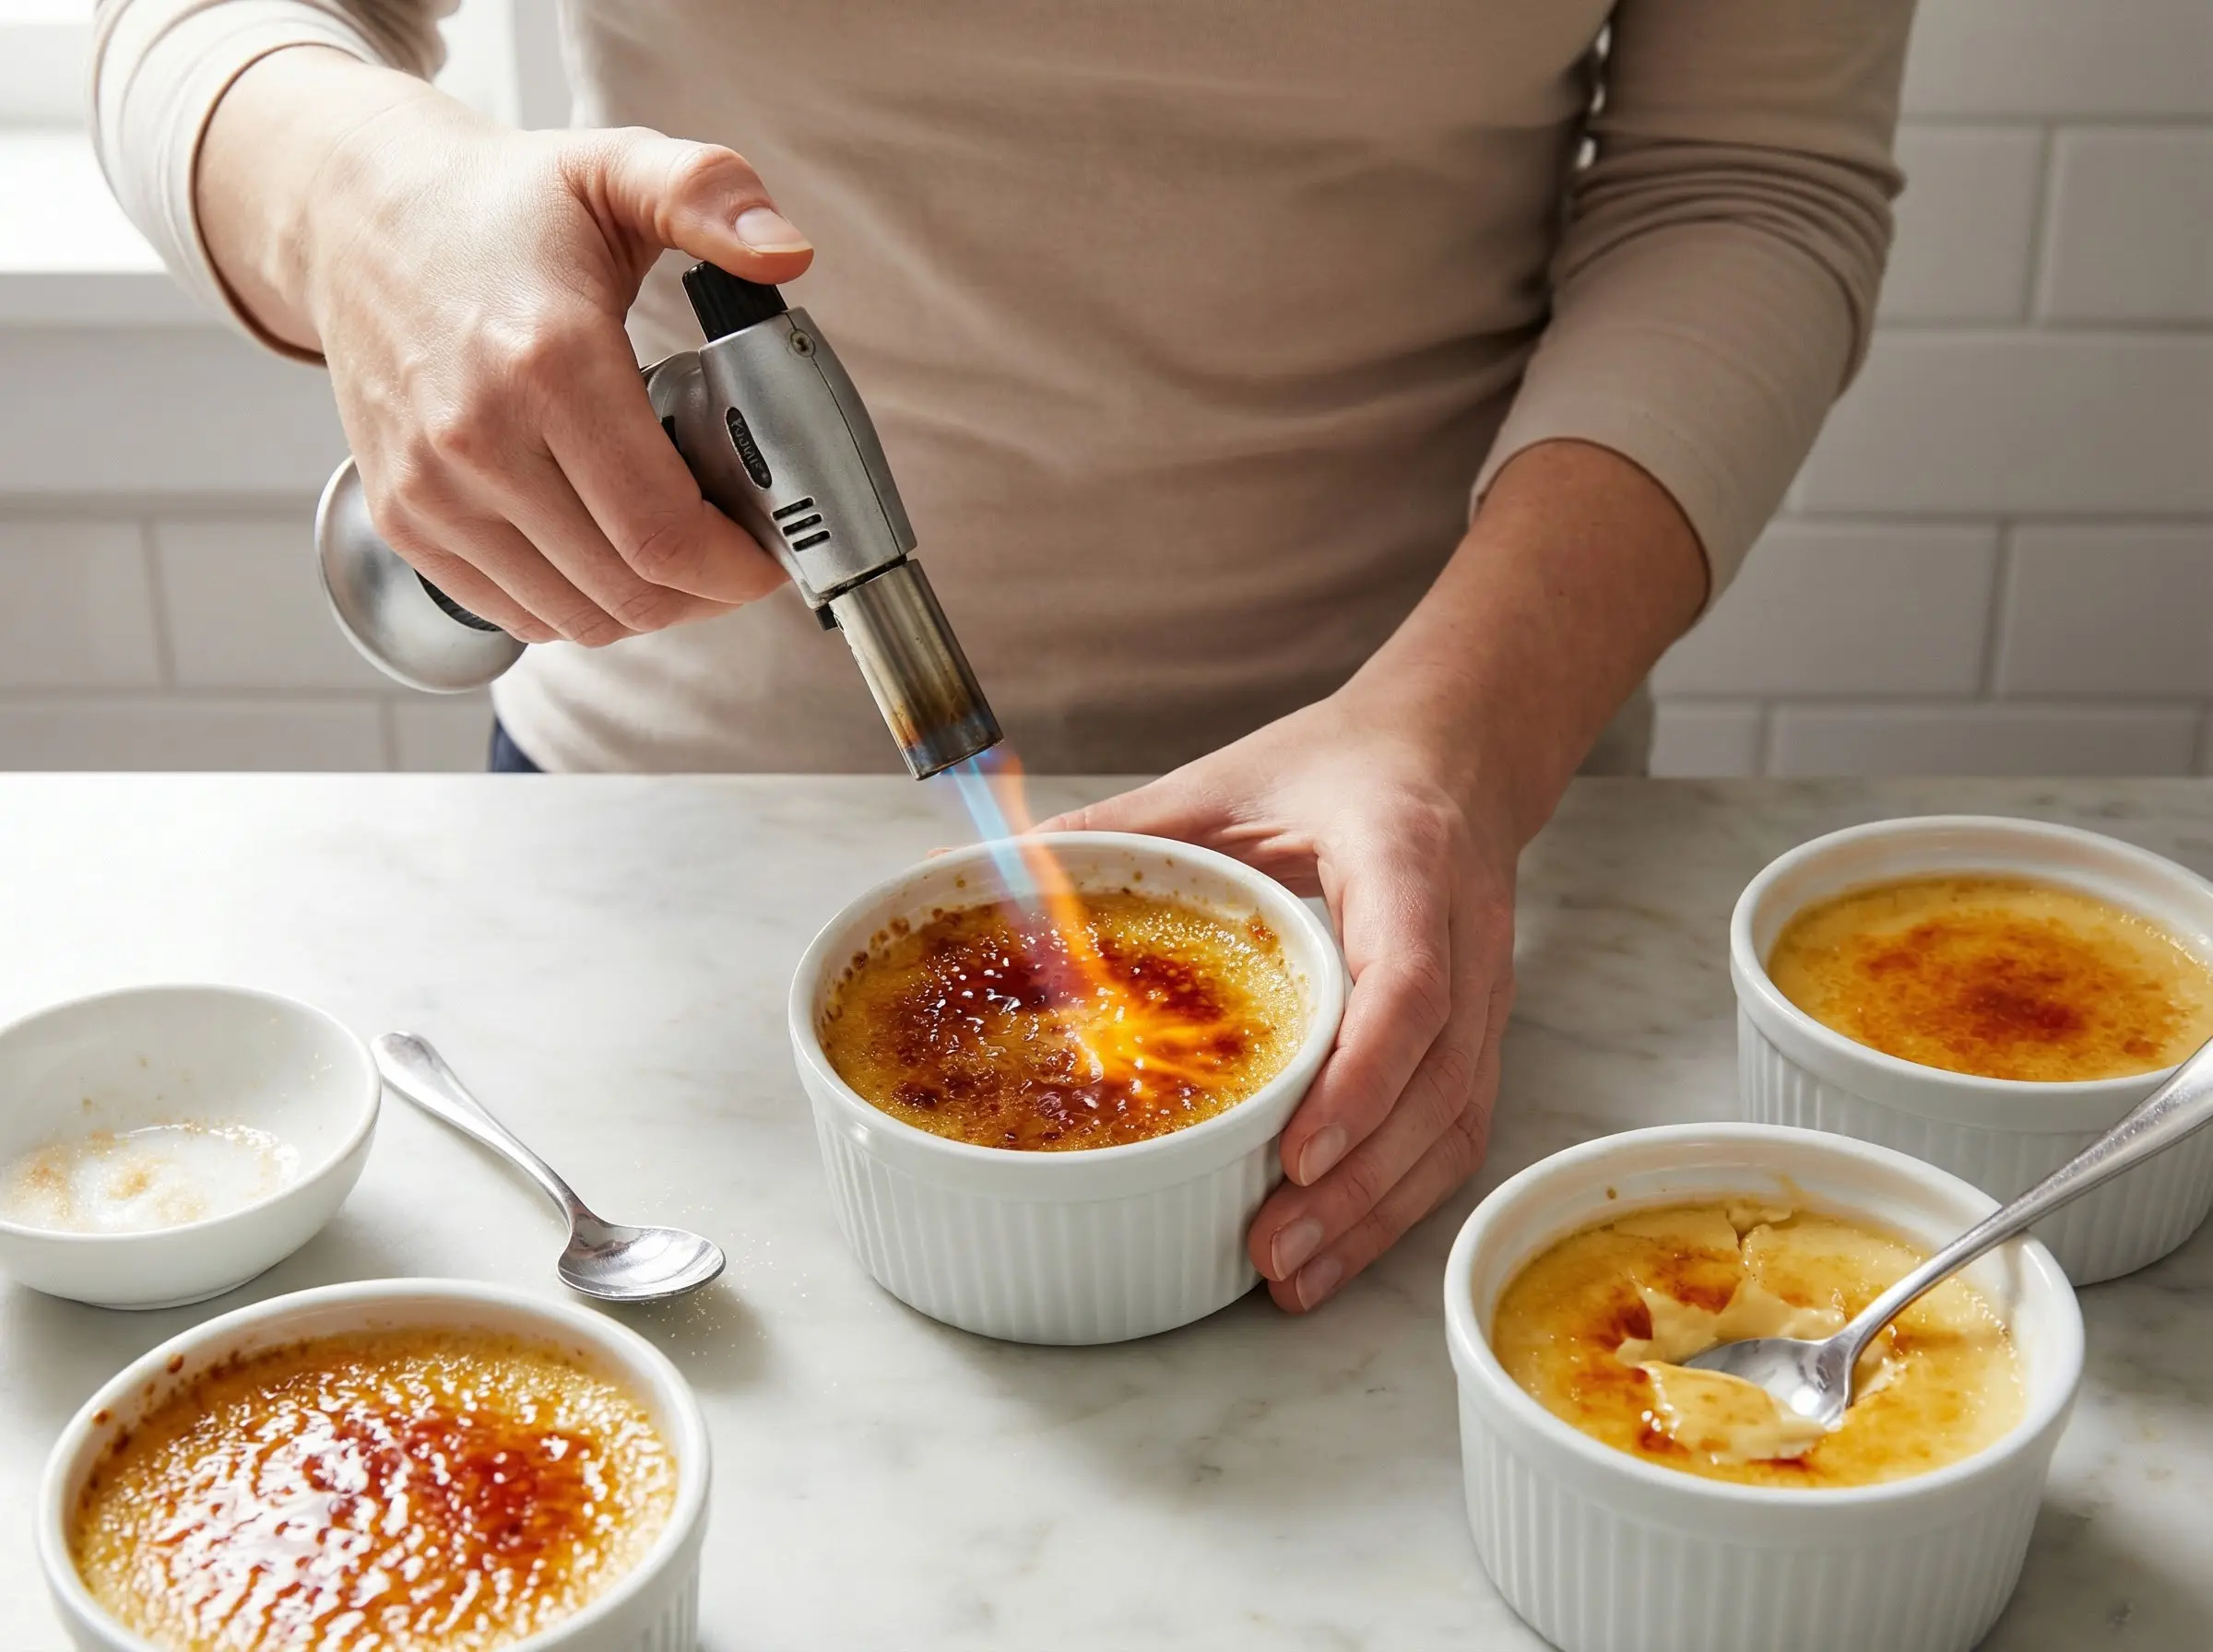
Just before serving, create the brulee topping. Remove the custards from the refrigerator and blot any moisture from the surface with a paper towel. Sprinkle 1-2 teaspoons of superfine sugar evenly over each custard, tilting and rotating the ramekin to create a thin, even layer. Tap out any excess - the sugar layer should be thin and uniform. Using a kitchen torch, hold the flame 2-3 inches from the surface and move it in small circles, heating the sugar until it melts, bubbles, and turns amber-brown. Work from the edges toward the center. The sugar will harden into a crisp shell within seconds. Let the brulee sit for 1-2 minutes to allow the sugar to fully harden before serving - but serve within 10-15 minutes or the sugar will begin to soften and turn sticky from the cold custard beneath. Present each creme brulee with a small spoon and invite your guests to tap through the caramelized top - the crack is half the pleasure.
You Might Also Like