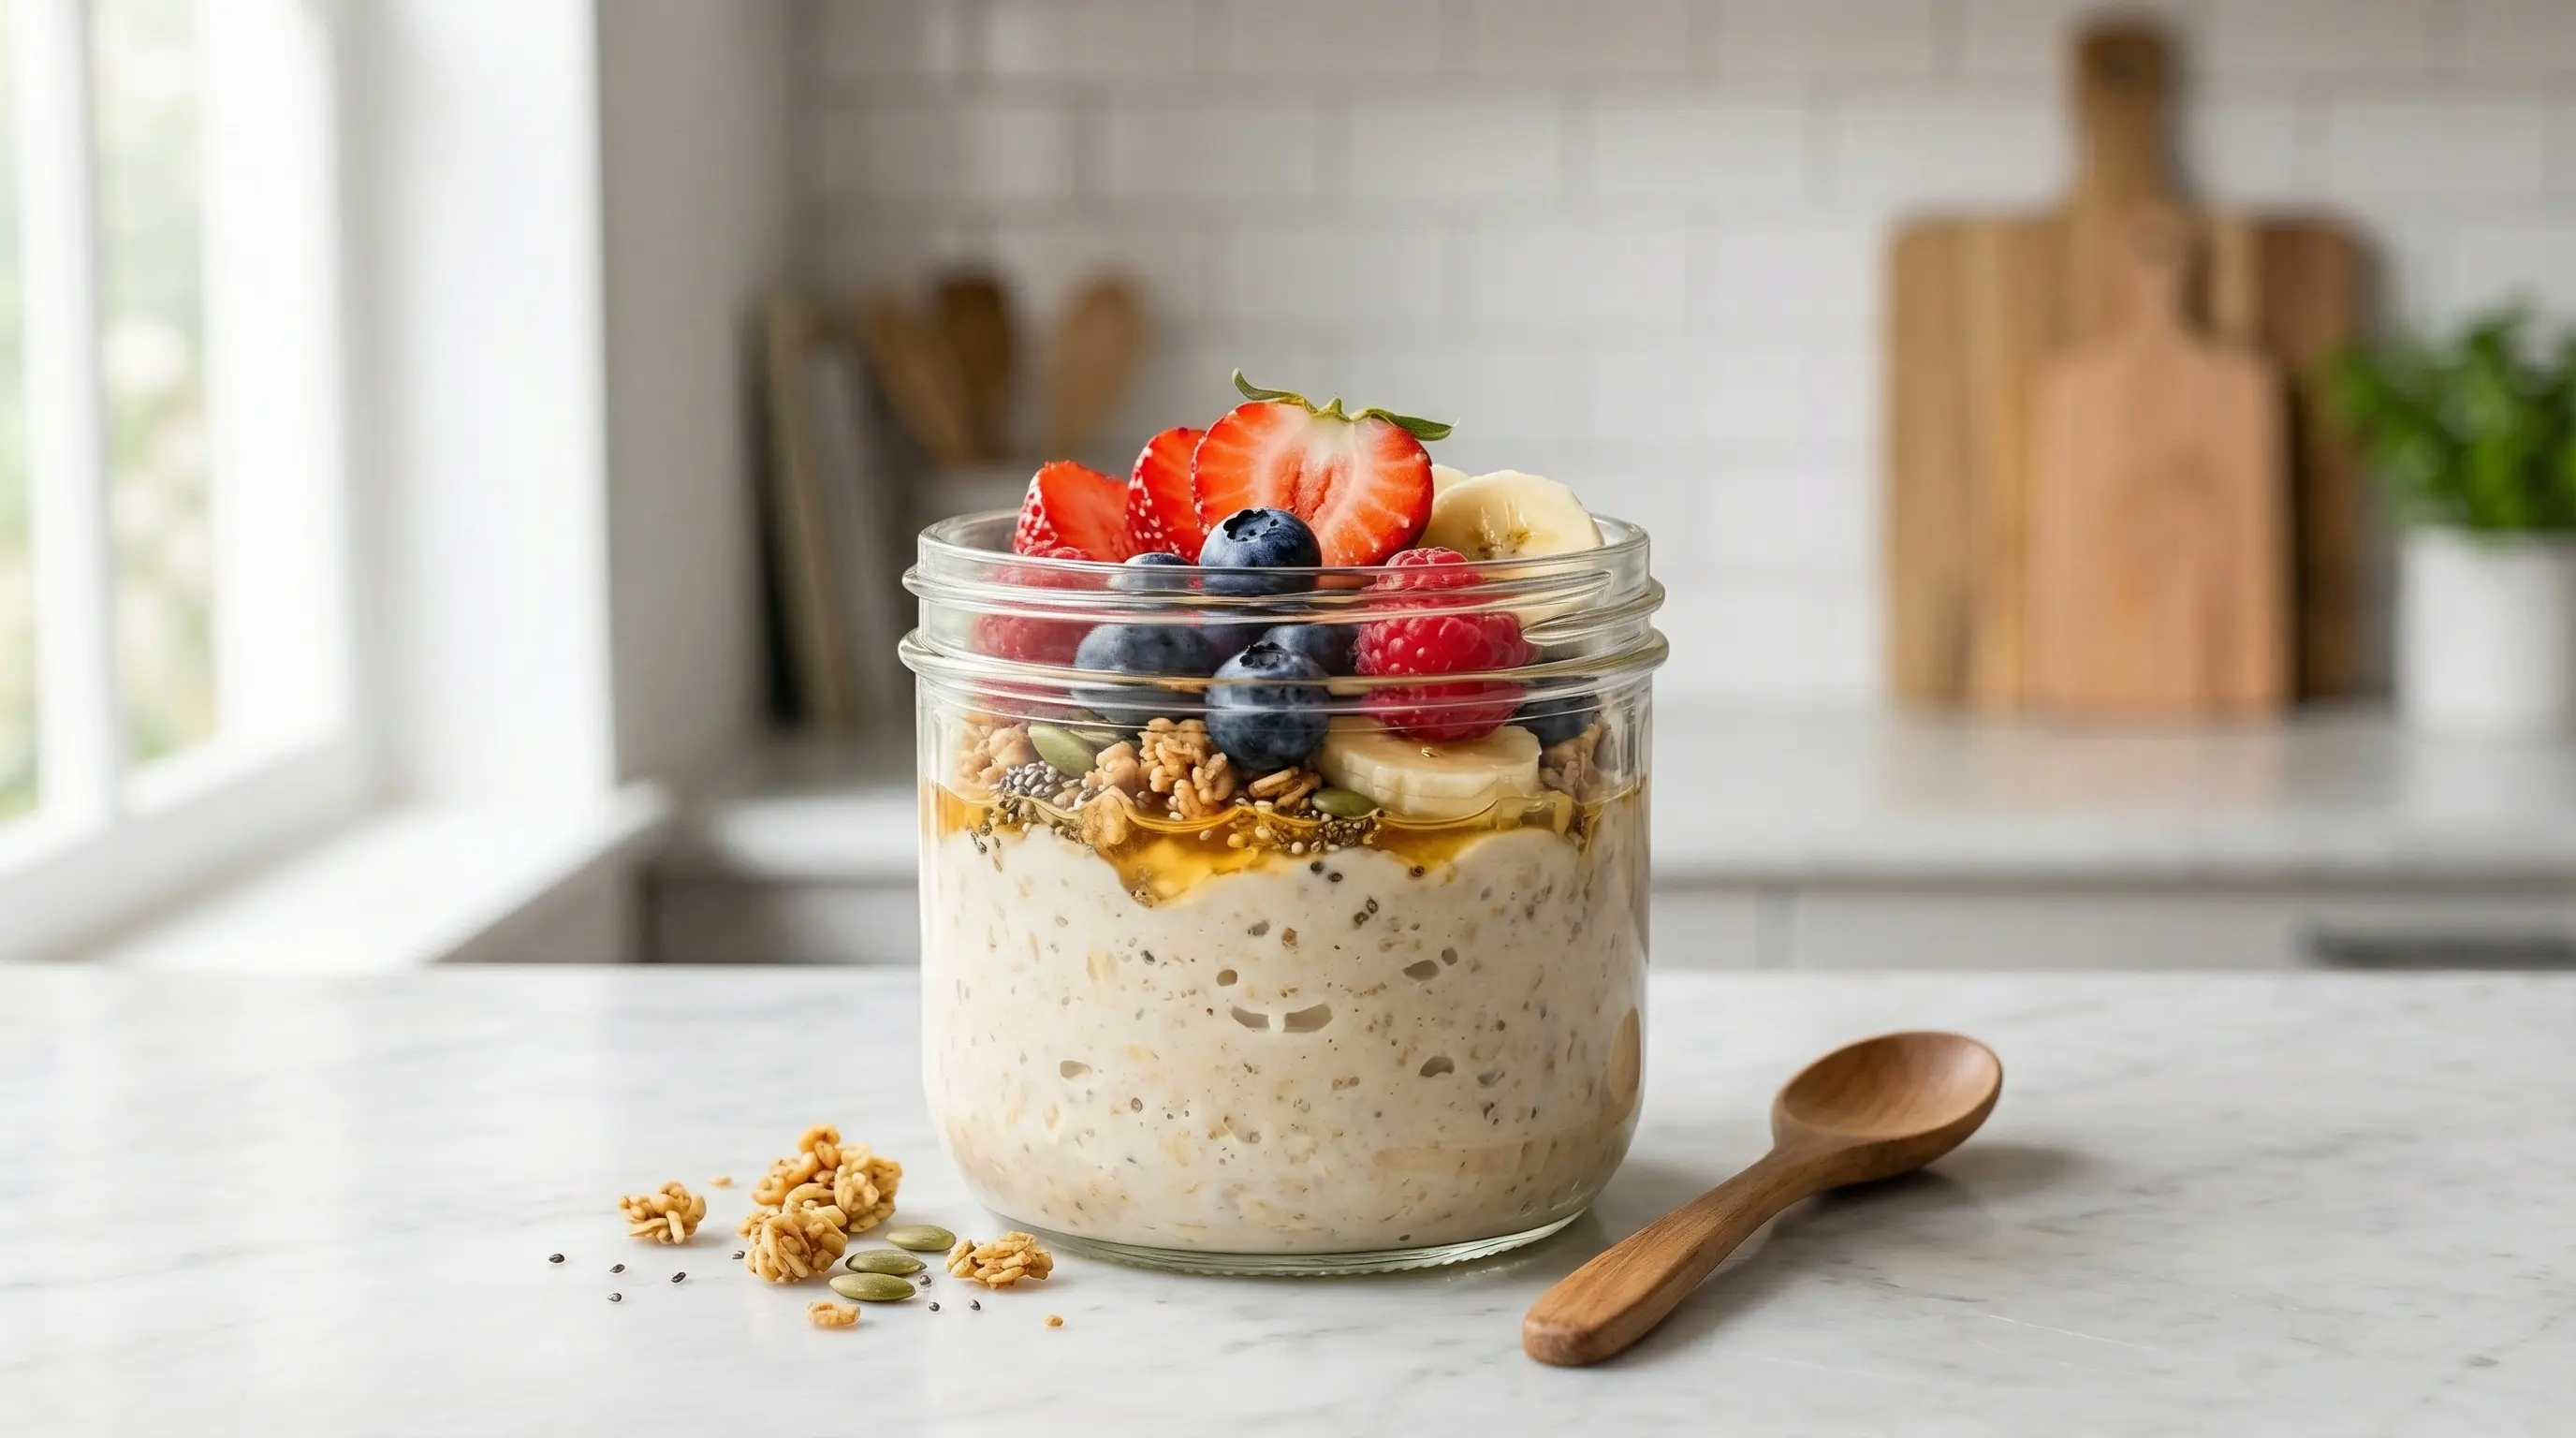
Creamy Overnight Oats
Learn how to make creamy overnight oats with this easy no-cook recipe. Perfect for busy mornings, customizable, and packed with nutrition!
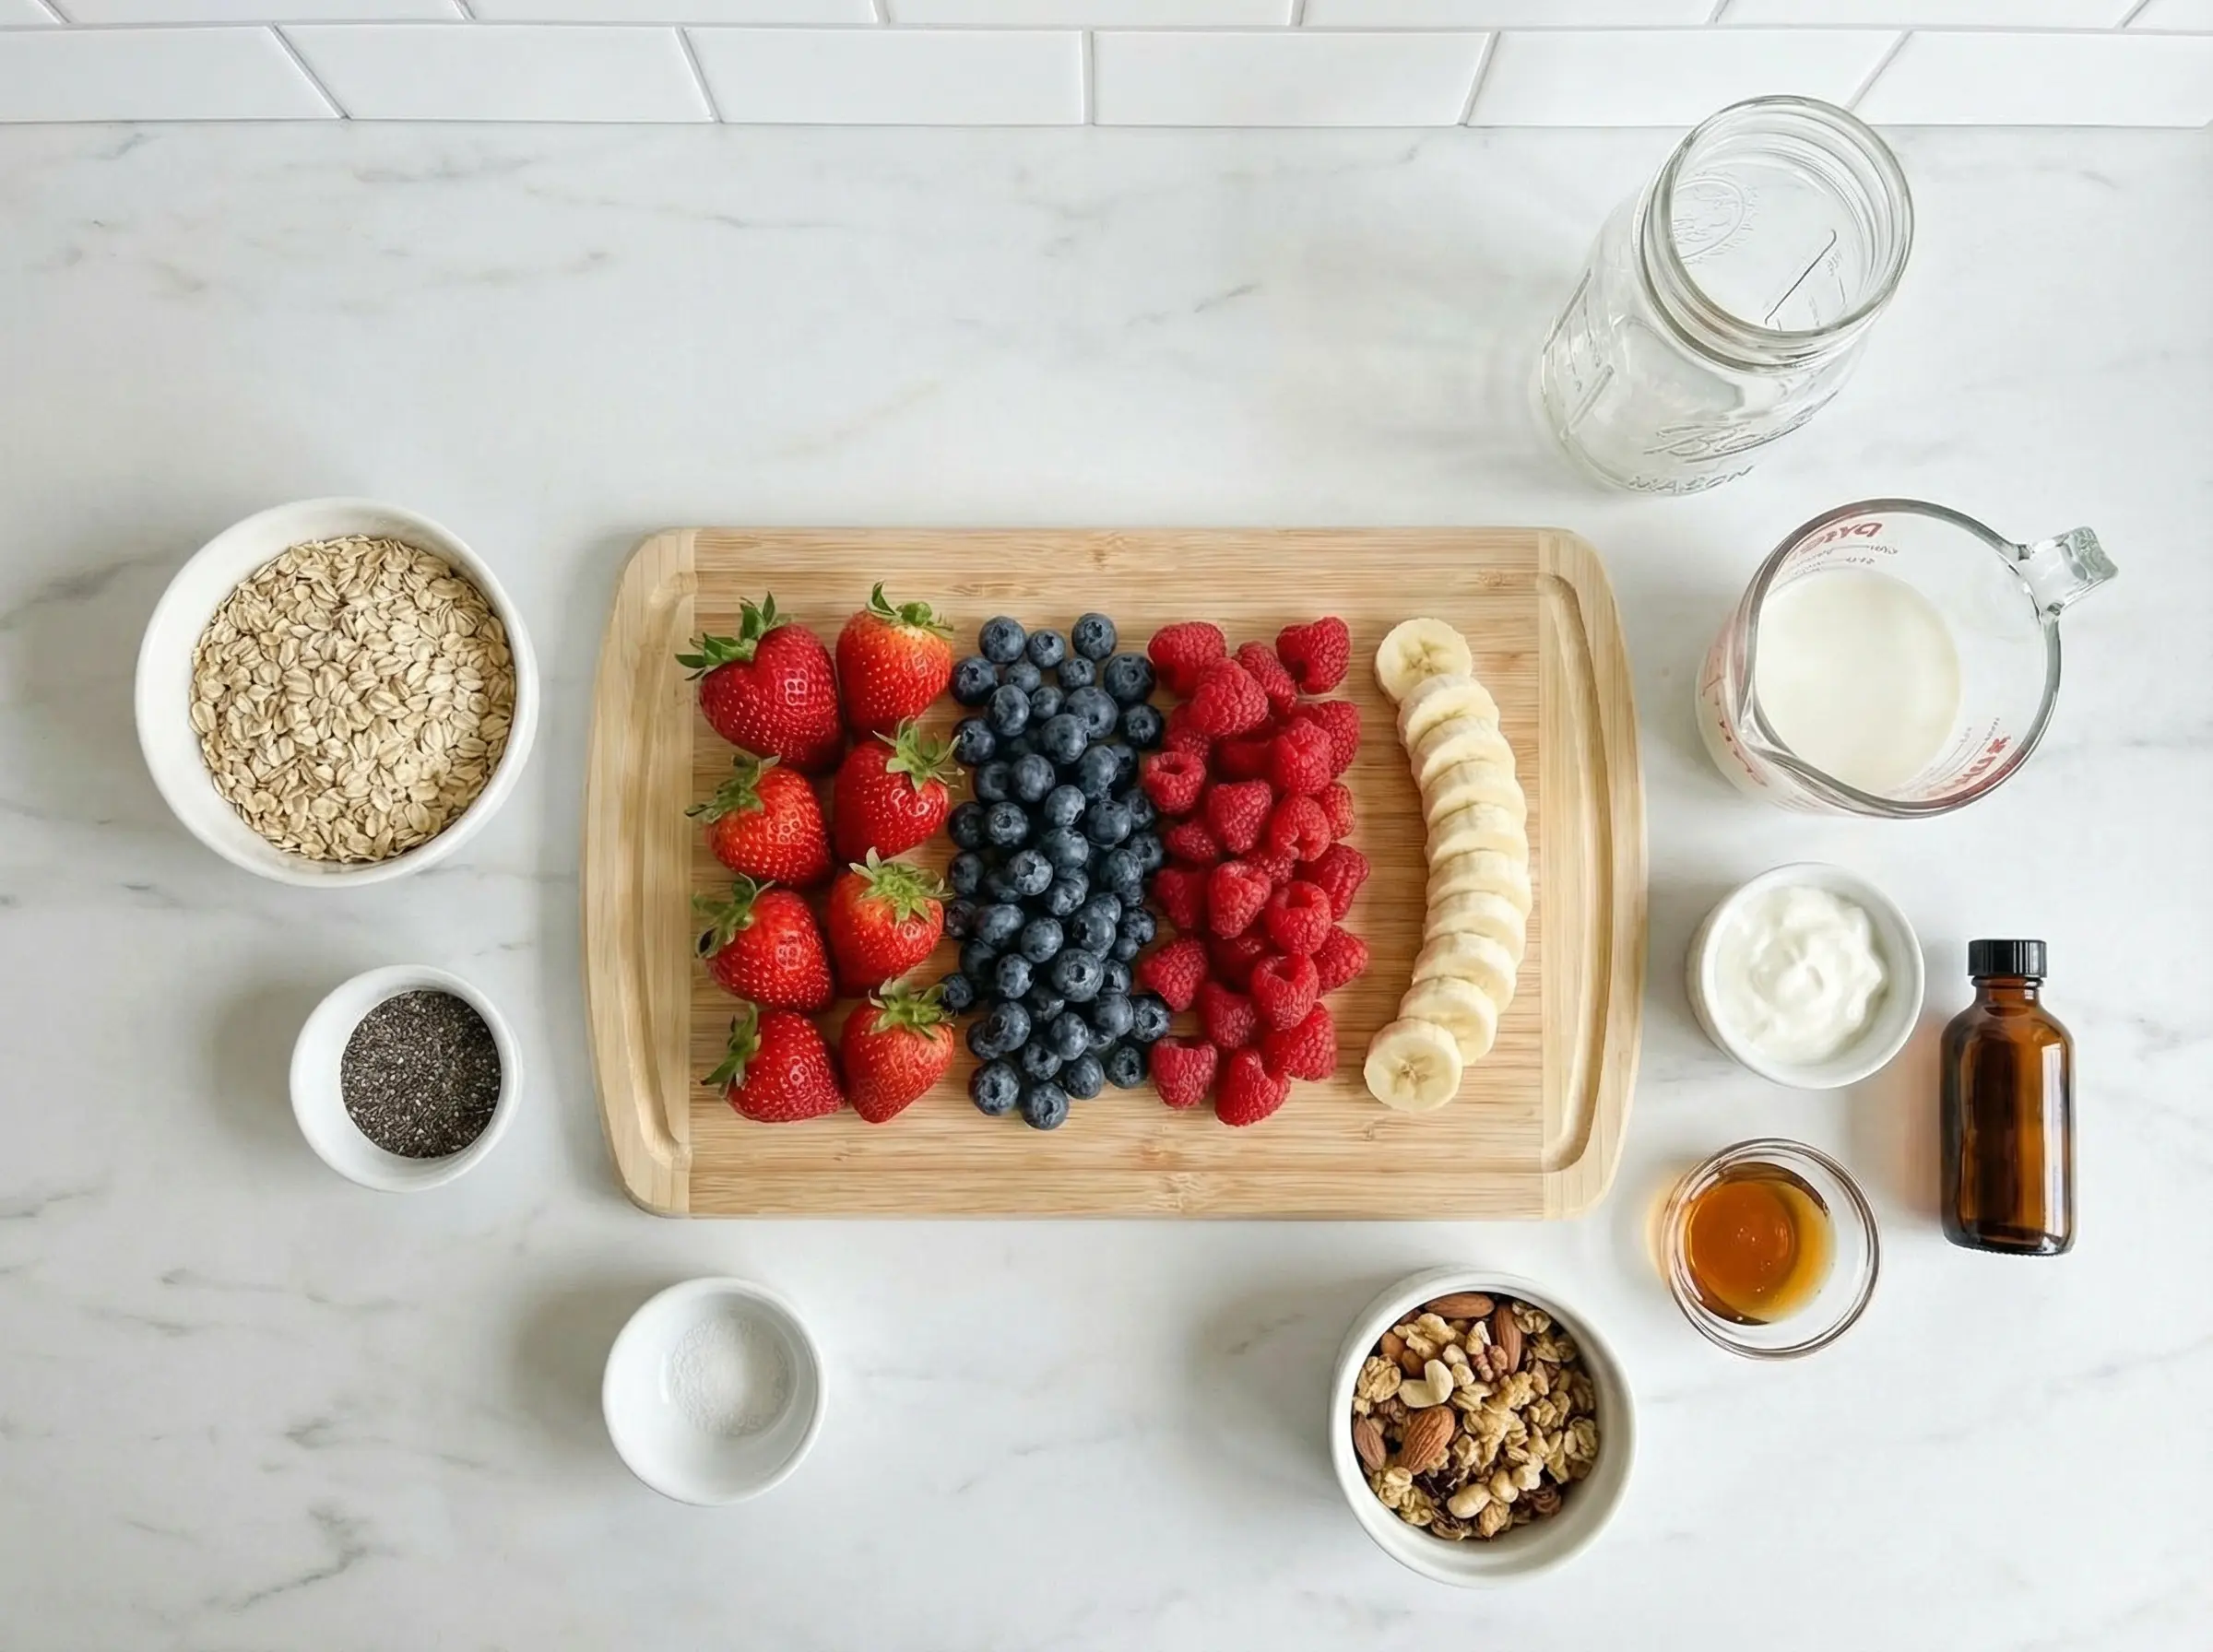
Ingredients
The Story
Overnight oats represent a modern twist on traditional oatmeal preparation, though the concept of soaking grains overnight has ancient roots. For centuries, cultures around the world have understood that soaking grains softens them and makes their nutrients more bioavailable. The Swiss have muesli, created in the early 1900s by physician Maximilian Bircher-Benner, which involves soaking oats overnight with fruits and nuts. However, the contemporary overnight oats phenomenon as we know it today emerged in the early 2010s, driven by health-conscious food bloggers and the rise of meal prep culture. The explosion of overnight oats popularity coincided with several cultural trends: the growing awareness of the importance of breakfast, the demand for grab-and-go meals for busy professionals, and the rise of social media food photography. Mason jars filled with beautifully layered overnight oats became Instagram sensations, inspiring millions to try this simple, nutritious breakfast. The appeal was immediate - here was a breakfast that required no morning cooking, could be prepared in bulk, was endlessly customizable, and looked beautiful to boot. What makes overnight oats so beloved is their perfect combination of convenience and nutrition. Unlike traditional cooked oatmeal, overnight oats require no heat, preserving more of the oats natural nutrients and creating a unique creamy, pudding-like texture that many prefer to cooked porridge. The cold-soaking method breaks down the starches in the oats, making them easier to digest while maintaining a pleasant, chewy texture. Whether topped with fresh fruit, nut butter, seeds, or a drizzle of honey, overnight oats have become a breakfast staple for health-conscious eaters worldwide, proving that nutritious food can be both convenient and delicious.
Instructions
Step 1
In a mason jar, bowl, or airtight container, combine the rolled oats, milk, Greek yogurt, chia seeds, maple syrup or honey, vanilla extract, and a pinch of salt. Use old-fashioned rolled oats rather than quick oats or steel-cut oats for the best texture - rolled oats soften perfectly overnight while maintaining a pleasant chewiness. Quick oats become too mushy, and steel-cut oats remain too hard. The chia seeds are optional but highly recommended as they absorb liquid and create an even creamier, more pudding-like consistency while adding omega-3 fatty acids and fiber.

Step 2
Stir all the ingredients together thoroughly using a spoon or small whisk until everything is well combined and evenly distributed. Make sure the oats are completely submerged in the liquid - this is crucial for proper soaking. Scrape down the sides of the container to ensure no dry oats are stuck to the walls. The mixture will look quite liquid at this stage, almost like a thick drink, but do not worry - the oats and chia seeds will absorb the liquid overnight and transform into a thick, creamy breakfast. If you prefer thicker overnight oats, you can add an extra tablespoon of oats or chia seeds. For thinner consistency, add a splash more milk.
Step 3
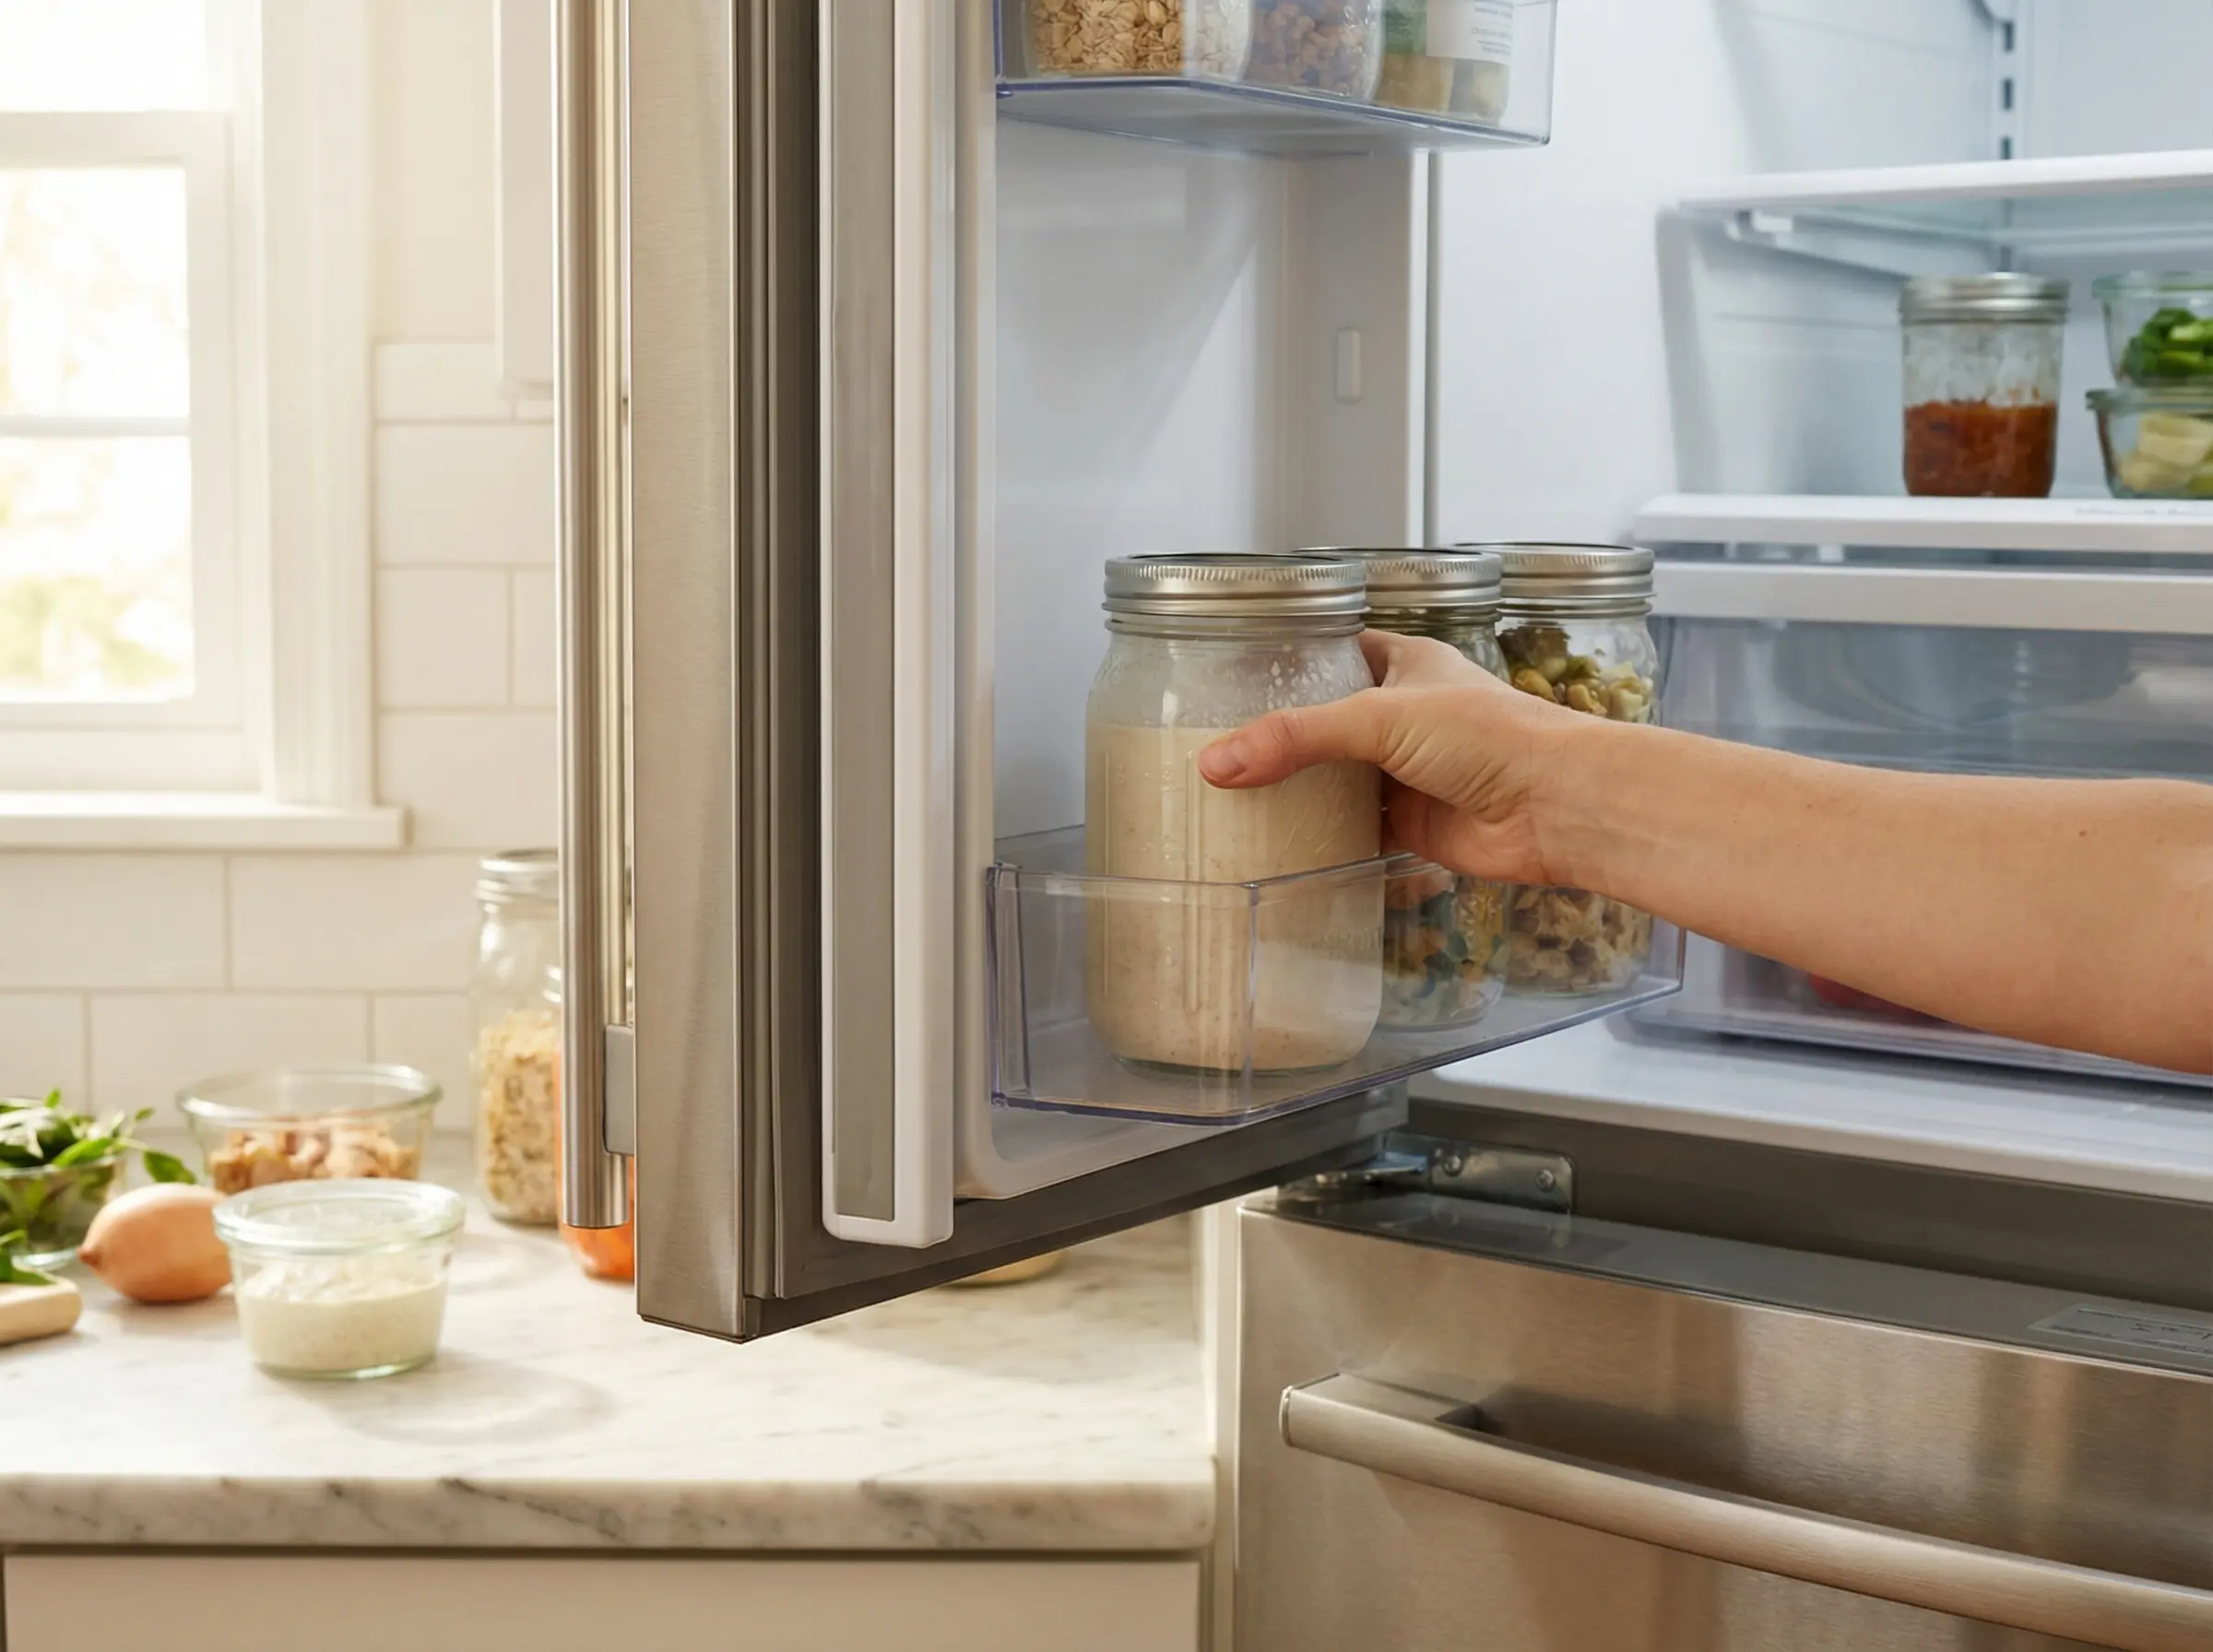
Seal the container tightly with a lid or cover it with plastic wrap. Place it in the refrigerator and let it sit for at least 4 hours, though overnight (8-12 hours) is ideal for the best texture and flavor development. During this time, the oats will absorb the liquid, soften, and swell to about double their original size. The chia seeds will also expand and create a gel-like consistency that binds everything together. The flavors will meld beautifully, and the yogurt will contribute to a tangy, creamy base that tastes almost indulgent.
Step 4
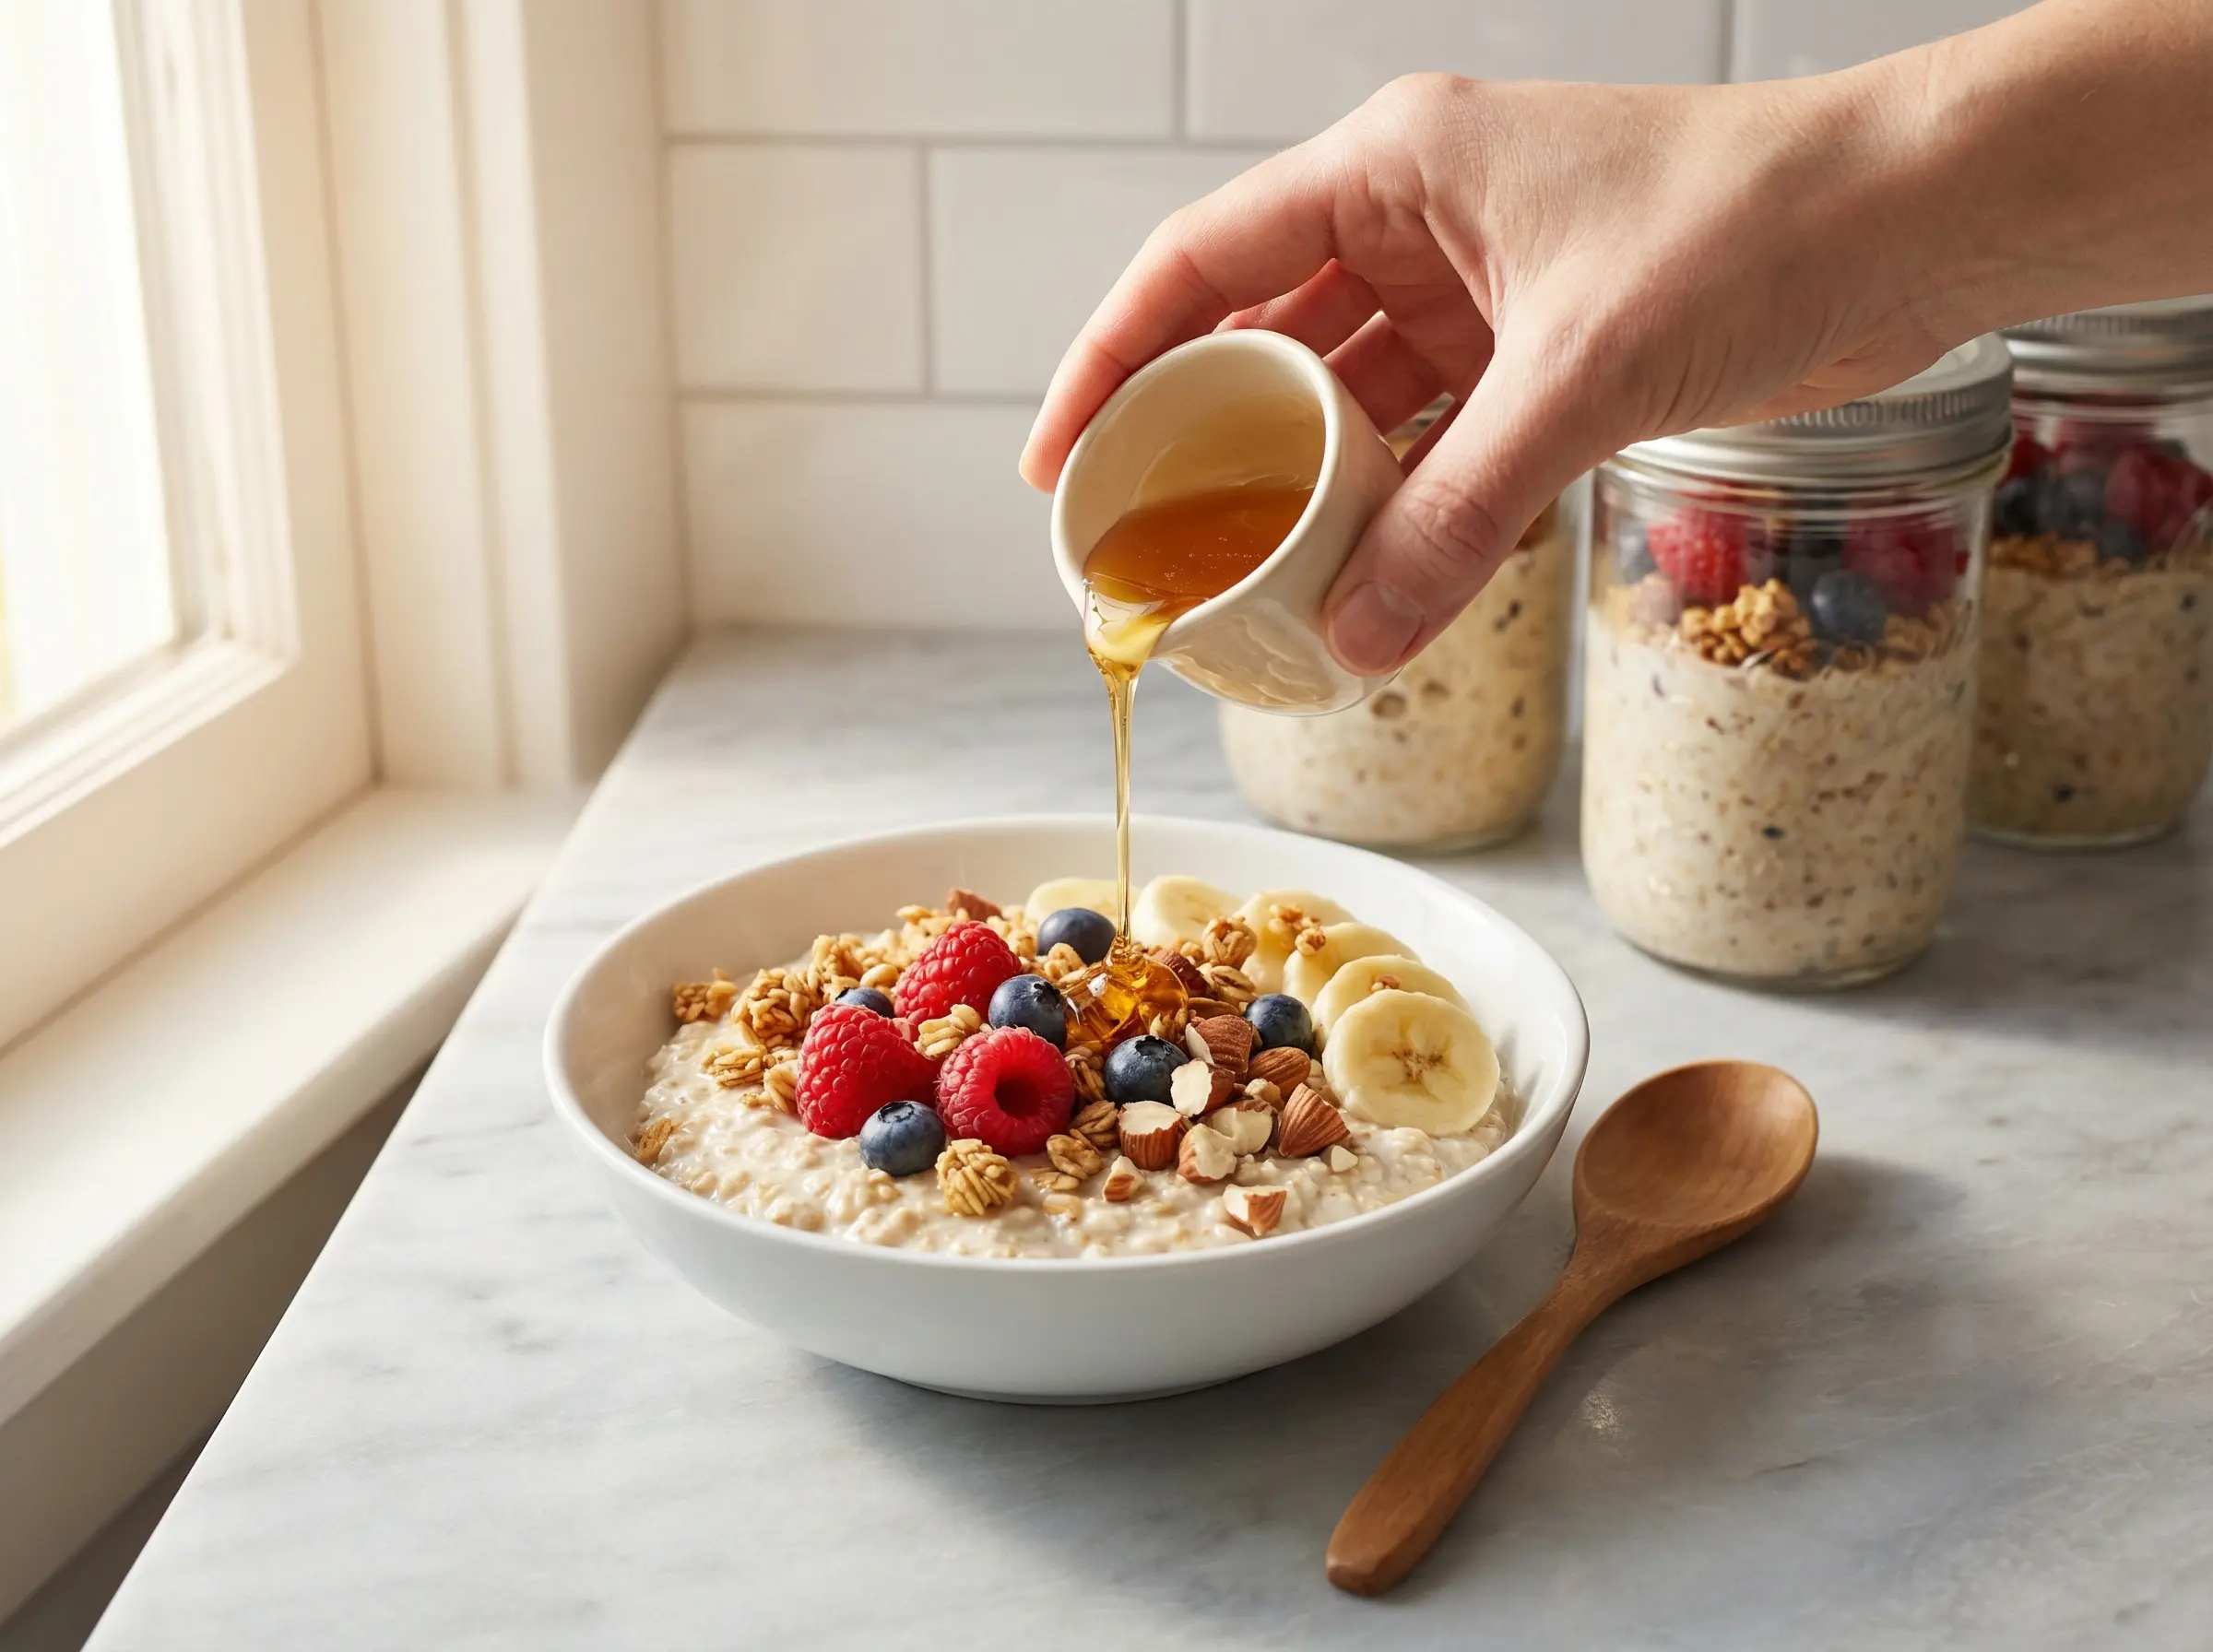
In the morning, remove your overnight oats from the refrigerator and give them a good stir. The mixture will have thickened significantly and transformed into a creamy, porridge-like consistency. At this point, check the texture - if the oats are too thick for your liking, stir in a splash of milk to loosen them up. If they seem too thin (though this is rare), you can let them sit for another 15-30 minutes to continue thickening. Taste and adjust sweetness if needed by adding more honey or maple syrup. Some people prefer to warm their overnight oats slightly in the microwave for 30-60 seconds, though they are traditionally enjoyed cold.
Step 5
Now comes the fun part - adding your toppings! Transfer the oats to a serving bowl if you prepared them in a jar, or eat directly from the container. Top with your favorite fresh or frozen fruit such as sliced bananas, berries, diced apples, or peaches. Add a spoonful of nut butter for extra protein and richness, sprinkle with nuts, seeds, or granola for crunch, and drizzle with additional honey if desired. You can also add a dash of cinnamon, cocoa powder, or shredded coconut for extra flavor.
Step 6
Enjoy your overnight oats cold straight from the fridge, or warm them gently if you prefer. The beauty of overnight oats is their convenience - you can eat them at home, take them to work, or enjoy them on the go. They will stay fresh in the refrigerator for up to 5 days, making them perfect for meal prep. You can prepare 4-5 jars at the beginning of the week and have breakfast ready every morning. Just add fresh toppings daily before eating for the best taste and texture. This simple, nutritious breakfast provides sustained energy, fiber, protein, and endless customization possibilities.
You Might Also Like