Kimbap
Learn how to make authentic kimbap, the beloved Korean seaweed rice rolls filled with vegetables, egg, and beef. This perfect portable meal is colorful, nutritious, and delicious at room temperature!
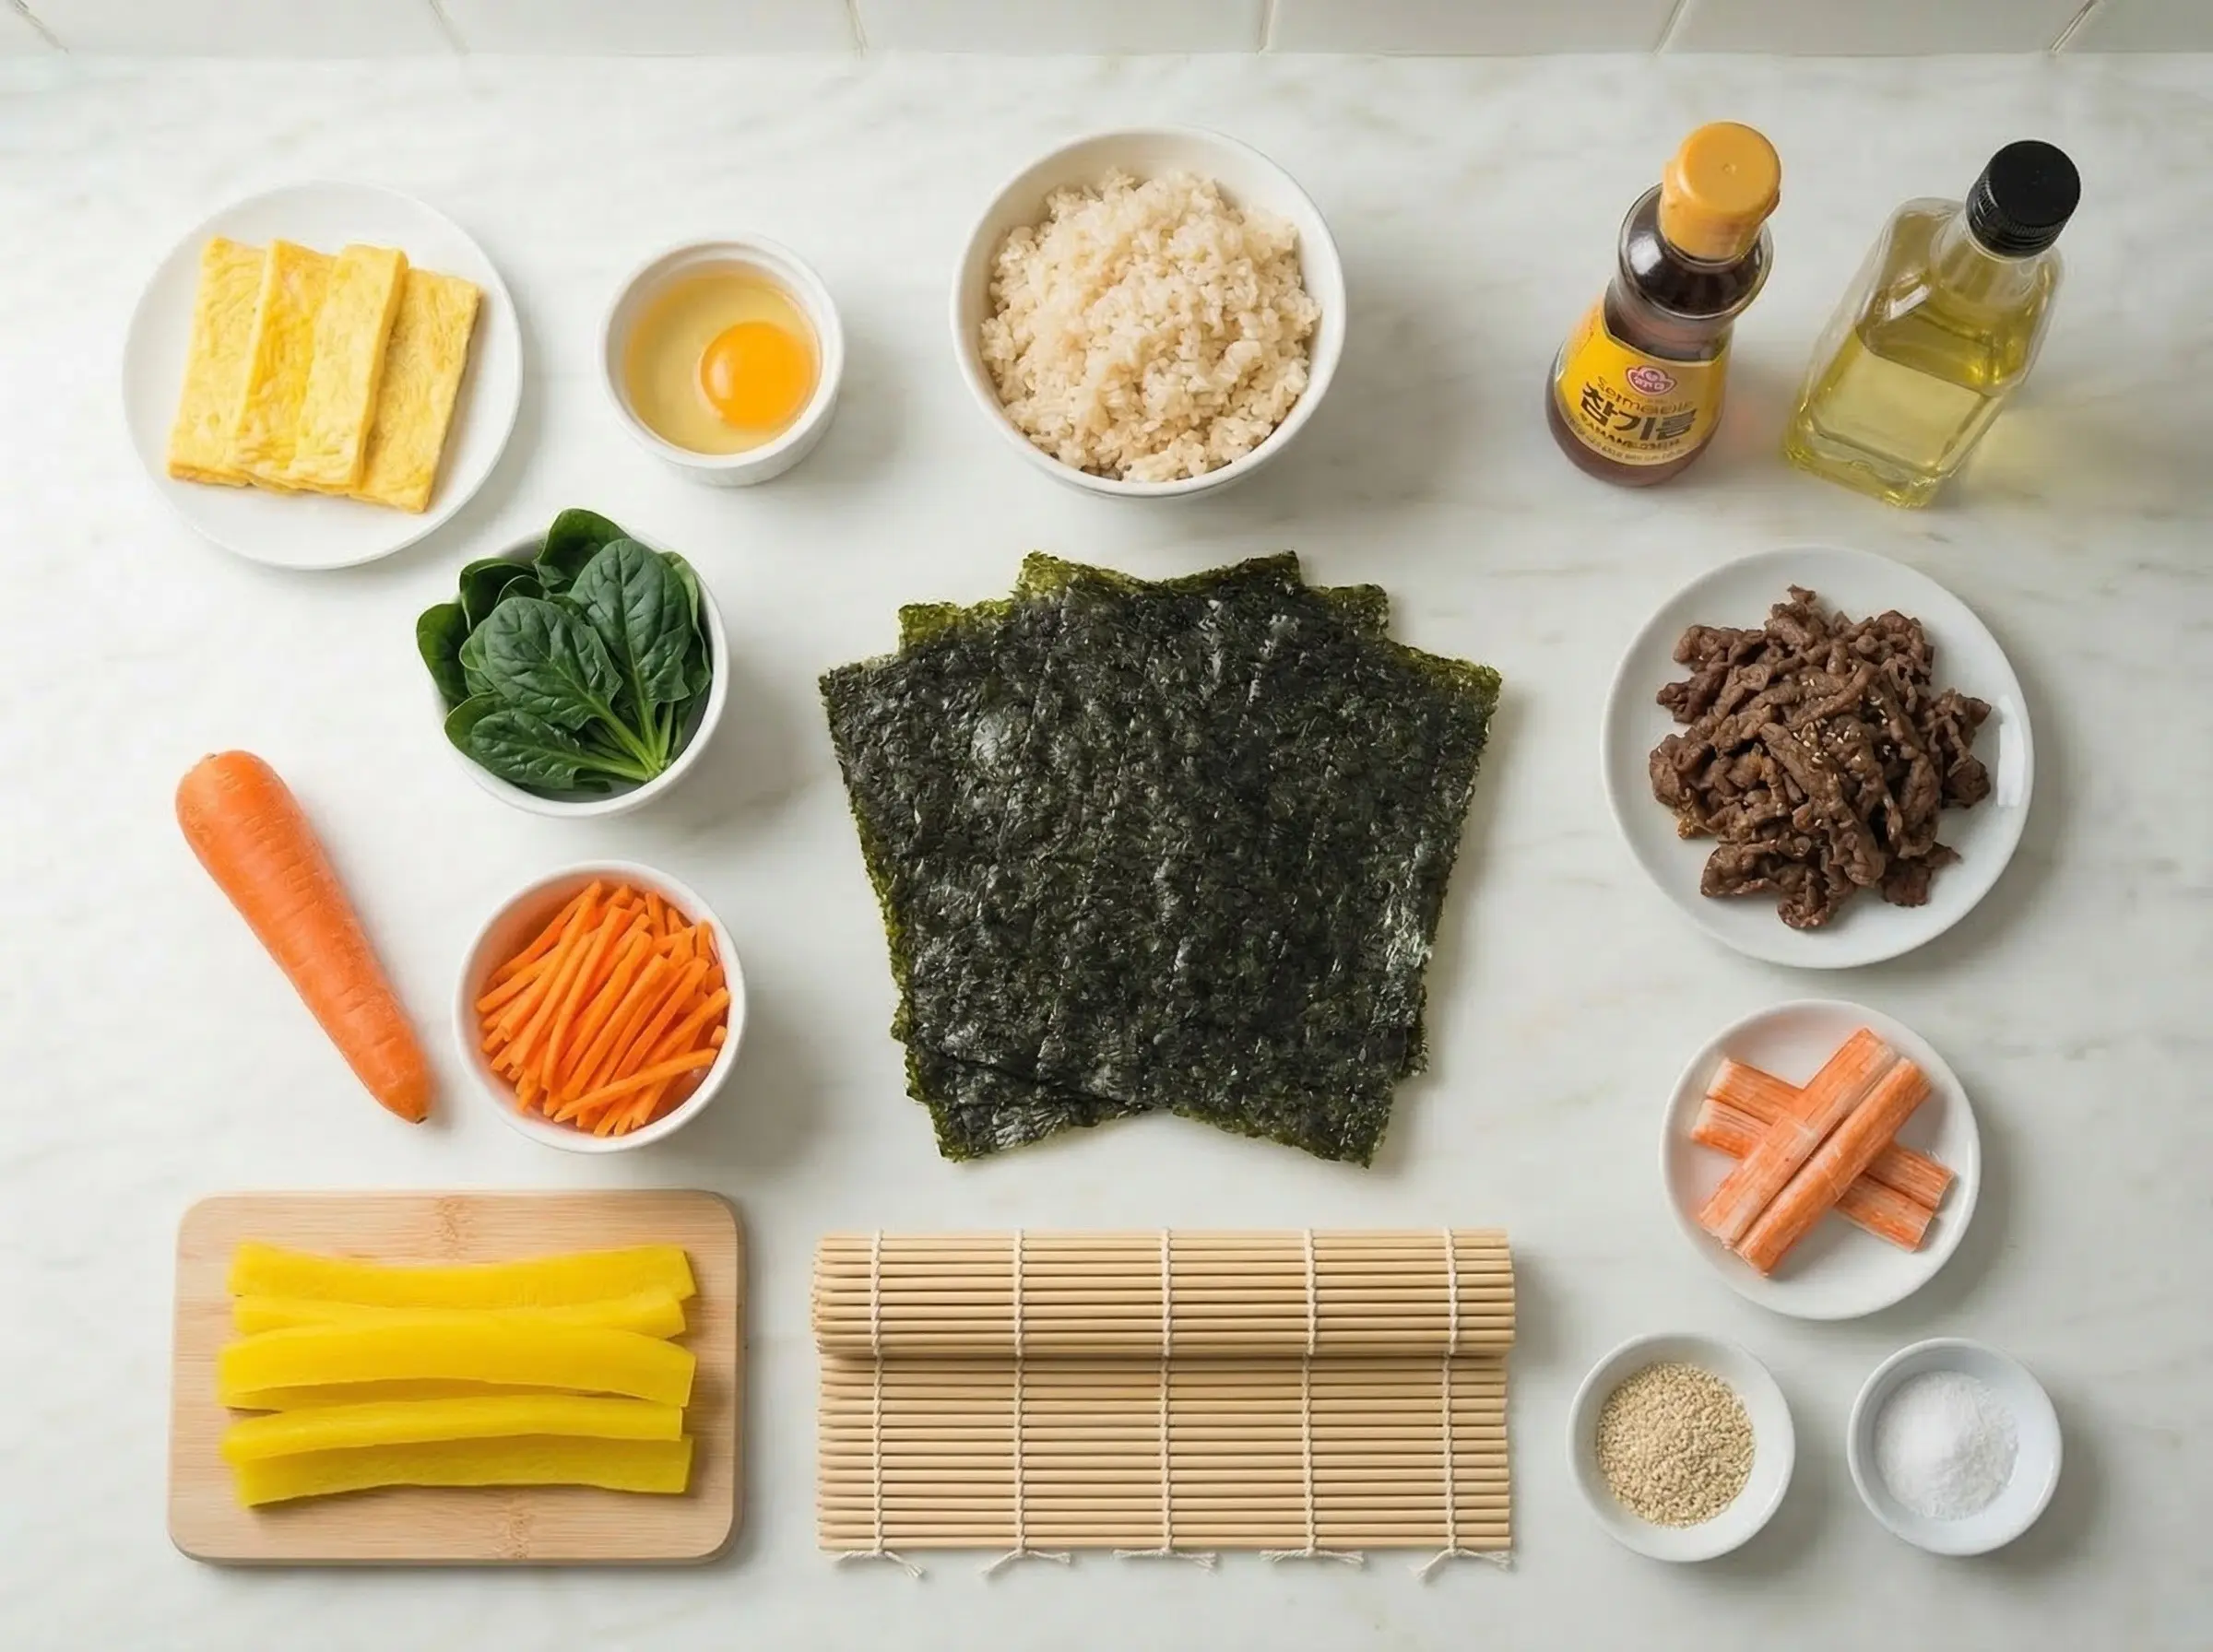
Ingredients
The Story
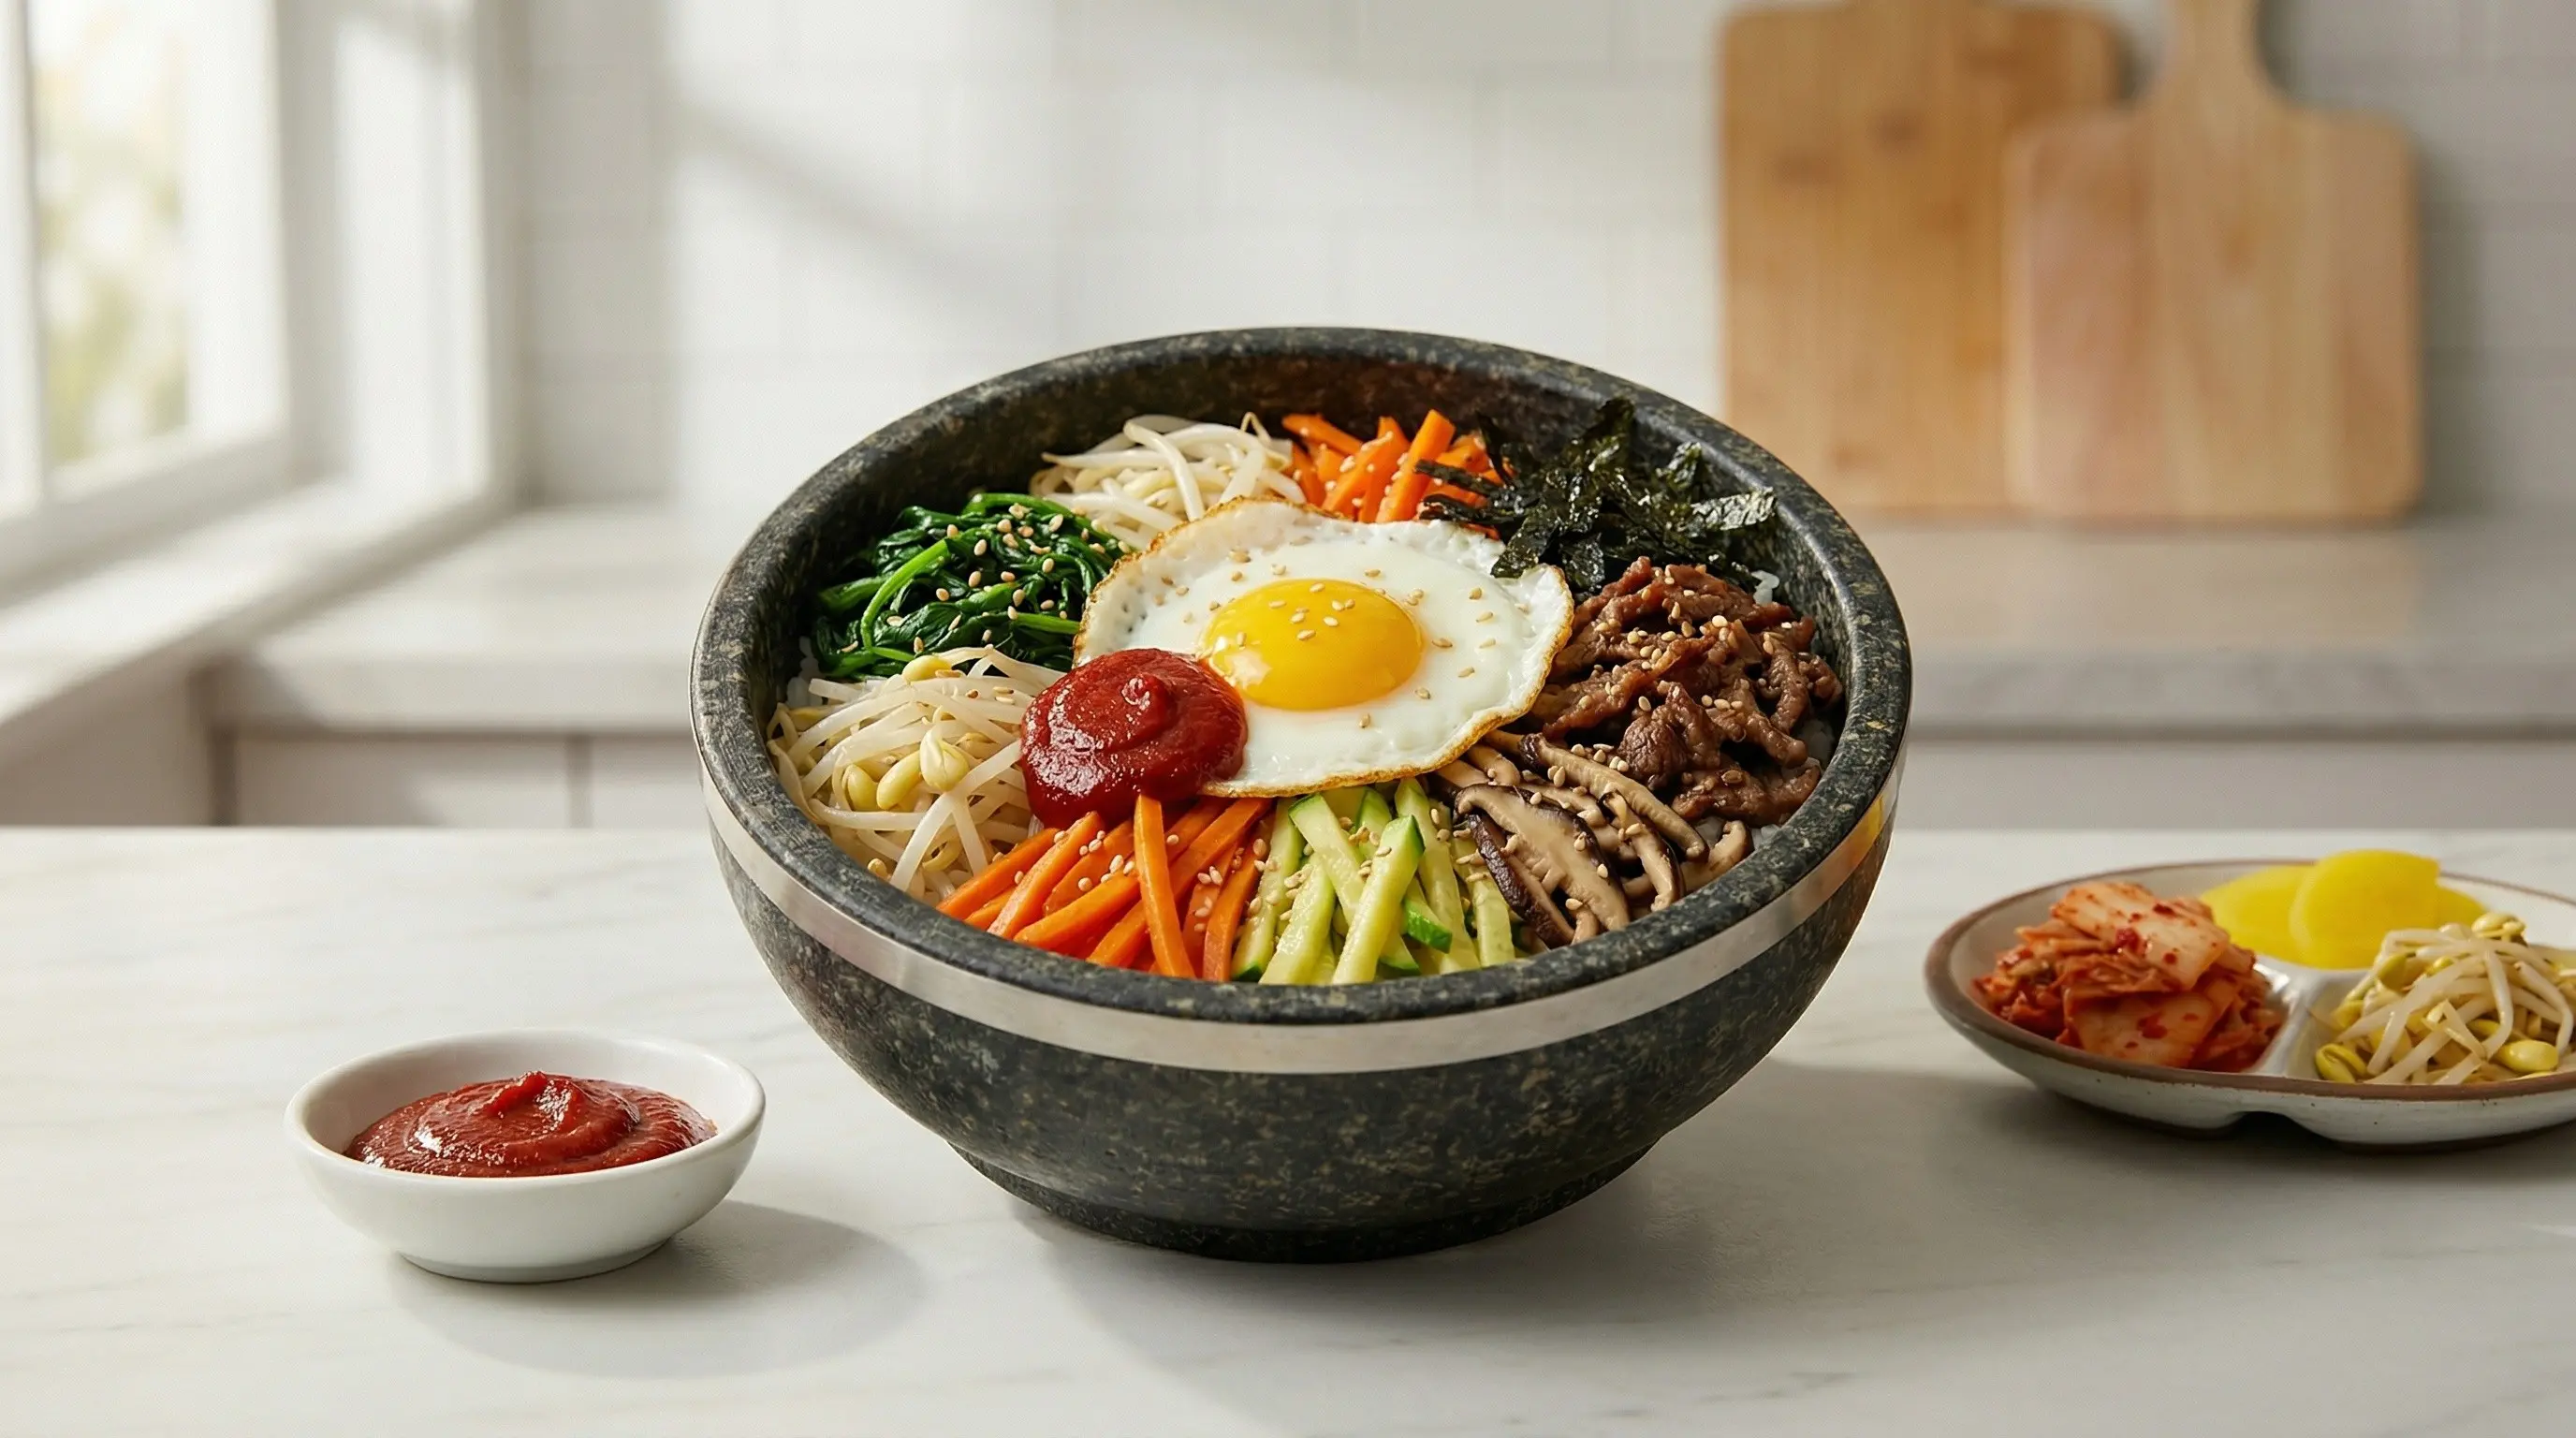
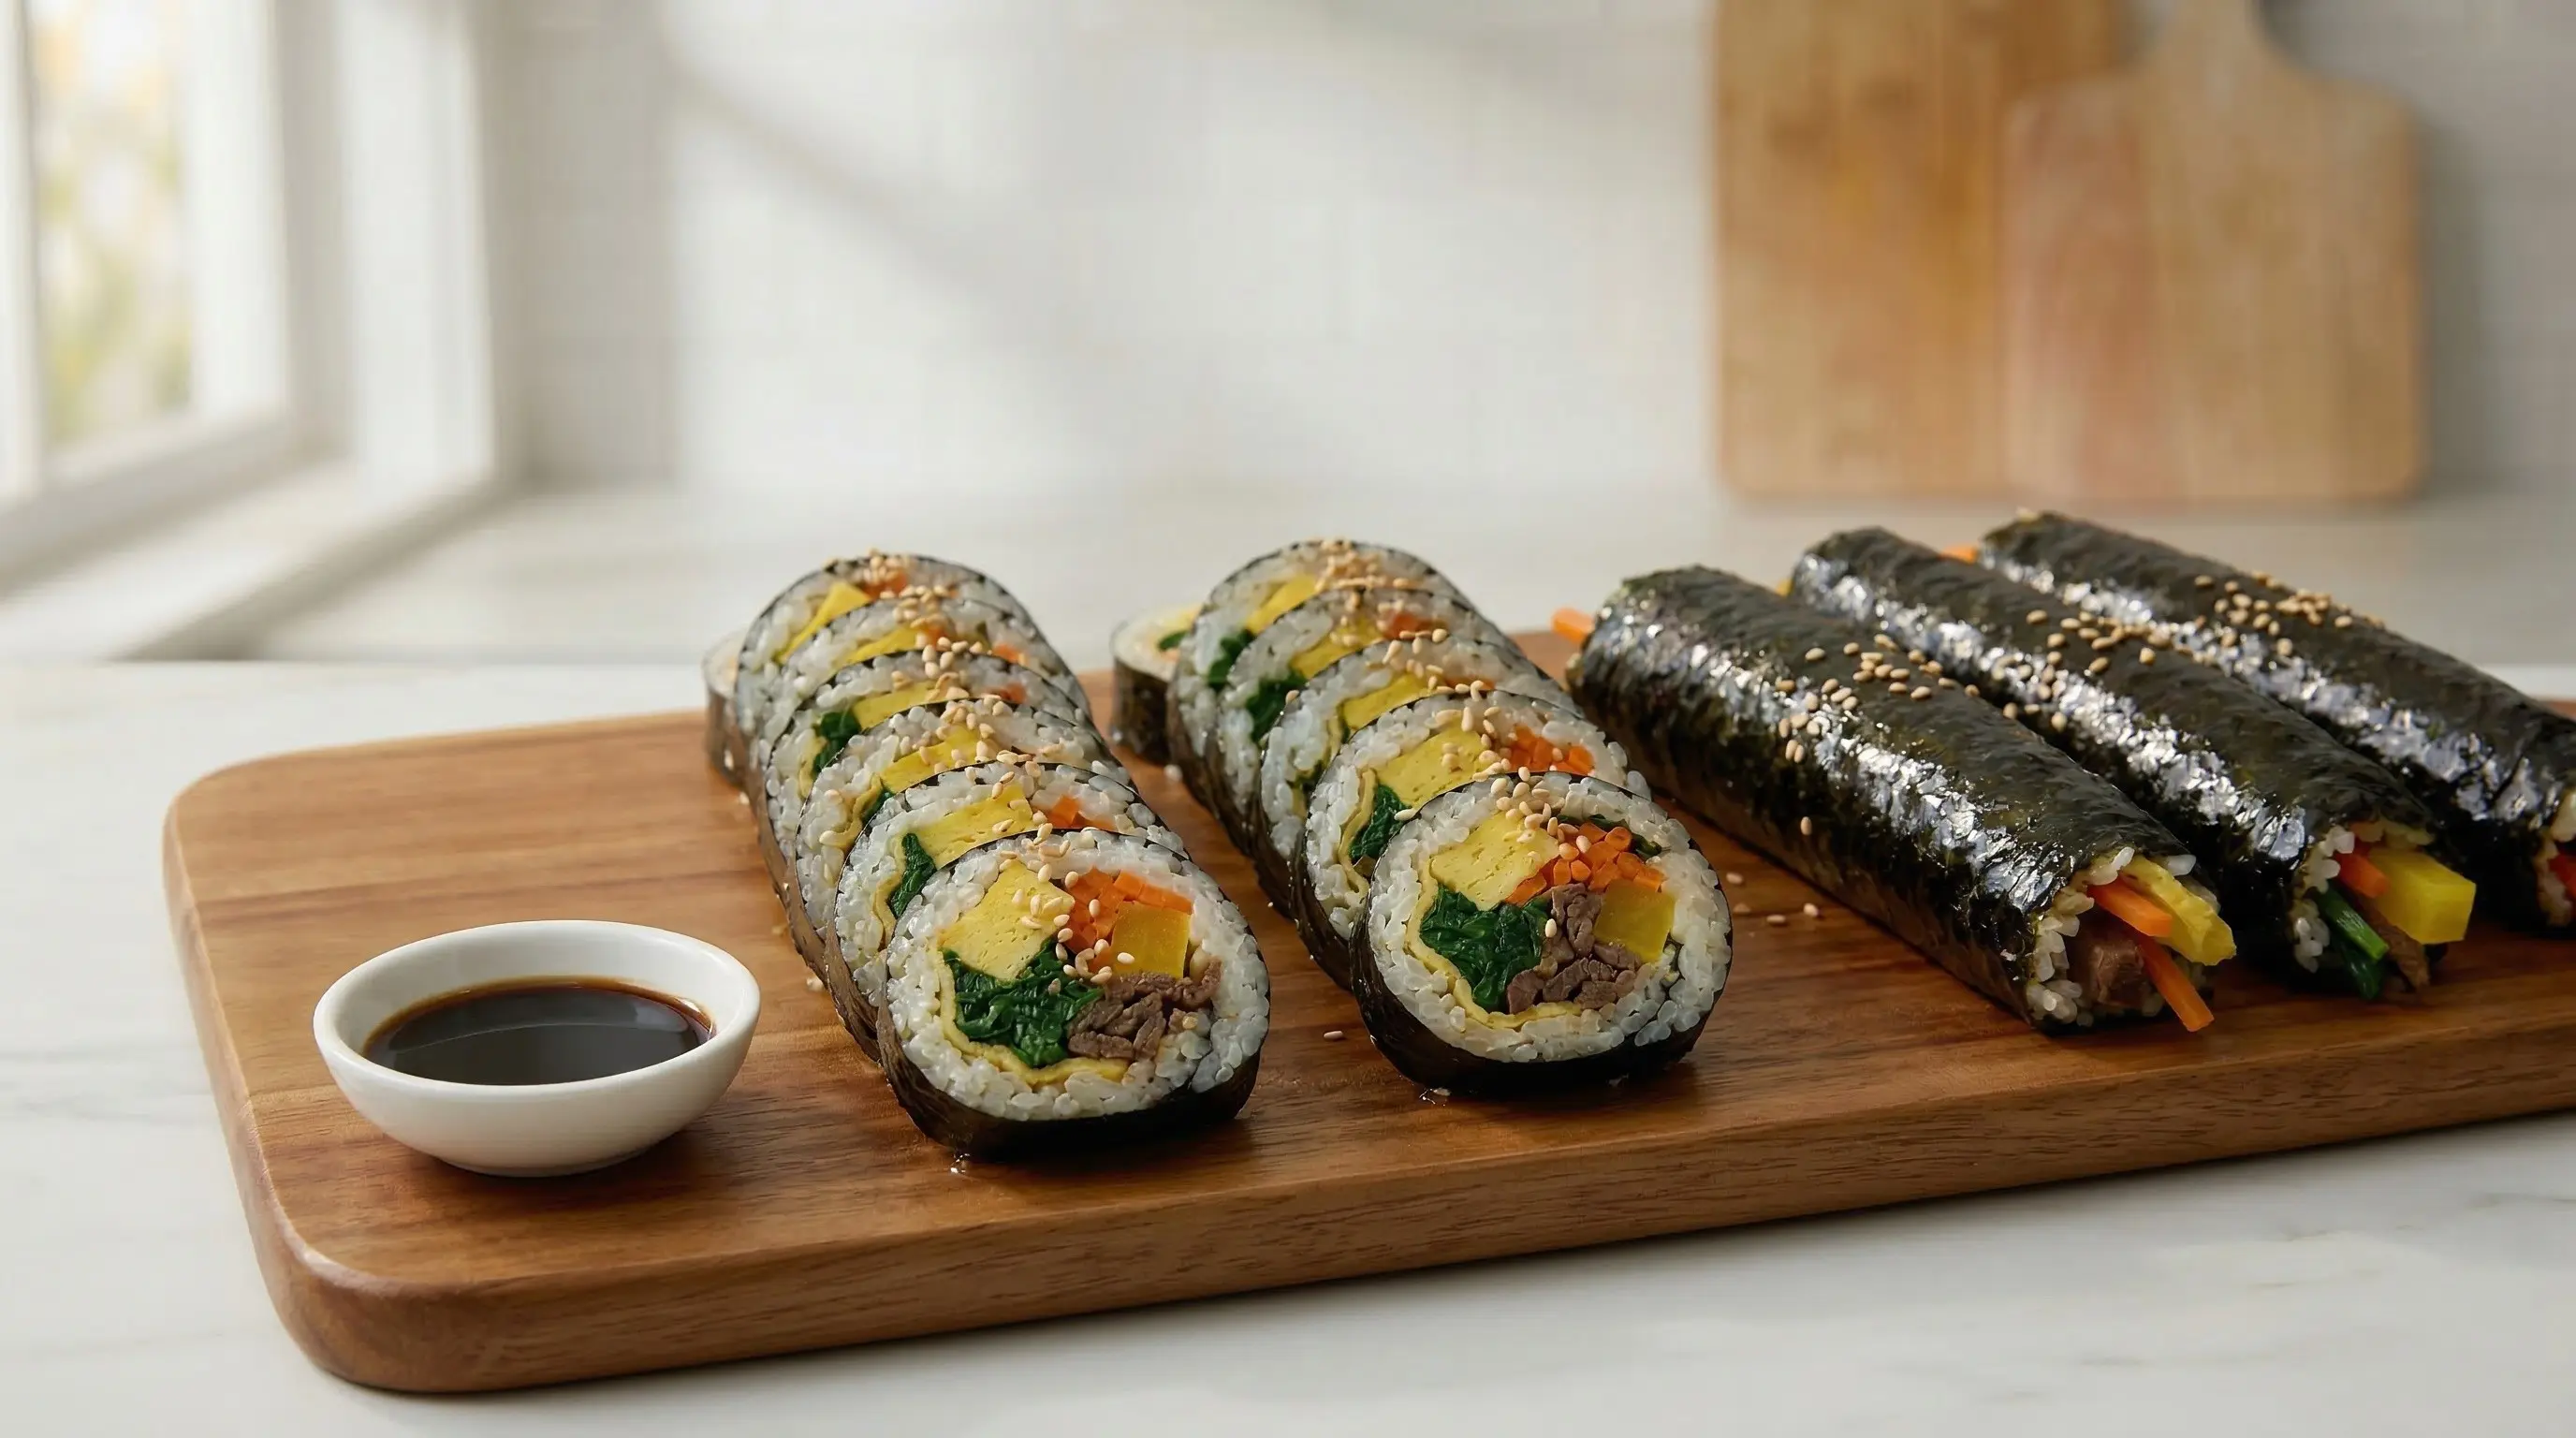
Kimbap is one of Korea's most beloved foods, colorful rolls of seasoned rice and various fillings wrapped in roasted seaweed (gim) that have become synonymous with Korean cuisine worldwide. The name combines "gim" (seaweed) and "bap" (rice), literally describing its two essential components. While kimbap bears a superficial resemblance to Japanese sushi rolls, the two are distinctly different - kimbap rice is seasoned with sesame oil and salt rather than vinegar, and the fillings are typically cooked rather than raw. The dish emerged in Korea during the early 20th century, with some historians tracing its development to the Japanese colonial period (1910-1945) when Korean cooks adapted Japanese norimaki to local tastes and ingredients. After Korean independence, kimbap evolved into something entirely its own, becoming deeply embedded in Korean food culture. It is the quintessential picnic and outing food, packed for school field trips (sopoong), hiking expeditions, and beach days. Every Korean has childhood memories of eating kimbap made by their mother or grandmother, the rolls sliced into perfect pinwheel rounds and packed in tin containers. Kimbap shops (kimbap cheonguk or "kimbap heaven") are ubiquitous throughout Korea, serving fresh rolls at affordable prices throughout the day and night. The dish is so central to Korean identity that it has been called "Korea's sandwich" - the grab-and-go meal that fuels the nation. What makes kimbap so extraordinary is the harmonious combination of flavors, textures, and colors in every bite. The gim (seaweed) provides umami depth and a slight chew. The rice, seasoned with fragrant sesame oil and salt, is the neutral foundation that binds everything together. Traditional fillings include danmuji (yellow pickled radish) for sweetness and crunch, seasoned spinach for earthiness, strips of egg omelet for richness, bulgogi or seasoned beef for savory depth, and julienned carrots for color and freshness. Each ingredient is prepared separately with care, then arranged precisely before rolling. When sliced, the cross-section reveals a beautiful mosaic of colors - yellow, green, orange, white, and brown arranged in a spiral. Kimbap is proof that fast food can be nutritious, beautiful, and made with love.
Instructions
Step 1
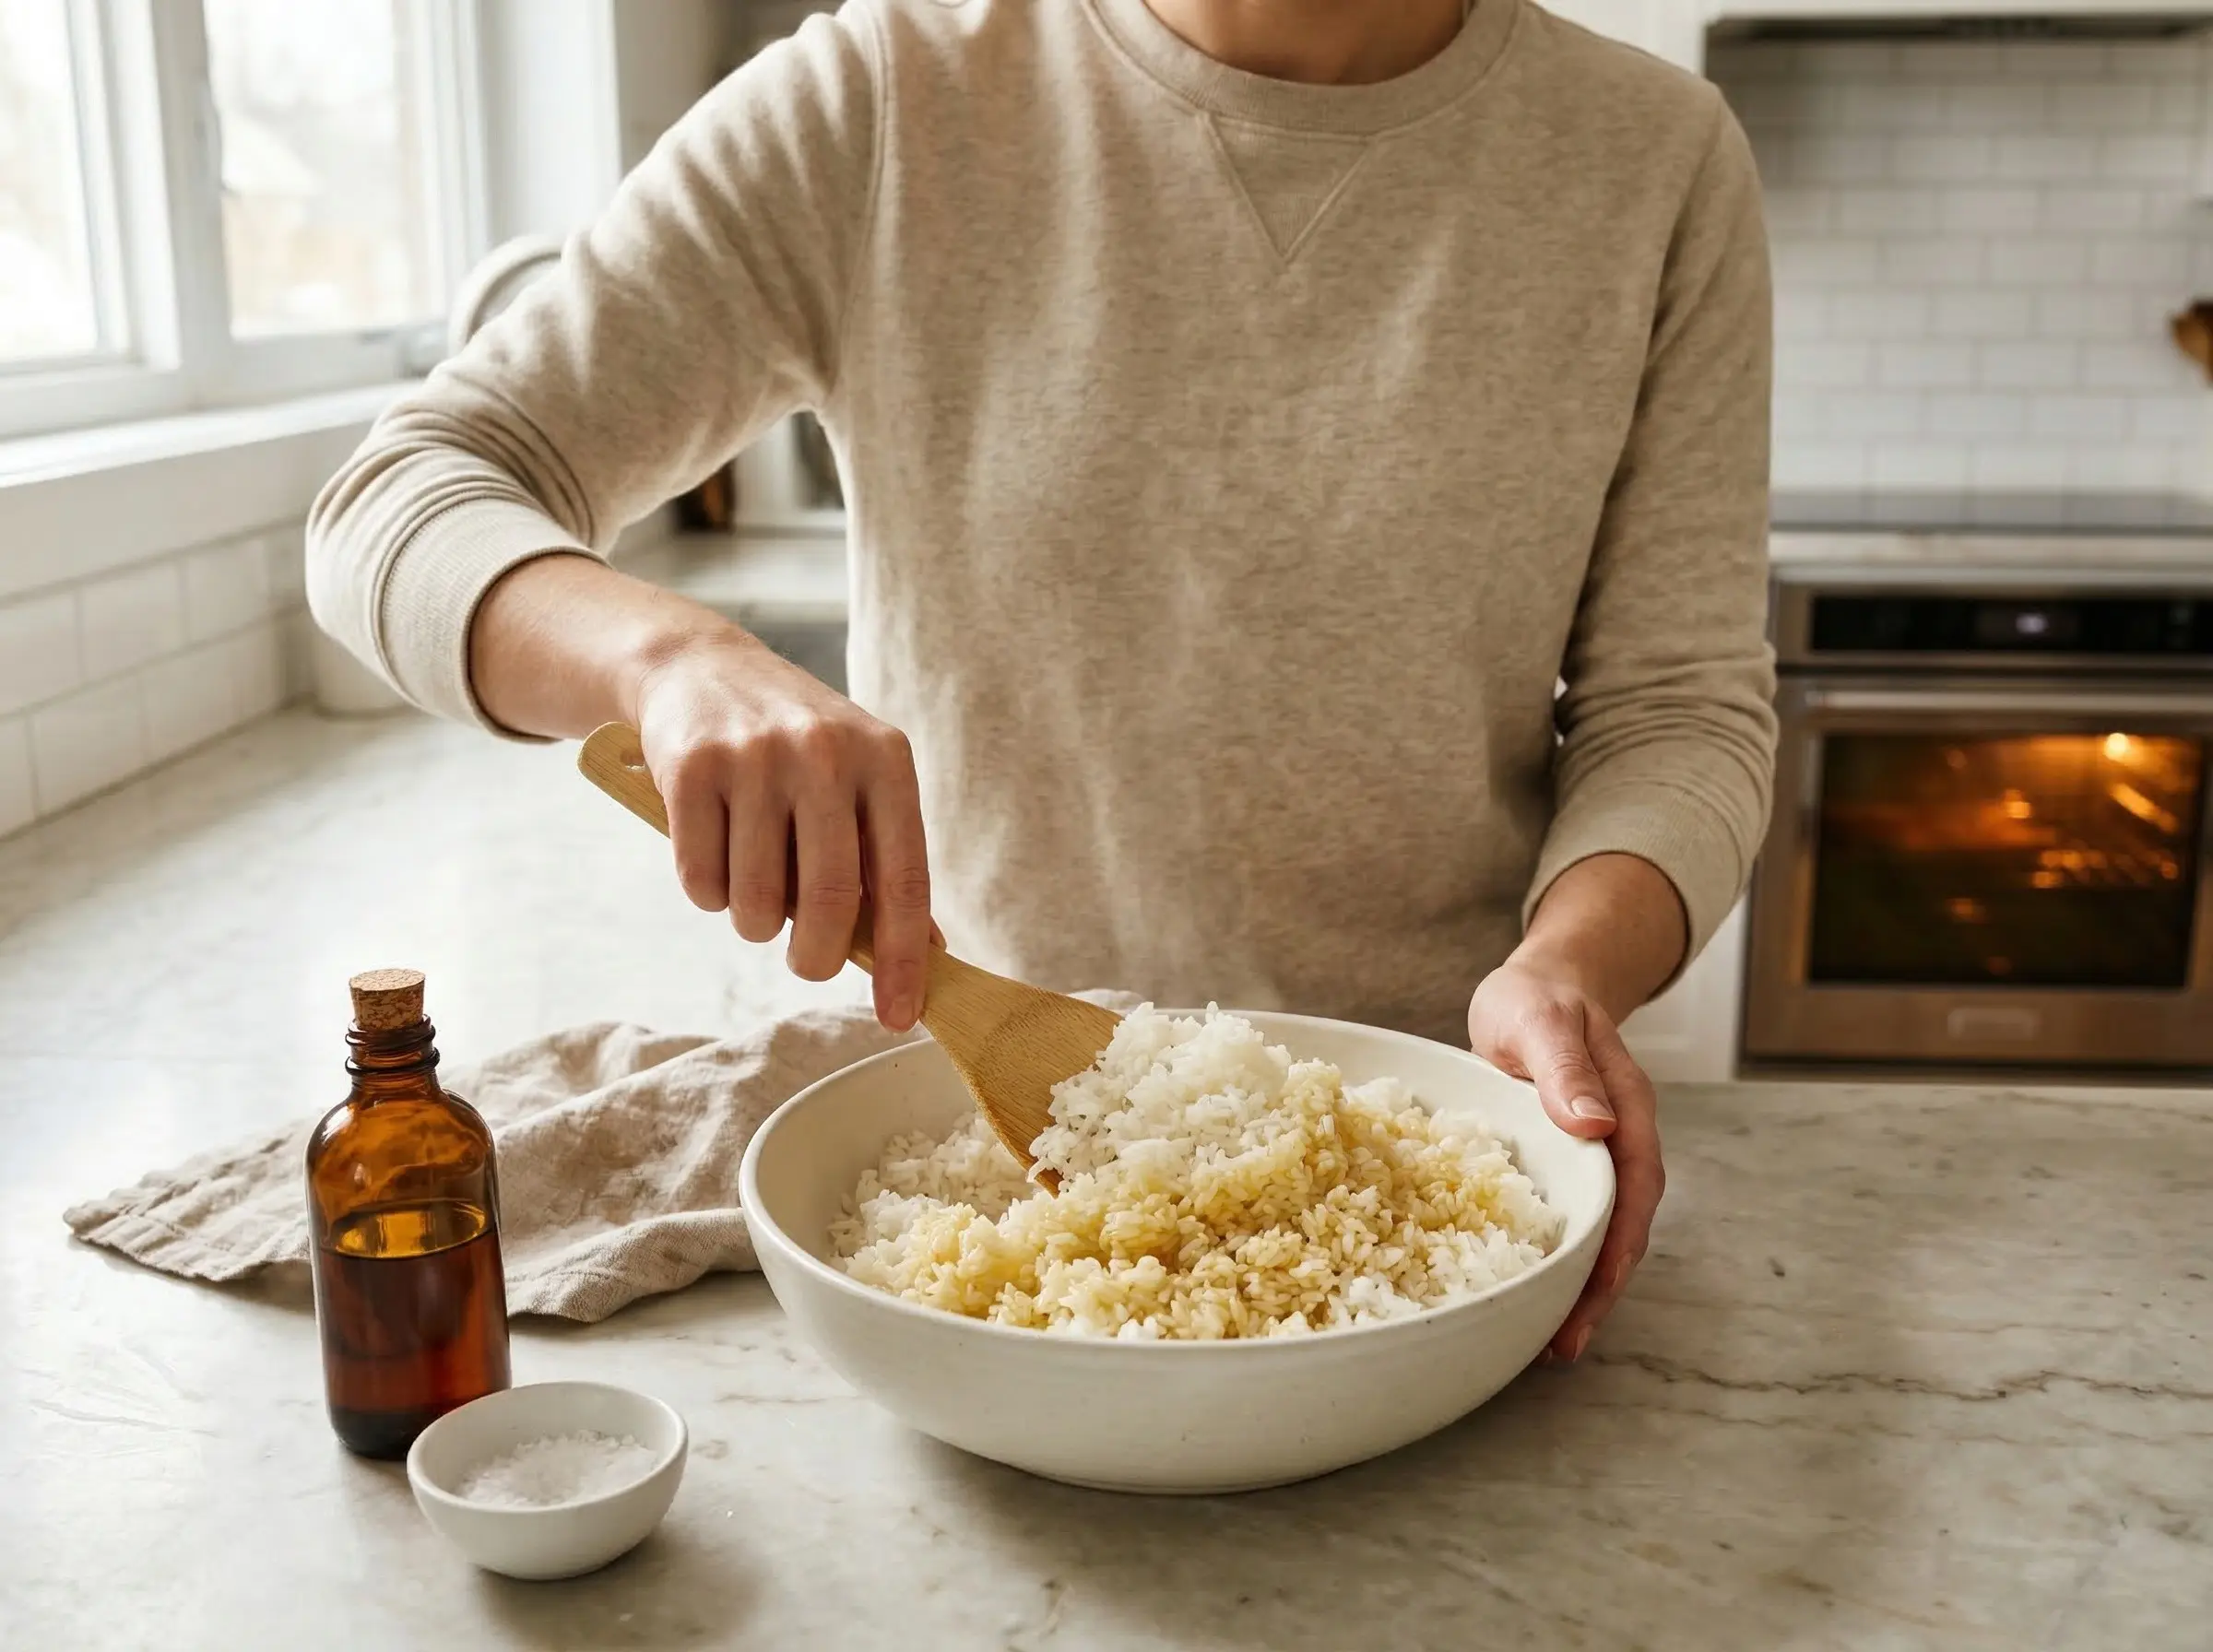
Season the rice. The rice should be freshly cooked and still warm - cold rice does not spread or stick properly. Transfer the warm rice to a large bowl. Add the sesame oil and salt, then gently fold with a rice paddle or spatula, using a cutting motion to avoid mashing the grains. The rice should be evenly seasoned and glistening with oil. Taste and adjust salt if needed. Cover with a damp cloth to prevent drying while you prepare the fillings.
Step 2
Prepare the egg strips. Beat the eggs with a pinch of salt. Heat a non-stick skillet over medium-low heat and brush with a little vegetable oil. Pour in the eggs and swirl to create a thin, even omelet. Cook without stirring for 2-3 minutes until set on the bottom and nearly set on top - do not flip or it will brown too much. Slide onto a cutting board and let cool. Cut into long strips about 1/2 inch wide. Some cooks make several thin omelets; others make one thicker one. The goal is uniform strips.
Step 3
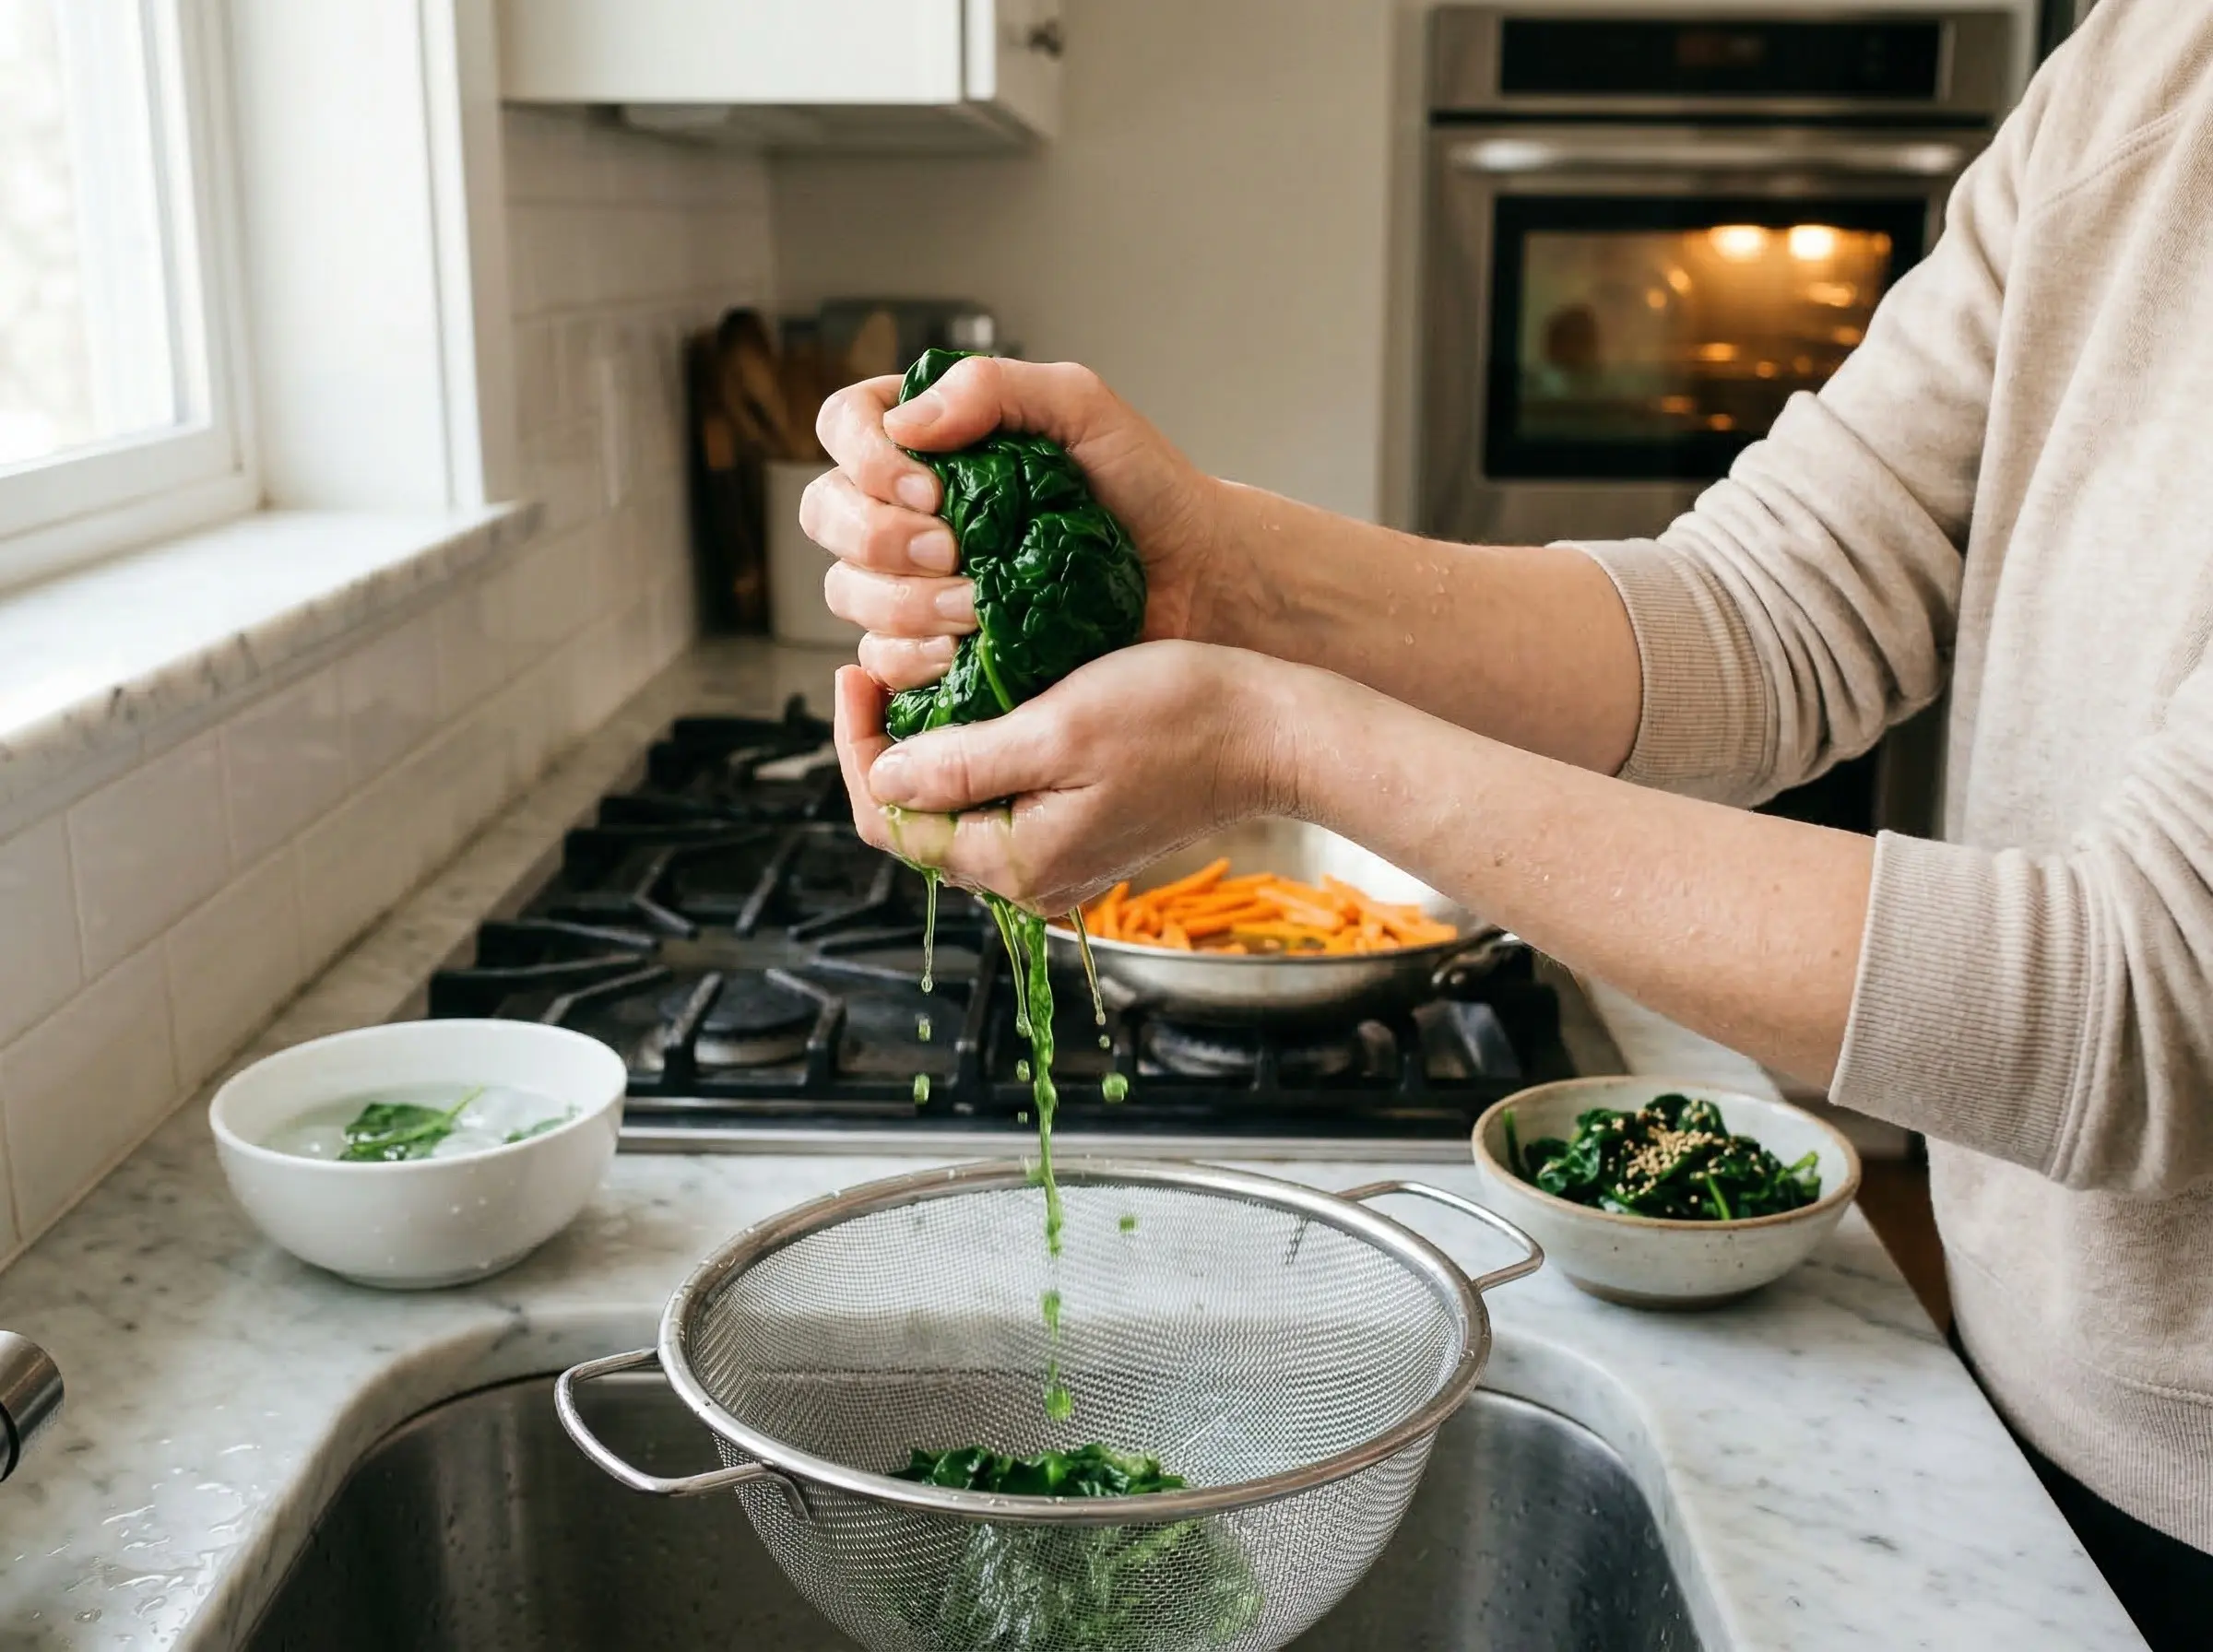
Prepare the vegetables. Bring a pot of salted water to a boil. Blanch the spinach for 30 seconds until just wilted. Immediately transfer to ice water to stop cooking and preserve the bright green color. Squeeze out as much water as possible - this is crucial or the spinach will make the kimbap soggy. Season the squeezed spinach with a drizzle of sesame oil and a pinch of salt. For the carrots, saute the julienned strips in a little oil over medium heat for 2-3 minutes until slightly softened. Season with a pinch of salt. Let cool.
Step 4
Prepare the beef. If using bulgogi, cook it in a hot skillet for 2-3 minutes until browned and cooked through, then let cool. If using ground beef, cook with 1 tablespoon soy sauce, 1 teaspoon sugar, and a minced garlic clove until browned and caramelized. Let cool completely - warm fillings will make the seaweed soggy and tear easily.
Step 5
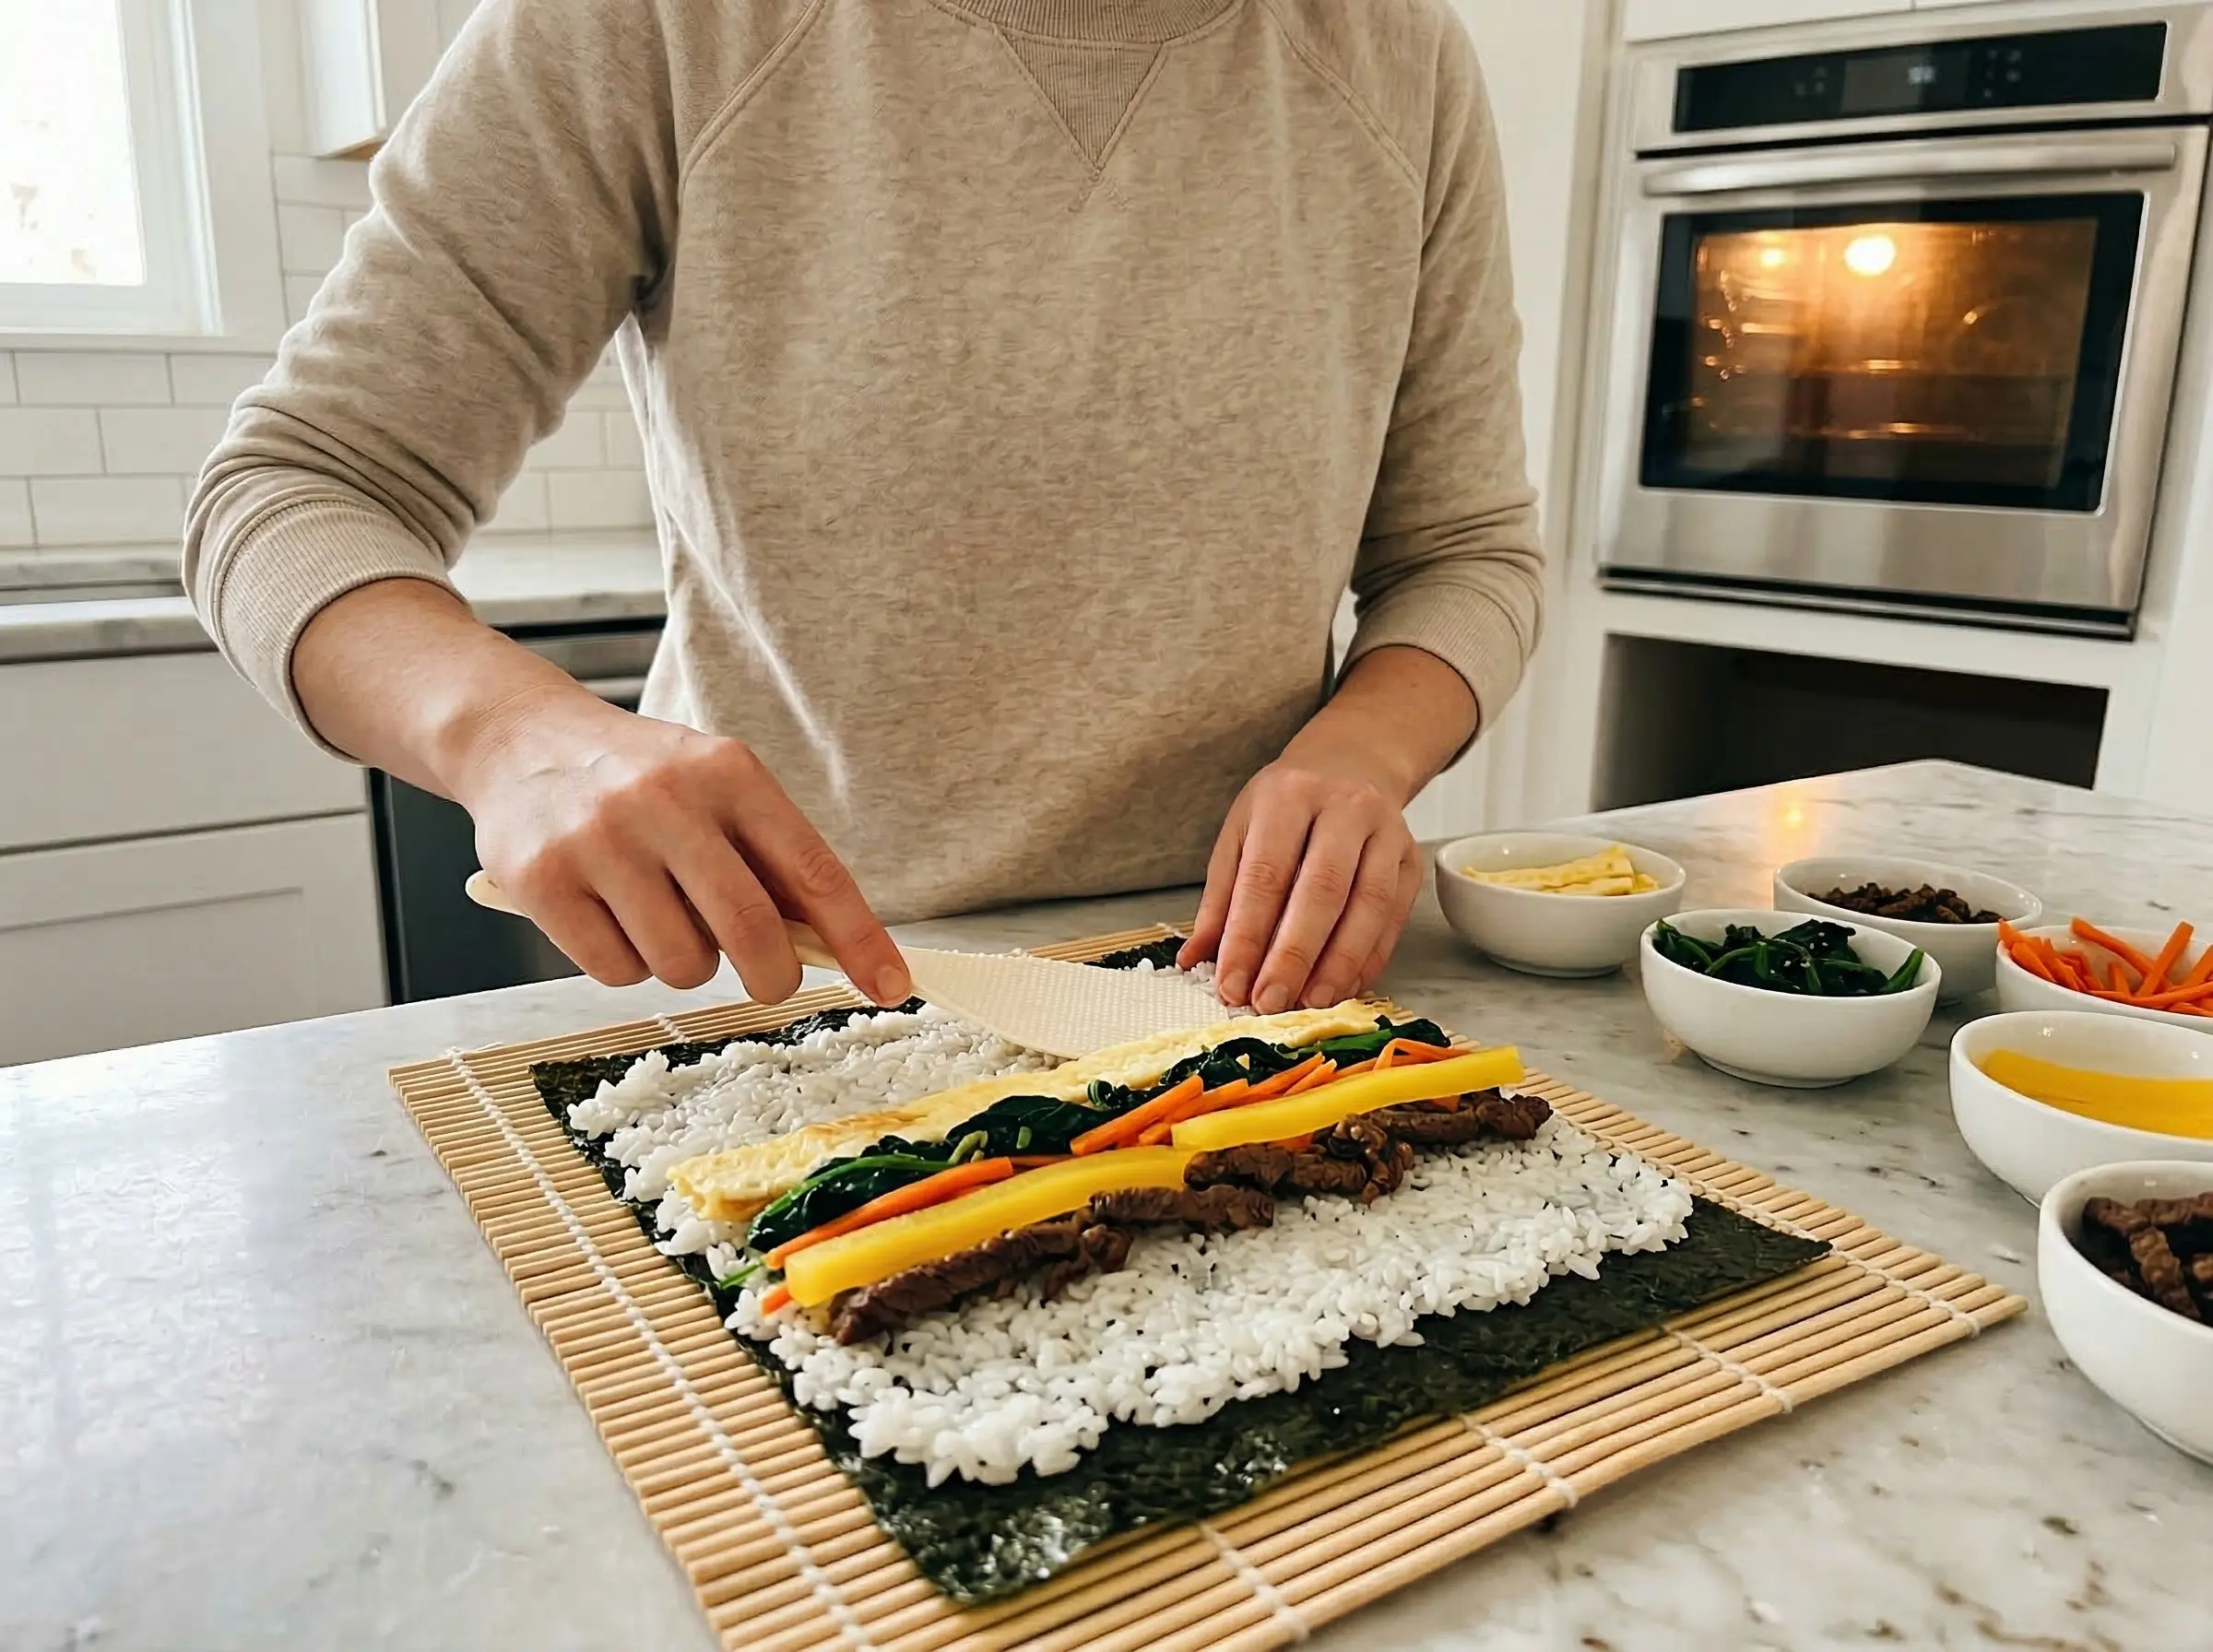
Assemble the kimbap. Place a bamboo rolling mat on your work surface with the slats running horizontally. Place one sheet of gim shiny-side down on the mat. With wet hands (to prevent sticking), spread about 1 cup of seasoned rice evenly over the gim, leaving a 1-inch border at the top edge. Do not pack the rice too thickly - a thin, even layer works best. Arrange the fillings in a horizontal line across the center of the rice: a strip of egg, a line of spinach, carrot strips, danmuji, beef, and imitation crab if using. Do not overfill or rolling will be difficult.
Step 6
Roll and slice. Using the bamboo mat, lift the bottom edge of the gim and fold it over the fillings, tucking tightly. Continue rolling away from you, using the mat to shape and compress the roll firmly. When you reach the bare edge of gim, moisten it slightly with water to seal. Roll the completed kimbap in the mat once more, pressing gently to shape it into a tight cylinder. Brush the outside with a thin layer of sesame oil - this adds flavor, sheen, and prevents drying. Let the roll rest seam-side down for 1-2 minutes before cutting. Using a sharp knife moistened with sesame oil (to prevent sticking), cut the roll into 8-10 rounds about 1/2 inch thick. Wipe and re-oil the knife between cuts for clean slices. Arrange the pinwheel slices on a plate and sprinkle with sesame seeds. Serve at room temperature - kimbap is traditionally eaten without soy sauce or wasabi, though some people enjoy them alongside. Pack for picnics, lunchboxes, or eat immediately as a snack or light meal.
You Might Also Like