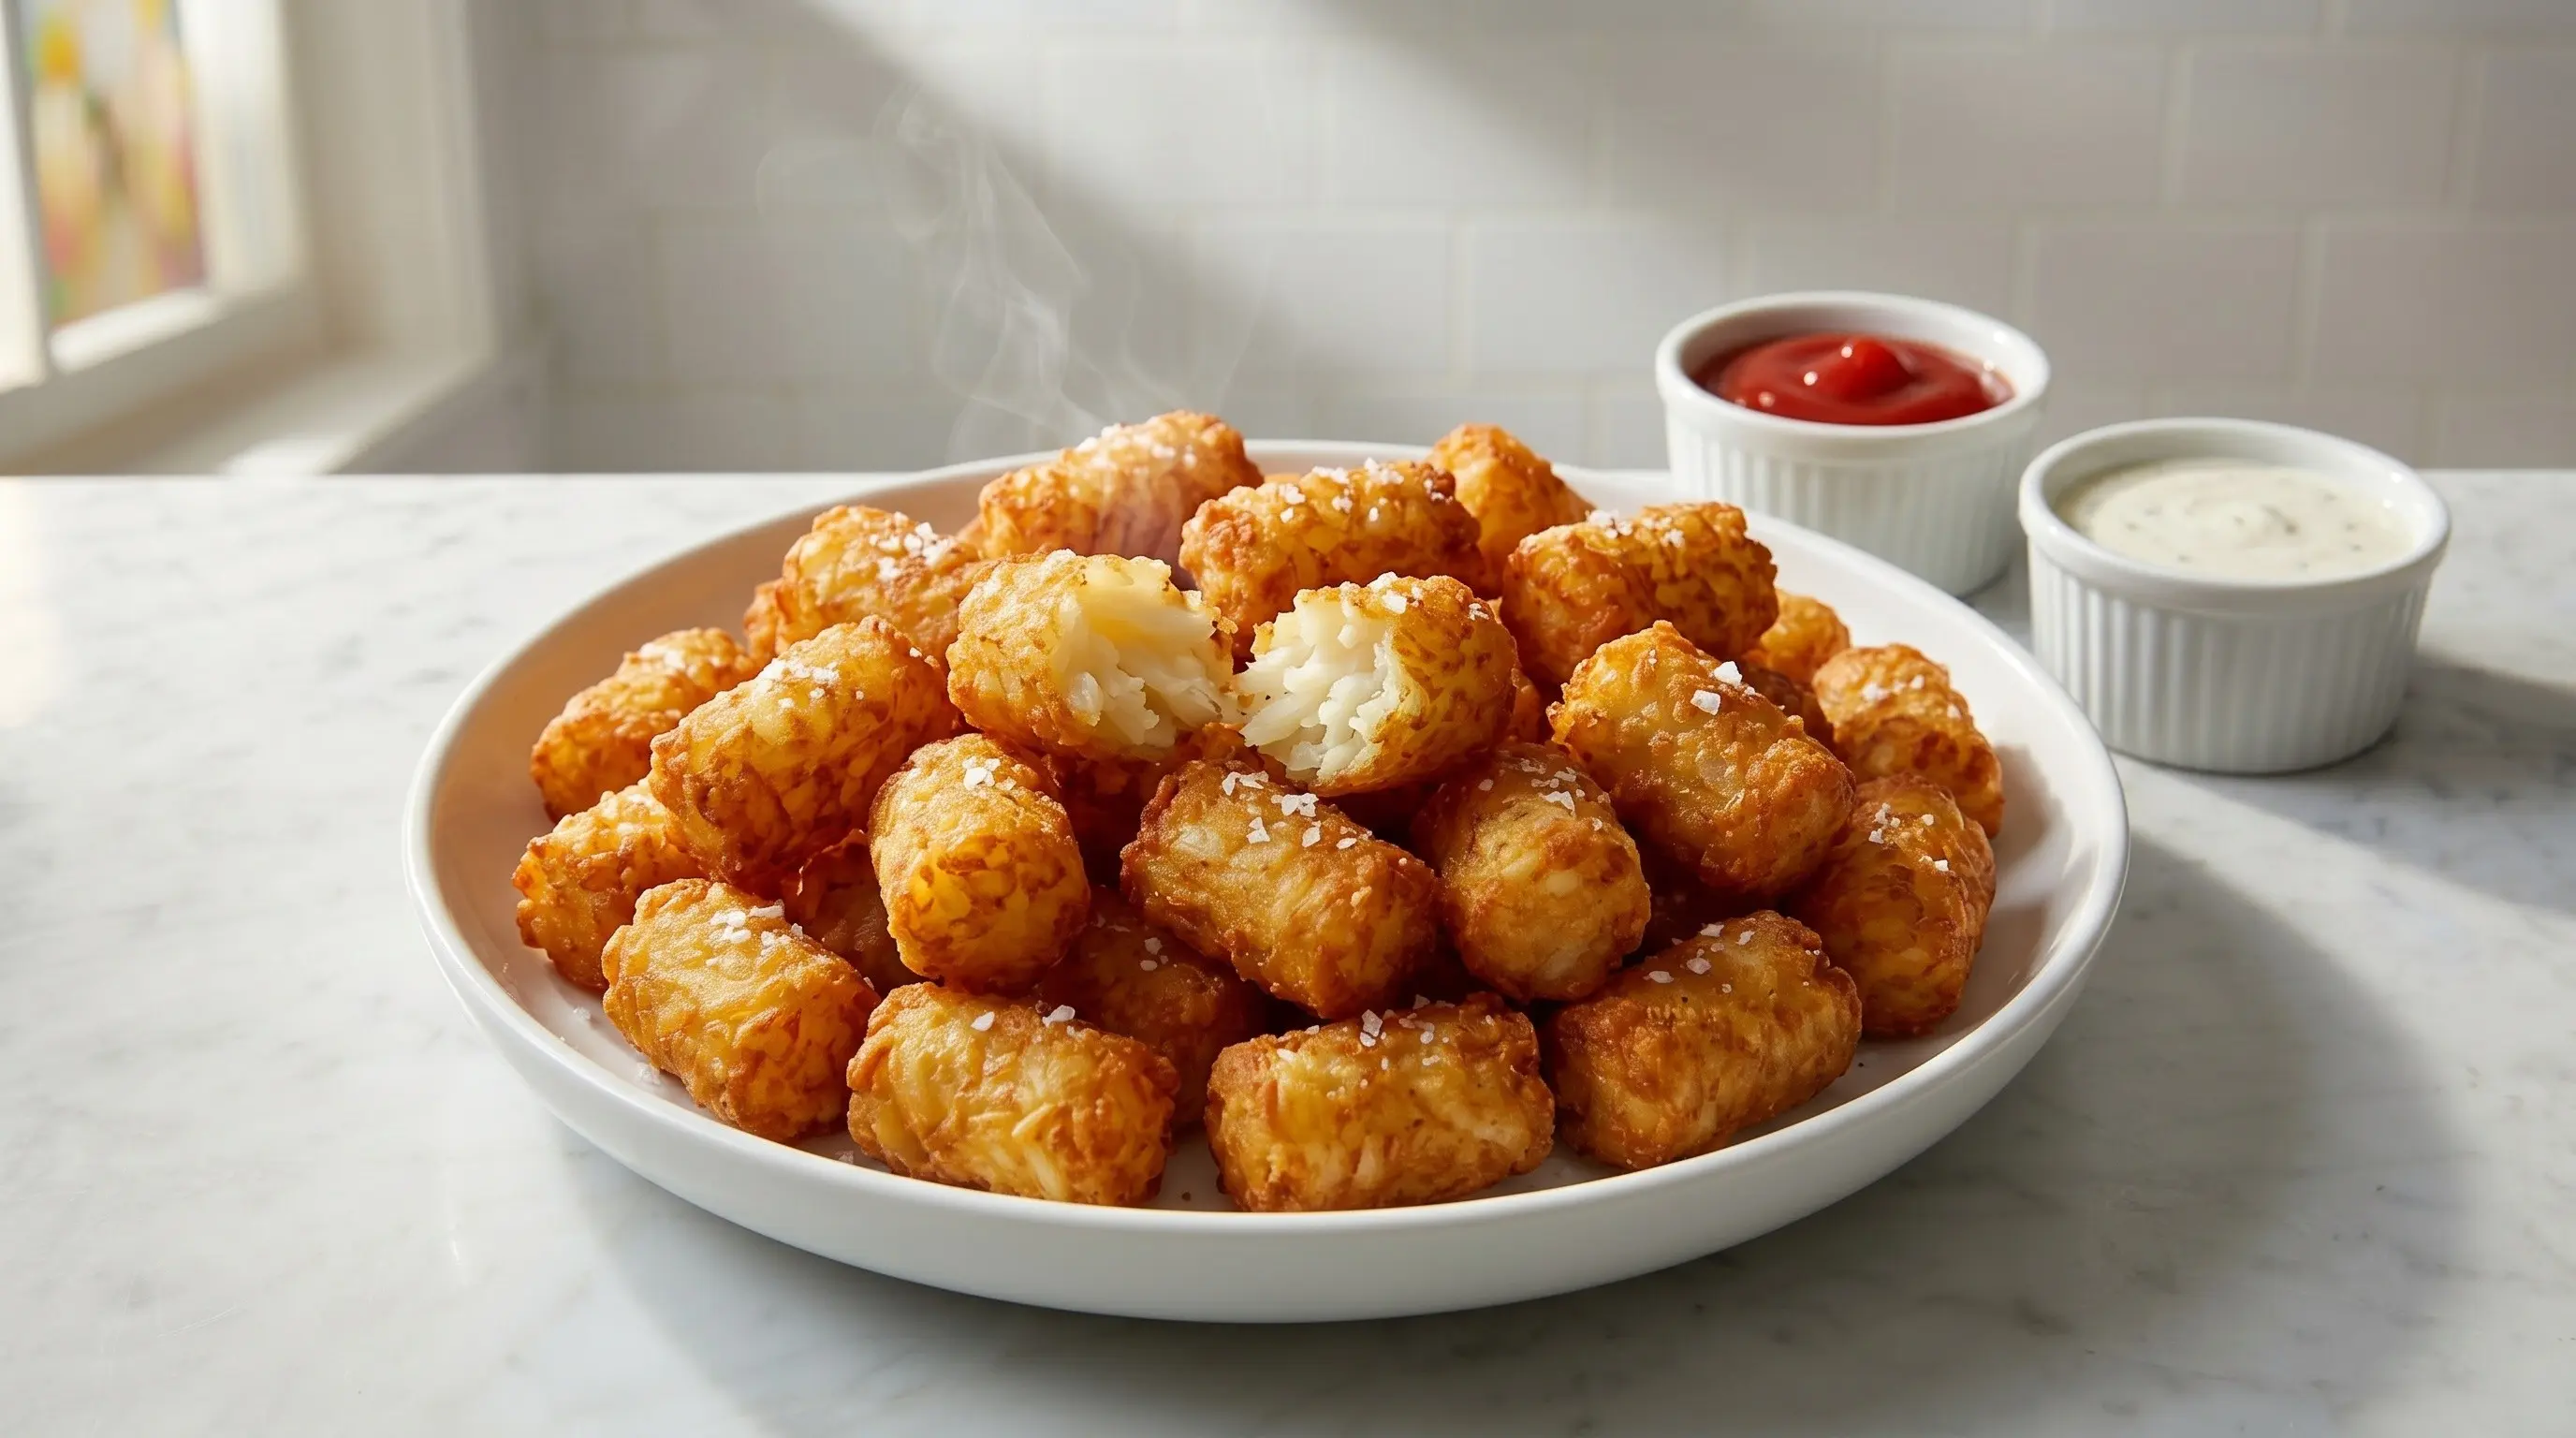
Tater Tots
Learn how to make crispy homemade tater tots with a golden crust and fluffy interior. These addictive potato nuggets are miles better than frozen and surprisingly easy to make from scratch!
Ingredients
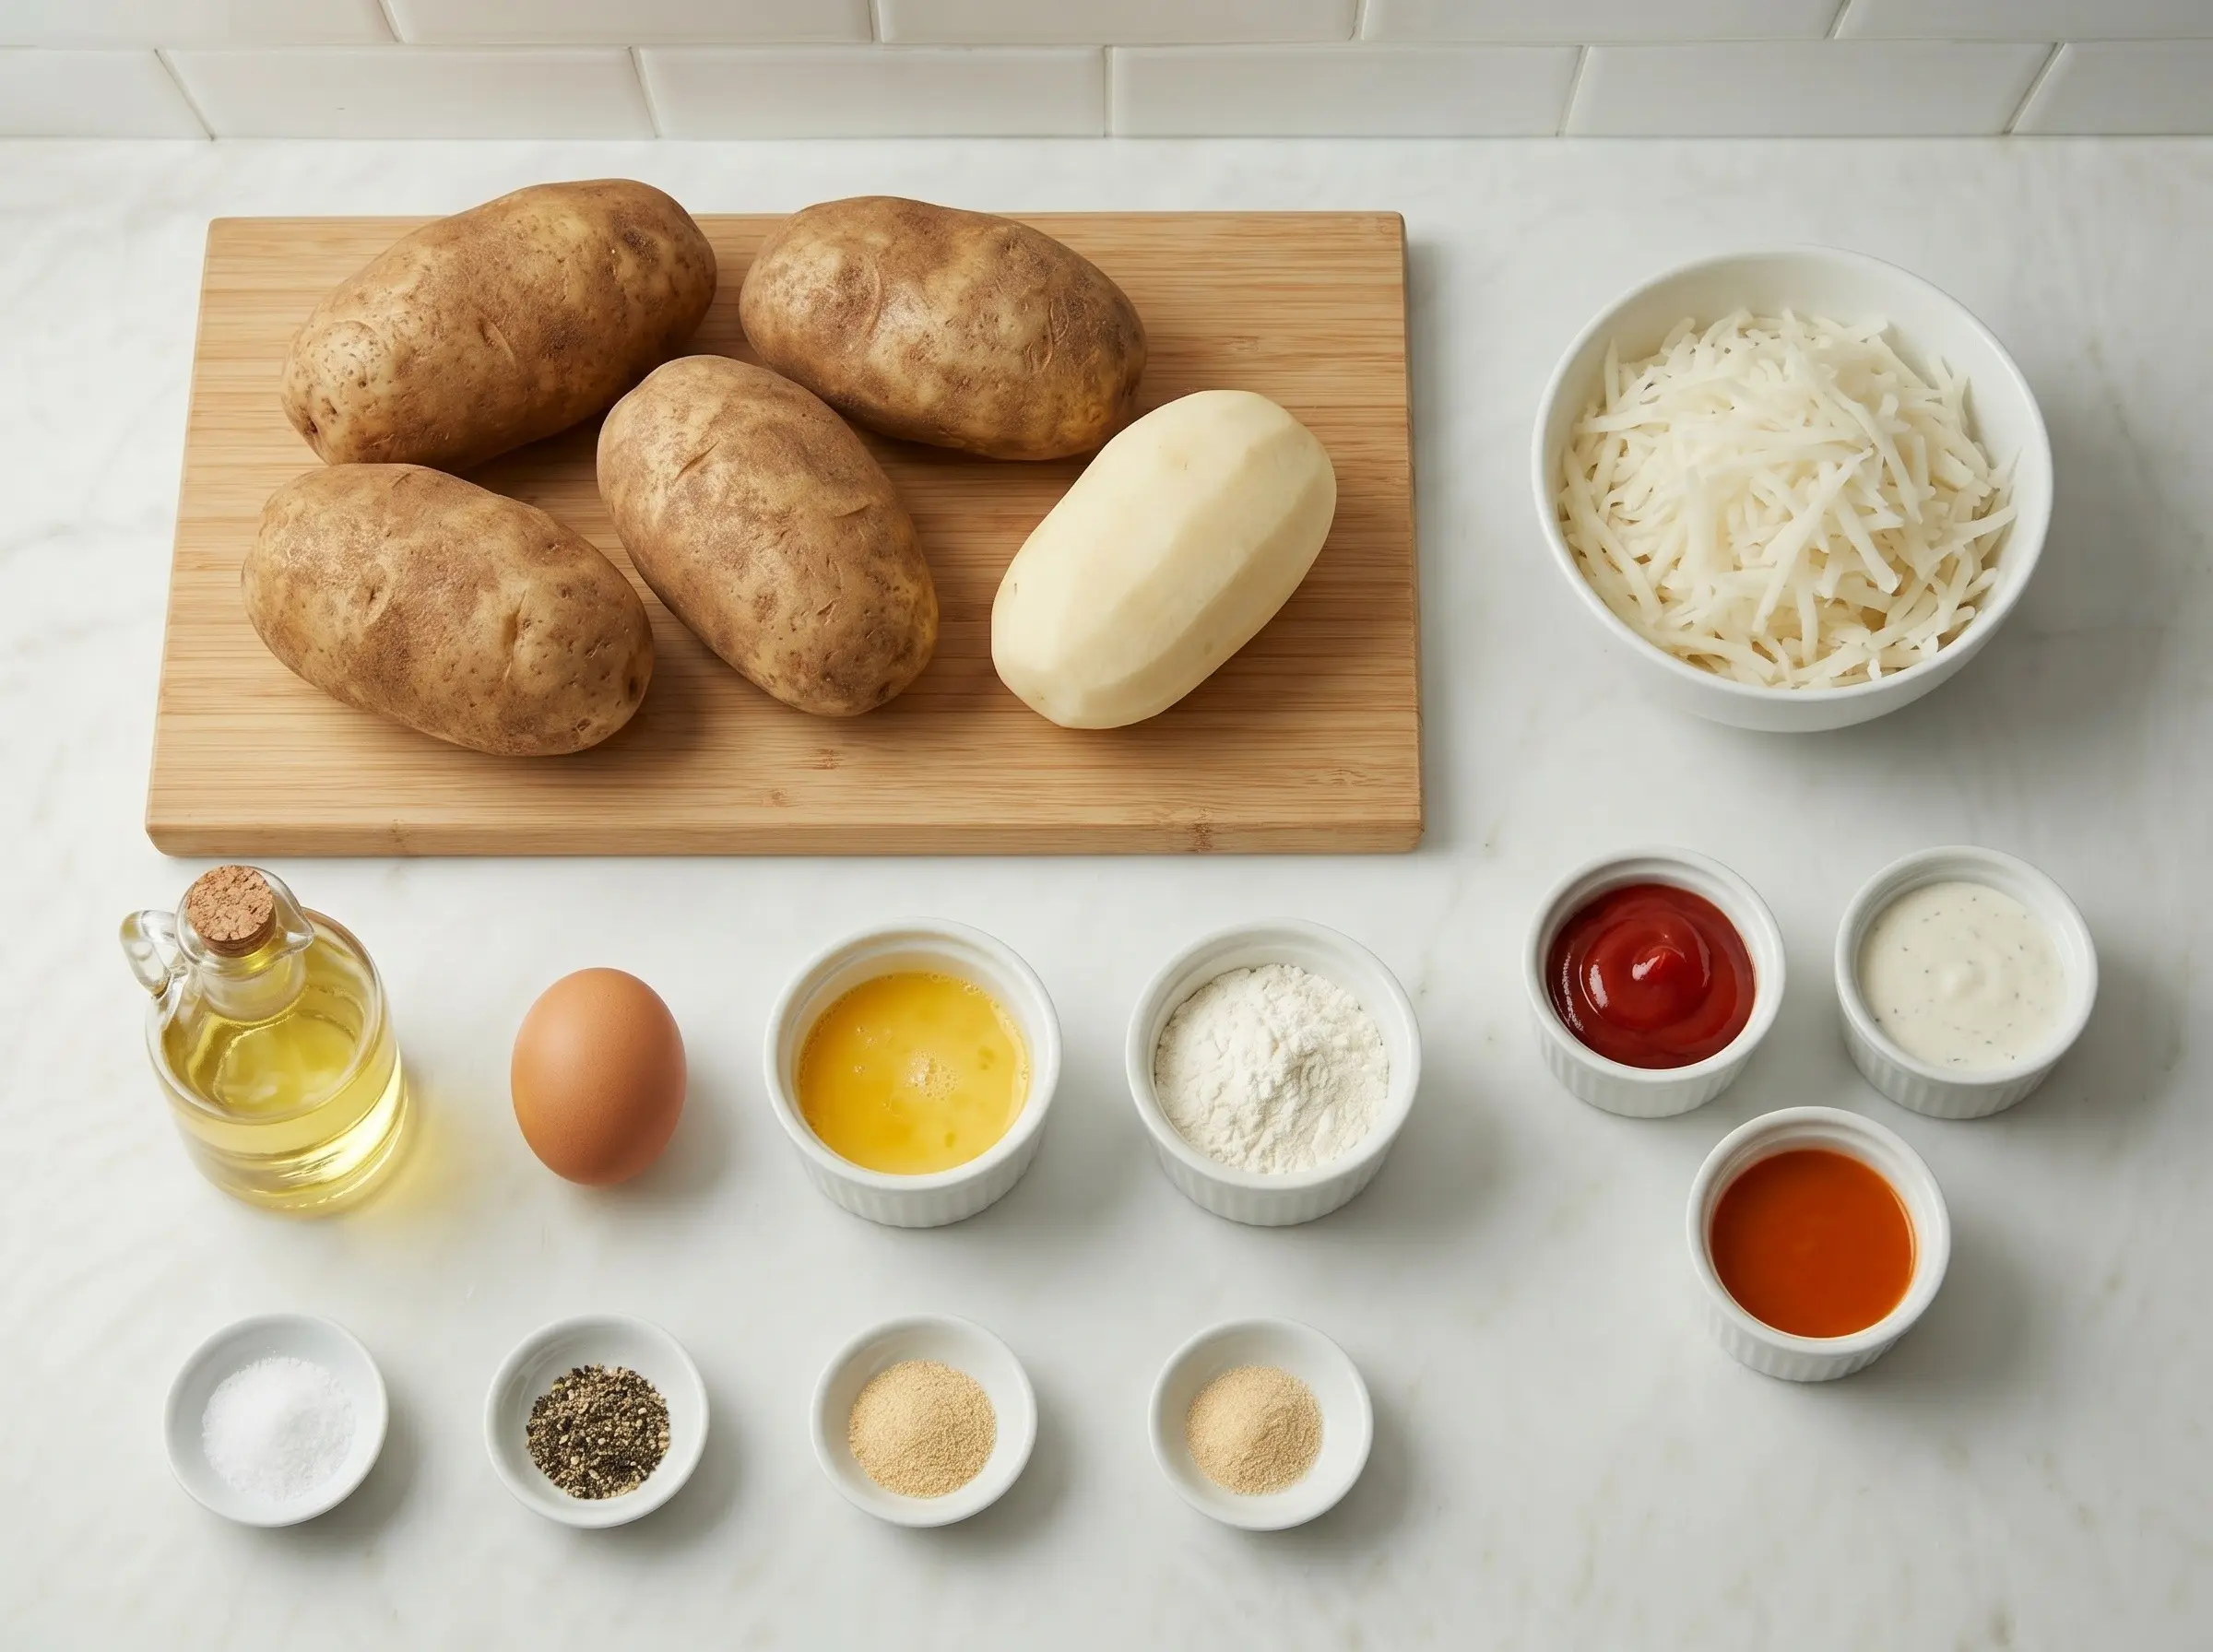
The Story
Tater Tots are one of America's most beloved snack foods, crispy cylinders of shredded potato with golden exteriors and fluffy interiors that have been a lunchroom and diner staple since the 1950s. The original Tater Tots were invented in 1953 by the Grigg brothers, founders of Ore-Ida, who were looking for a use for leftover potato shreds from their frozen French fry production. Rather than discard the scraps, they chopped them up, added flour and seasonings, shaped them into small cylinders, and fried them. The name "Tater Tot" was trademarked by Ore-Ida, combining the informal "tater" for potato with "tot" suggesting the small size. What began as a clever solution to food waste became a phenomenon. By the 1960s, Tater Tots had become fixtures in American school cafeterias, where their portioned shape and crowd-pleasing crunch made them easy to serve to thousands of children. They spread to diners, fast-food restaurants, and home freezers across the nation. The Tater Tot became so embedded in American culture that it inspired fierce loyalty, regional variations like the "tot-cho" (tots as nachos), and even a cameo in the cult film "Napoleon Dynamite" that cemented its status as an icon of American nostalgia. What makes Tater Tots so extraordinary is the textural alchemy that occurs when shredded potato meets hot oil. The exterior fries to a shatteringly crisp shell while the interior steams to fluffy tenderness. Unlike French fries where you taste the potato's interior directly, Tater Tots offer a different experience - the crispy coating and soft inside create a one-two punch of texture with each bite. Homemade tater tots, made with freshly shredded potatoes and fried until deeply golden, are a revelation compared to their frozen counterparts. The edges are crispier, the interior more potato-forward, the whole experience more satisfying. Whether served as a side dish, loaded with cheese and bacon, or eaten straight from the pan with ketchup, homemade tater tots prove that some American classics are worth the effort to make from scratch.
Instructions
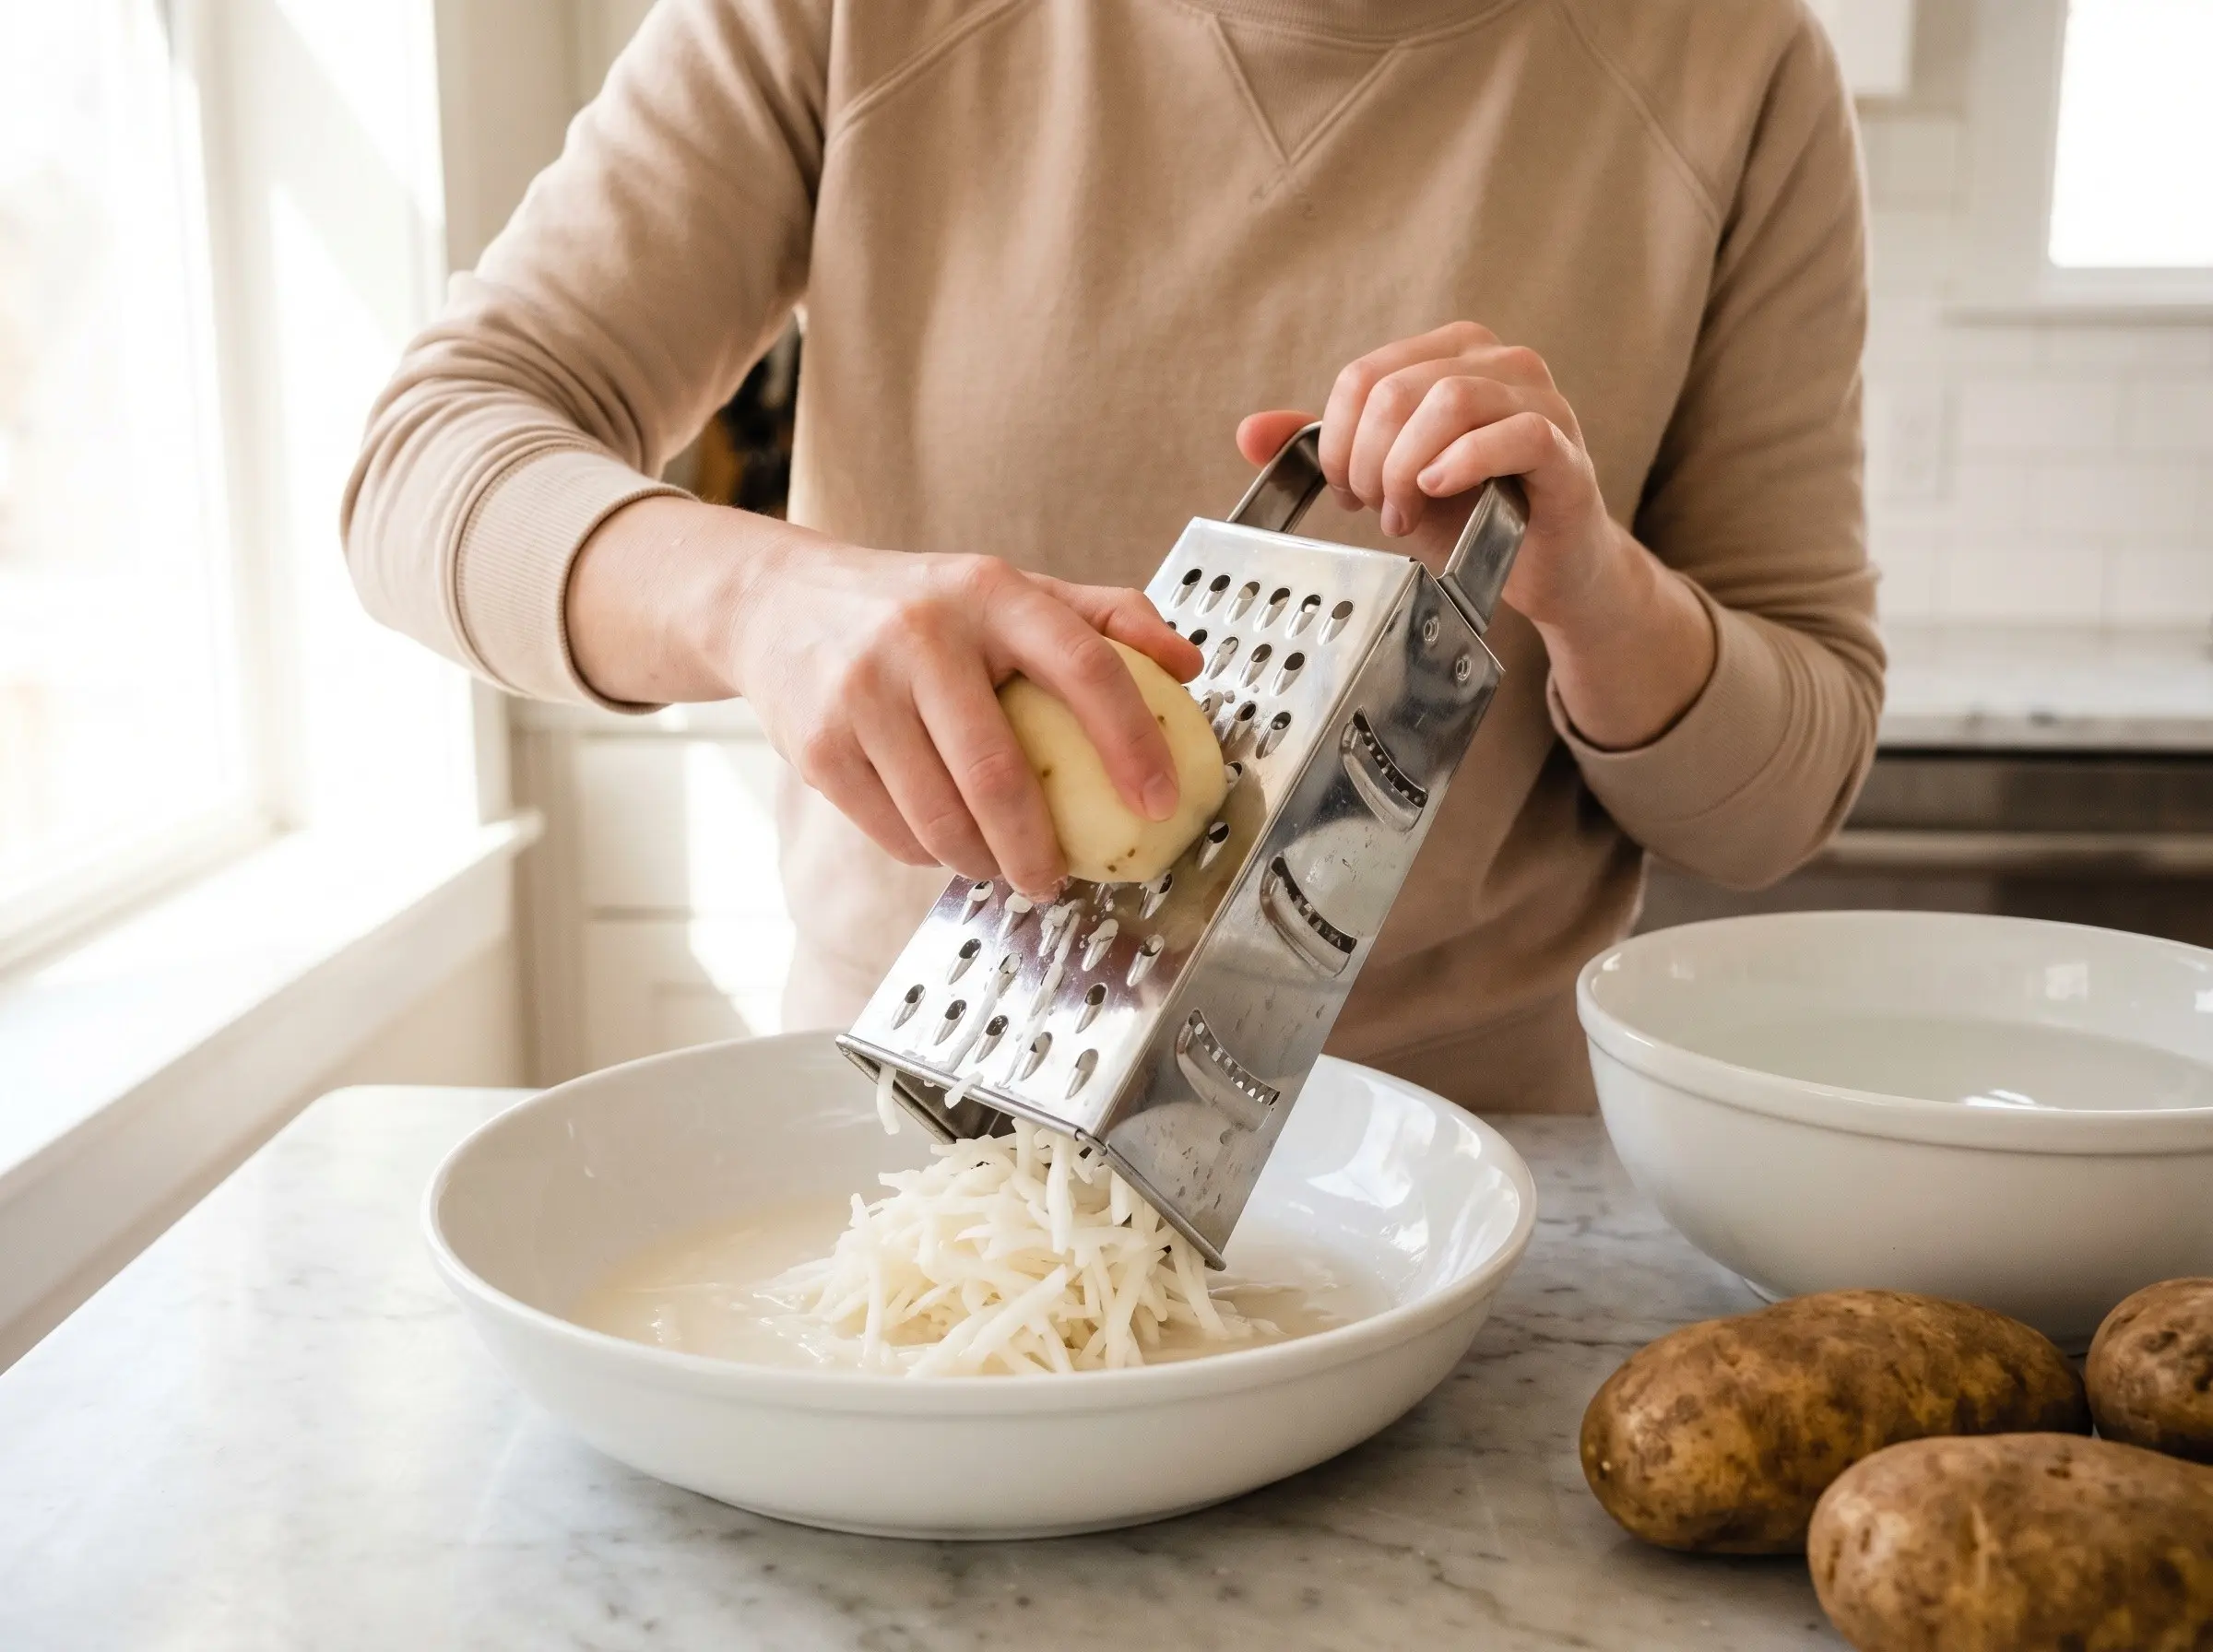
Step 1
Prepare the potatoes. Peel the russet potatoes. Using a box grater or food processor fitted with a shredding disc, shred the potatoes into thin strands. Work quickly as the potatoes will oxidize and turn brown. Immediately place the shredded potatoes in a large bowl of cold water and swish them around to rinse off excess starch. Drain and repeat with fresh water 2-3 times until the water runs mostly clear. This step removes surface starch and helps achieve crispier tots.
Step 2
Par-cook the potatoes. Bring a large pot of salted water to a boil. Add the rinsed shredded potatoes and blanch for 3-4 minutes - the potatoes should be slightly softened but still hold their shape, not fully cooked or mushy. Drain in a colander and spread the potatoes on a clean kitchen towel or paper towels. Pat very dry and let cool for 5 minutes. Removing as much moisture as possible is crucial for crispy tots.
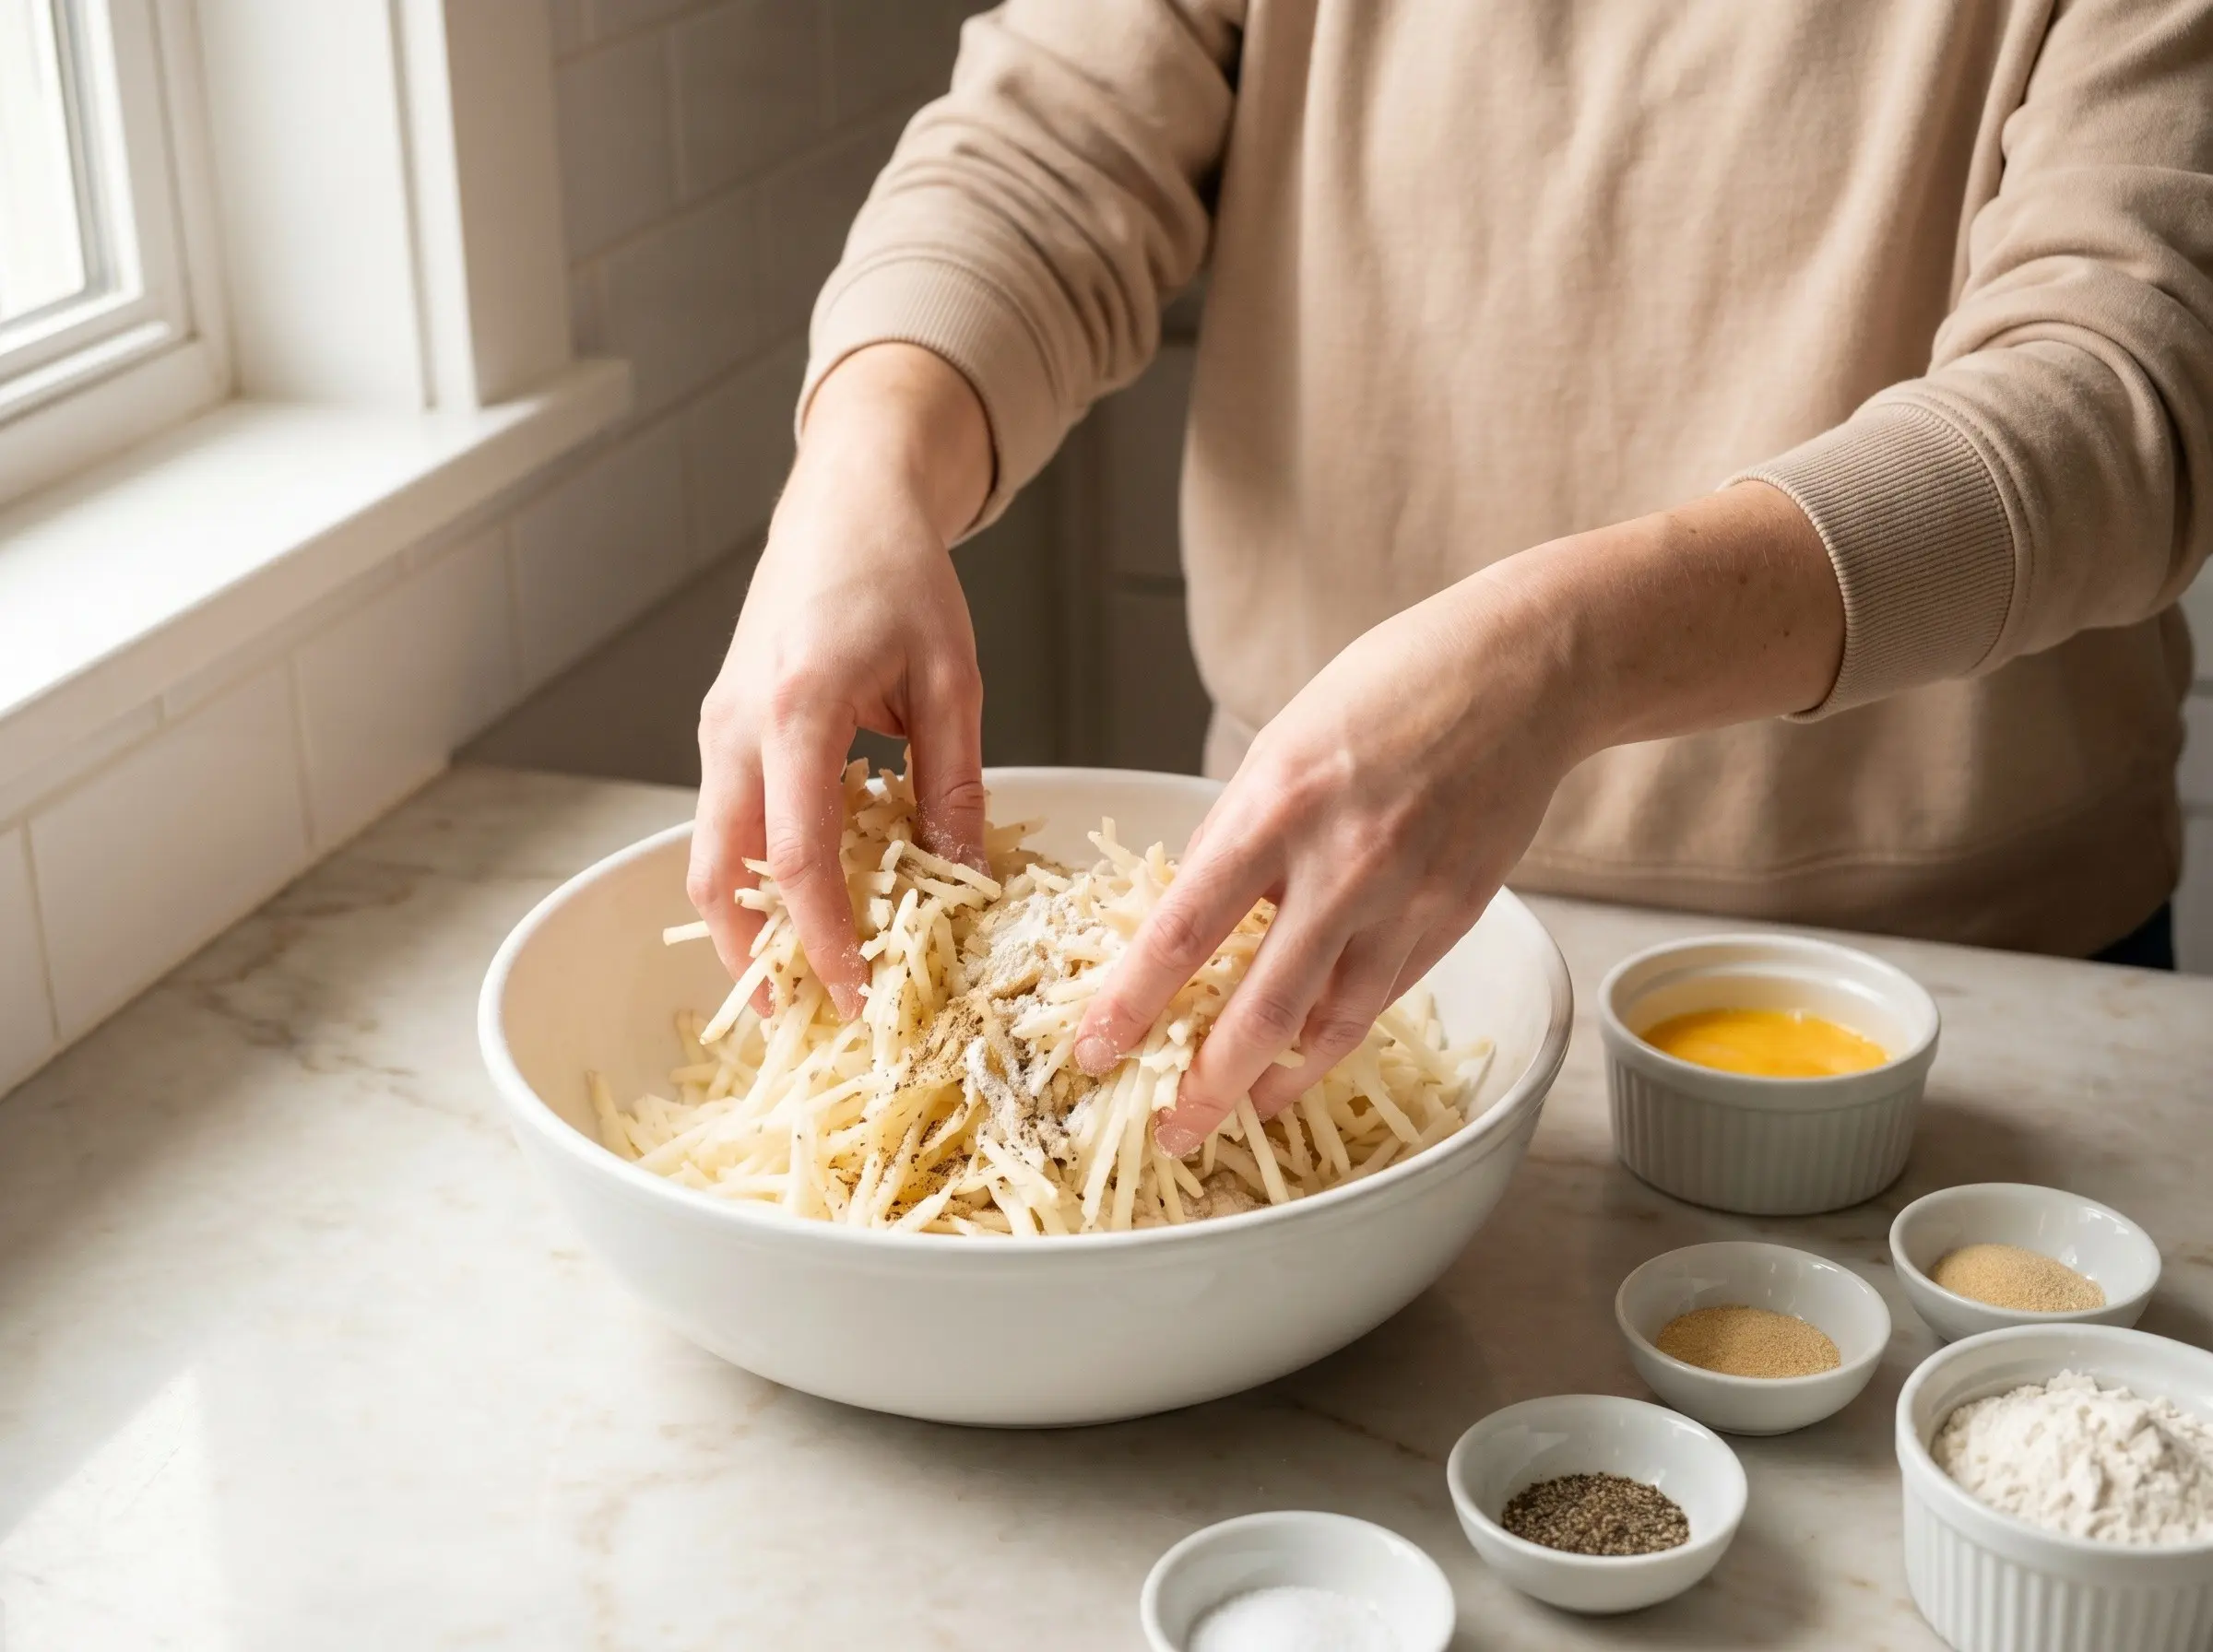
Step 3
Season the potato mixture. Transfer the dried shredded potatoes to a large bowl. Add the salt, pepper, garlic powder, onion powder, and flour. Toss well to distribute the seasonings evenly. If your mixture seems dry and is not holding together, add the beaten egg for extra binding. The flour helps the tots crisp up and hold their shape, while the seasonings add flavor throughout.
Step 4
Shape the tots. Take about 1 tablespoon of the potato mixture and squeeze it firmly in your fist to compact it, then shape into a small cylinder about 1 inch long and 3/4 inch in diameter. The compacting is important - loose tots will fall apart when fried. Place the shaped tots on a parchment-lined baking sheet. You should get about 40-50 tots. For extra crispness, refrigerate the shaped tots for 30 minutes to firm them up before frying.
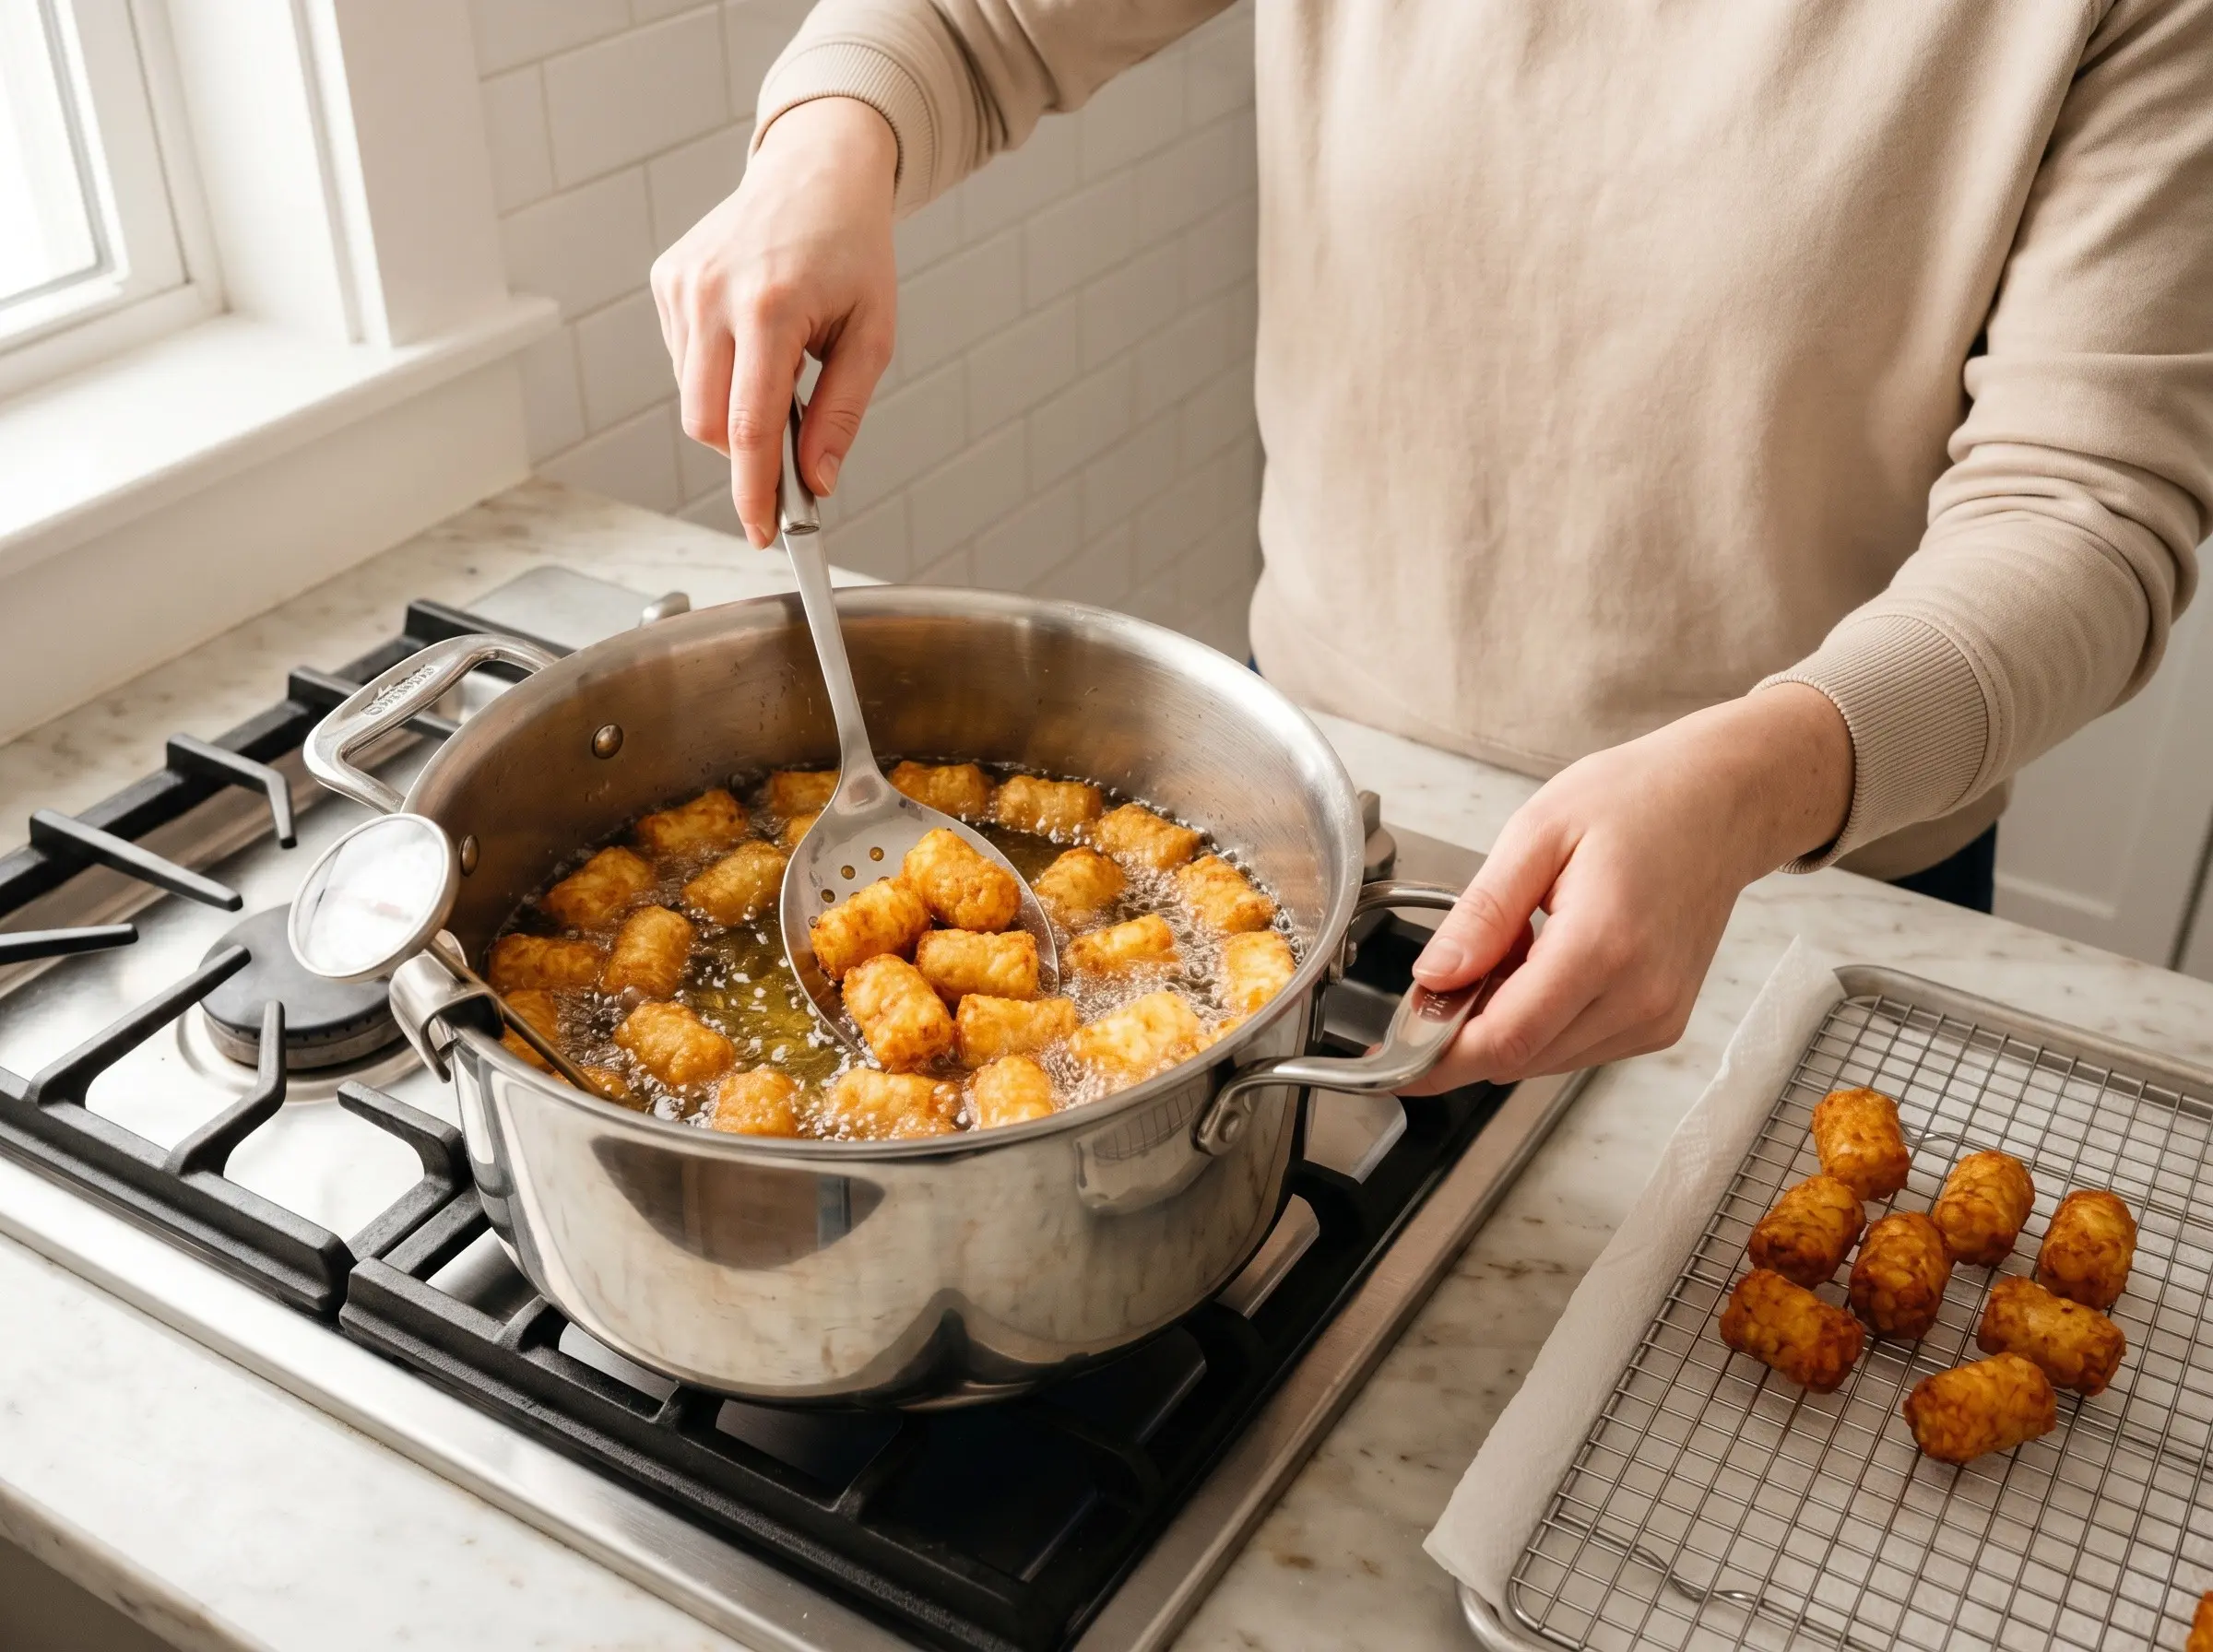
Step 5
Fry until golden and crispy. Pour oil into a large heavy pot or Dutch oven to a depth of 2-3 inches. Heat to 350 degrees F - use a thermometer for accuracy. Working in batches of 8-10 tots to avoid overcrowding, carefully lower the tots into the hot oil. Fry for 3-4 minutes, turning occasionally, until deeply golden brown and crispy on all sides. The tots should be dark golden, not pale - this ensures the interior is cooked and the exterior is properly crispy. Remove with a slotted spoon and drain on a wire rack set over a paper towel-lined baking sheet.
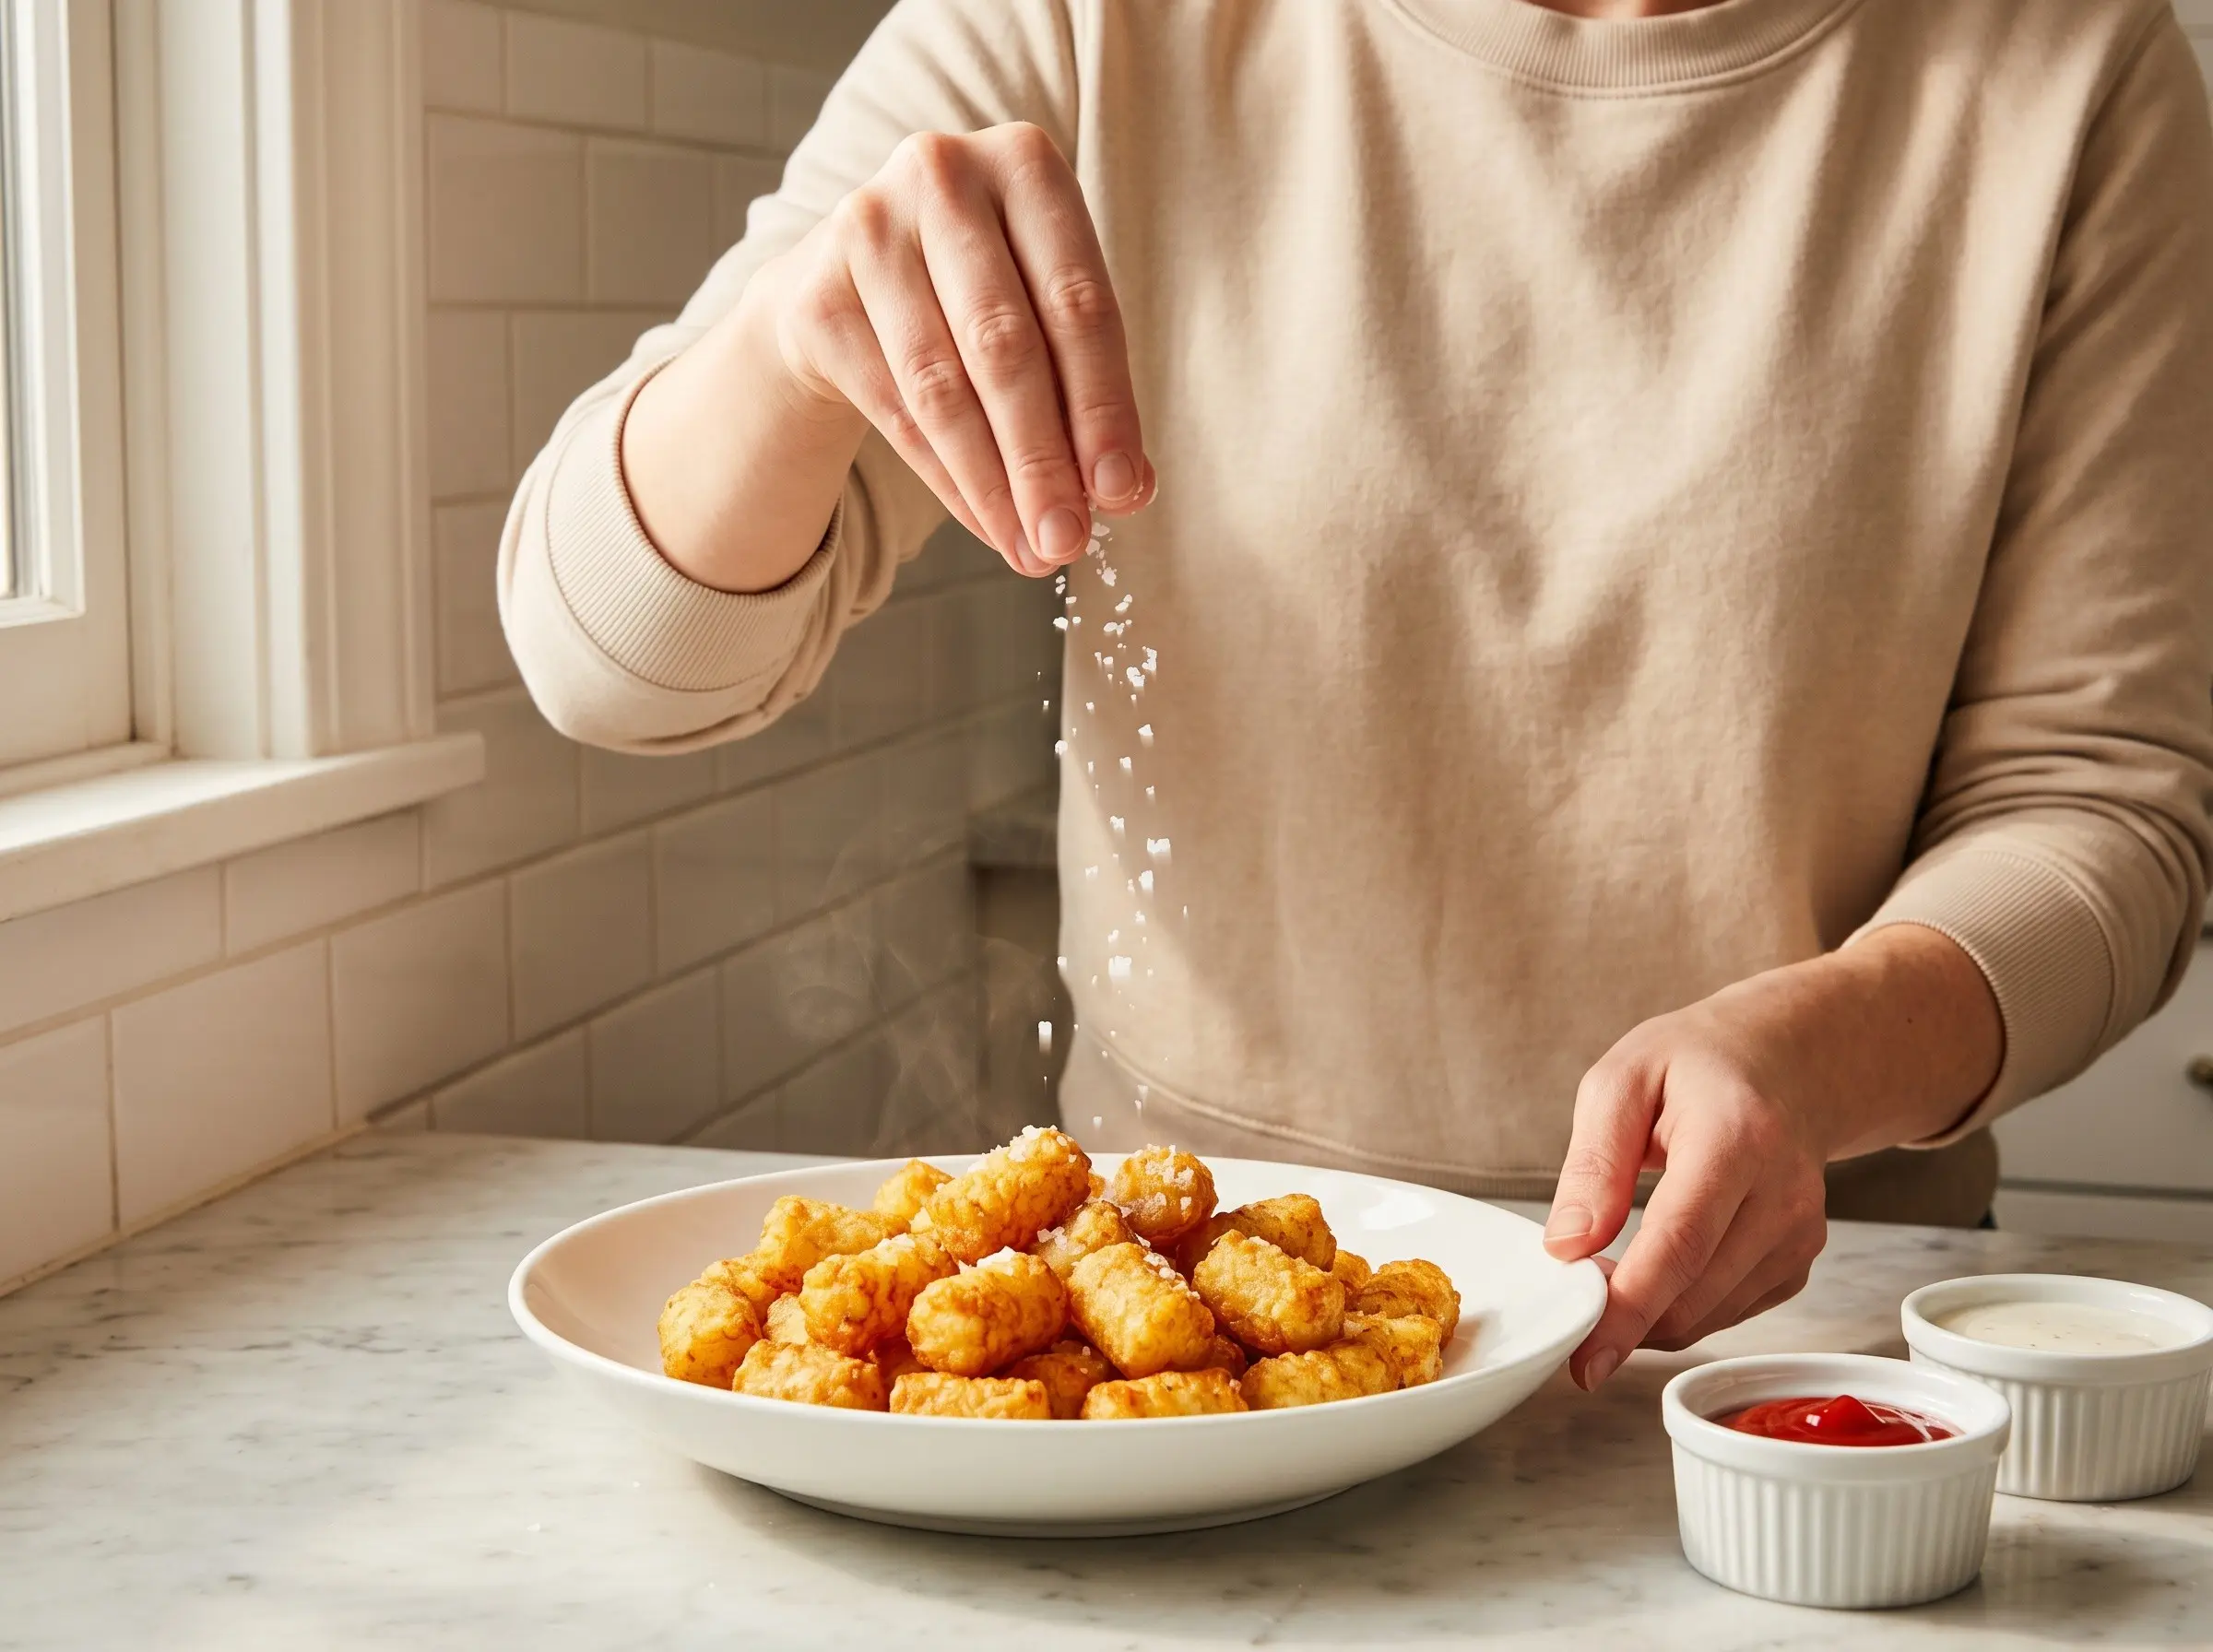
Step 6
Season and serve immediately. While the tots are still hot, season generously with flaky salt - this is when the salt will stick best. Serve immediately while crispy and hot. Offer ketchup, ranch dressing, and hot sauce for dipping. Homemade tater tots are best eaten fresh but can be kept warm in a 200 degree F oven while you fry the remaining batches. For loaded tots, top with shredded cheese, crumbled bacon, sour cream, and chopped green onions while still hot. Leftover tots can be reheated in a 400 degree F oven for 10-12 minutes to restore crispness - avoid the microwave, which makes them soggy.
You Might Also Like